Using Compressor
You’ve exported your master file from FCP; you have Compressor, now what? The first thing you have to do is to bring the exported file into Compressor, either by dragging it into the well in the job window at the top or by clicking the Add File button in the upper left or by pressing
Command-I for import.

Figure 5 Add File Button
If you put in the wrong file, you can right-click in the well and select Clear Source or select another source to replace it.
The little slider under the icon in the job window will let you scrub the video, but even better, if you select the job the video will appear in the Preview window on the right. You can play the clip with the spacebar, and you can play backwards and forwards with the J and L keys, but oddly you can’t pause with the K key. You can mark In and Out points with I and O, which will trim the output.
To apply a preset to the job, find the one you want in the Settings window. If you know the name of the format or are looking for a specific codec, use the search box at the top. Drag the preset you want to use onto the item in the job window.
If you select the preset in Settings you’ll see the parameters for the preset. If you select the job you’ll see the parameters for the preset as applied to that clip, for instance it will display the estimated file size.
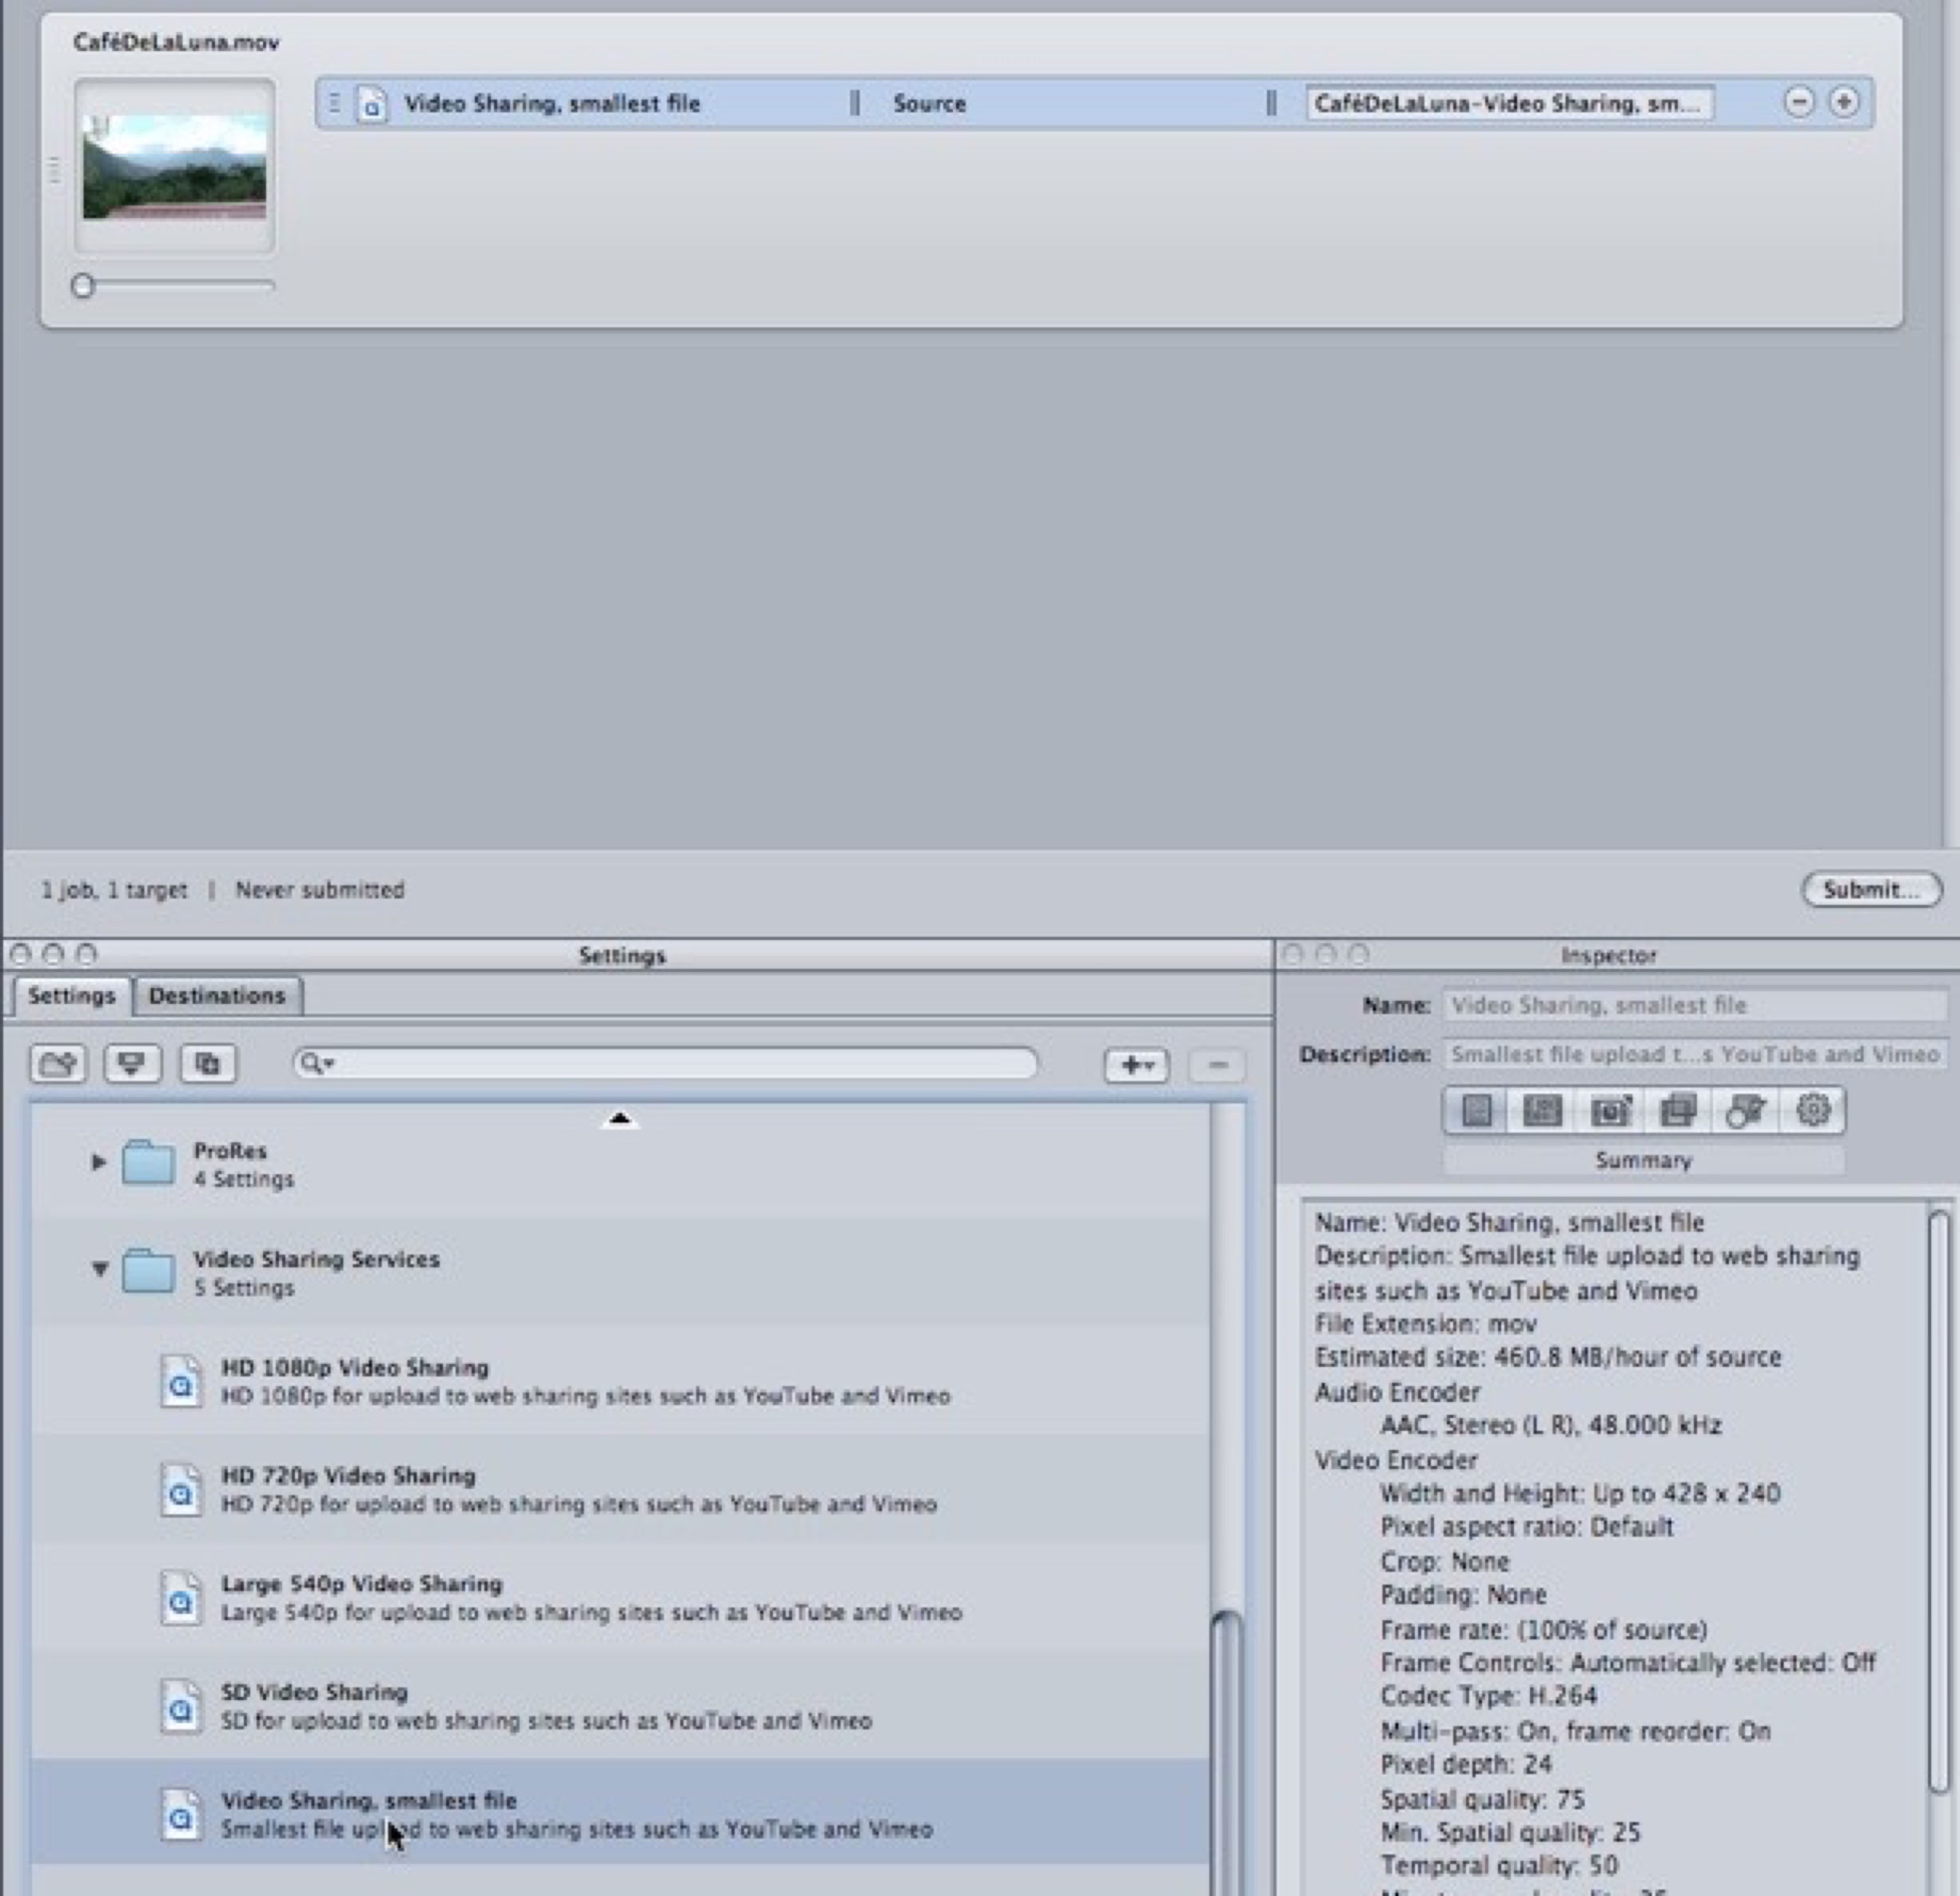
Figure 6 Settings, Job, and Inspector
With the setting applied, the job displays three columns, the setting applied, the destination, and the output file name. You can apply multiple settings to batch encode any job. You can also select an applied setting and press Delete to remove it.
Once the preset has been applied you can see in the Preview window how the compression might look with your media. At the top of the window is a pop-up that allows you to select whether the window displays the original file or the file with the applied preset.
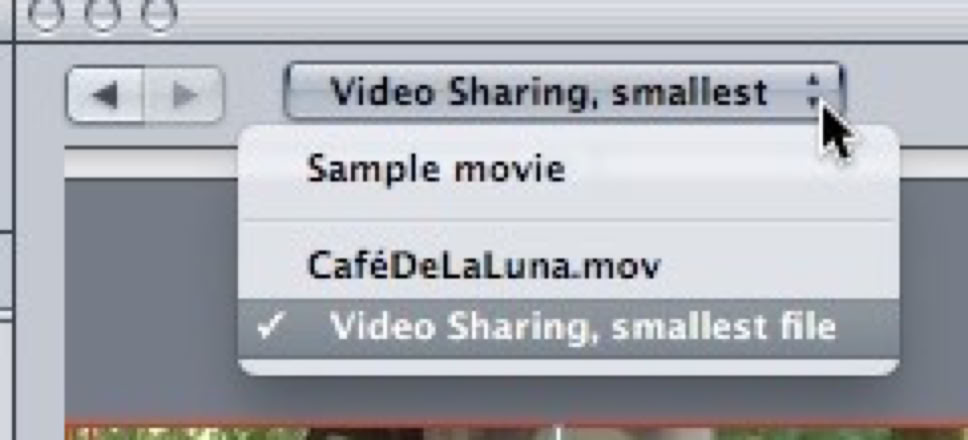
Figure 7 Preview Pop-up
If you have the applied preset selected you can move the slider at the top of the preview to give you an idea of what the image will look like before and after it’s compressed.
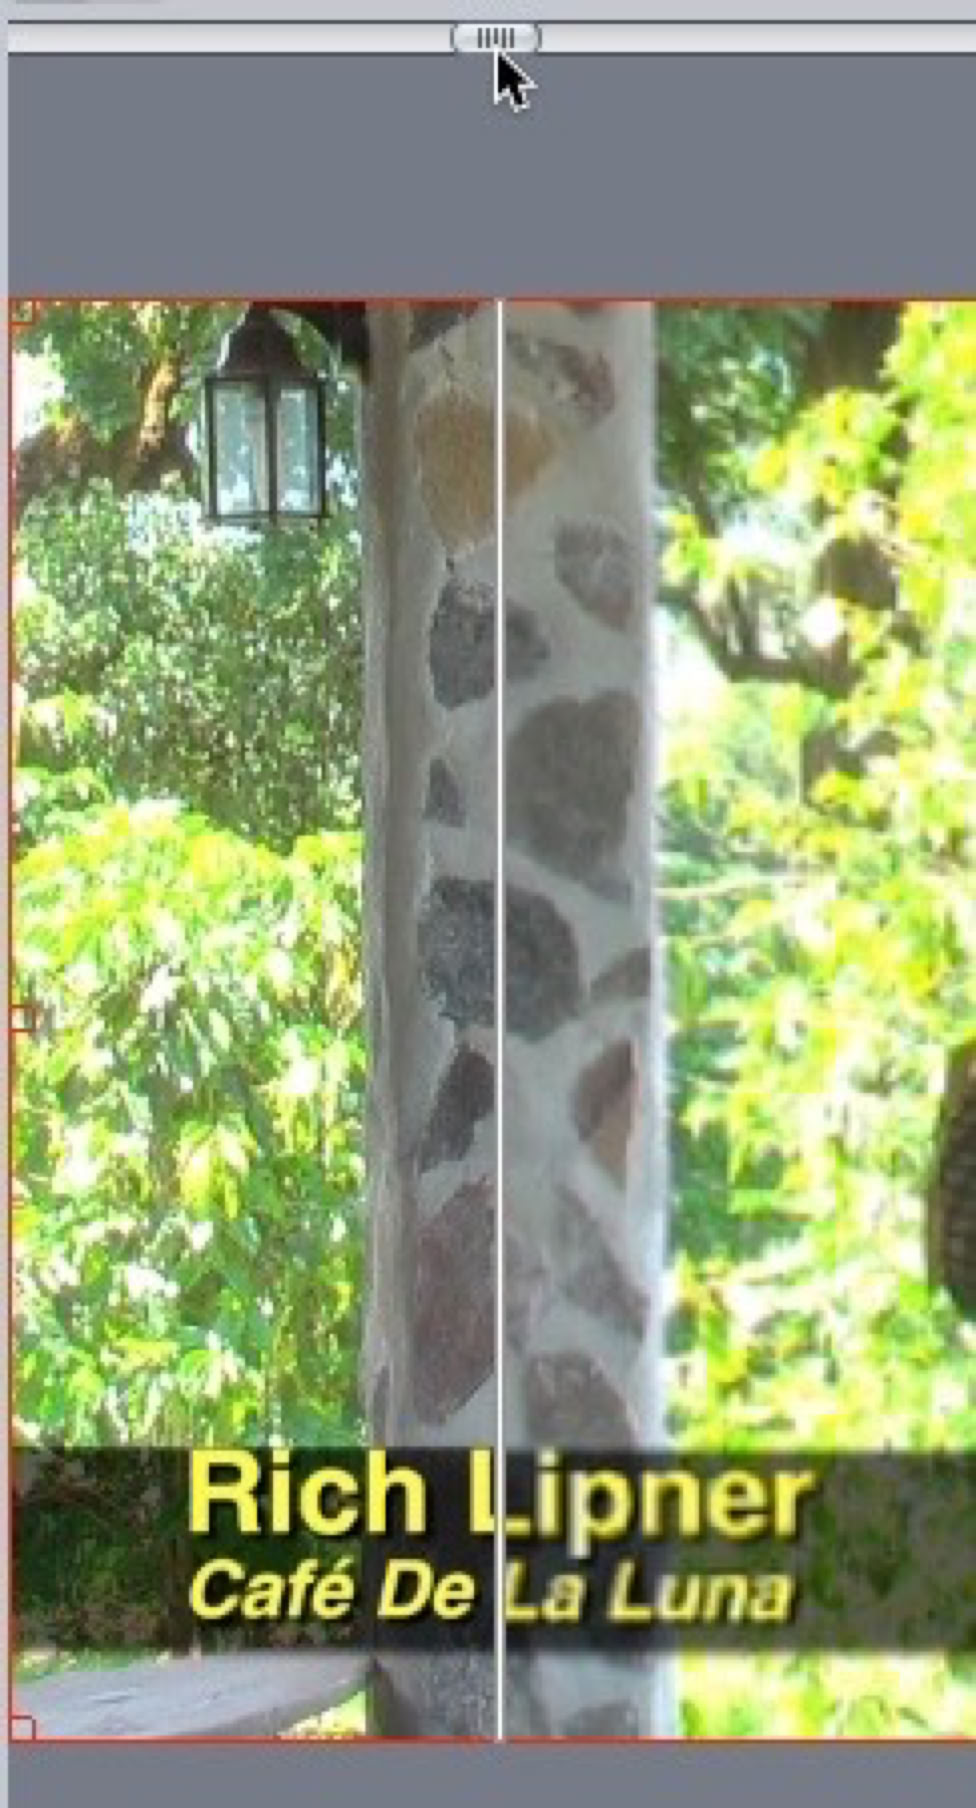
Figure 8 Before and After in the Preview Window
A couple of last things you want to do in the job window is set the file name and the destination.
Compressor automatically assigns a file name, which you see in the job window on the right. The name is made up of the original name and the name of the preset. It can be quite long, but you can change it there to whatever you want.
In the middle of the job line it says Source. That is the default destination, which puts the file back in the same location it came from.
If you Control-click on Source you get a pop-up that allows you to select the destination.
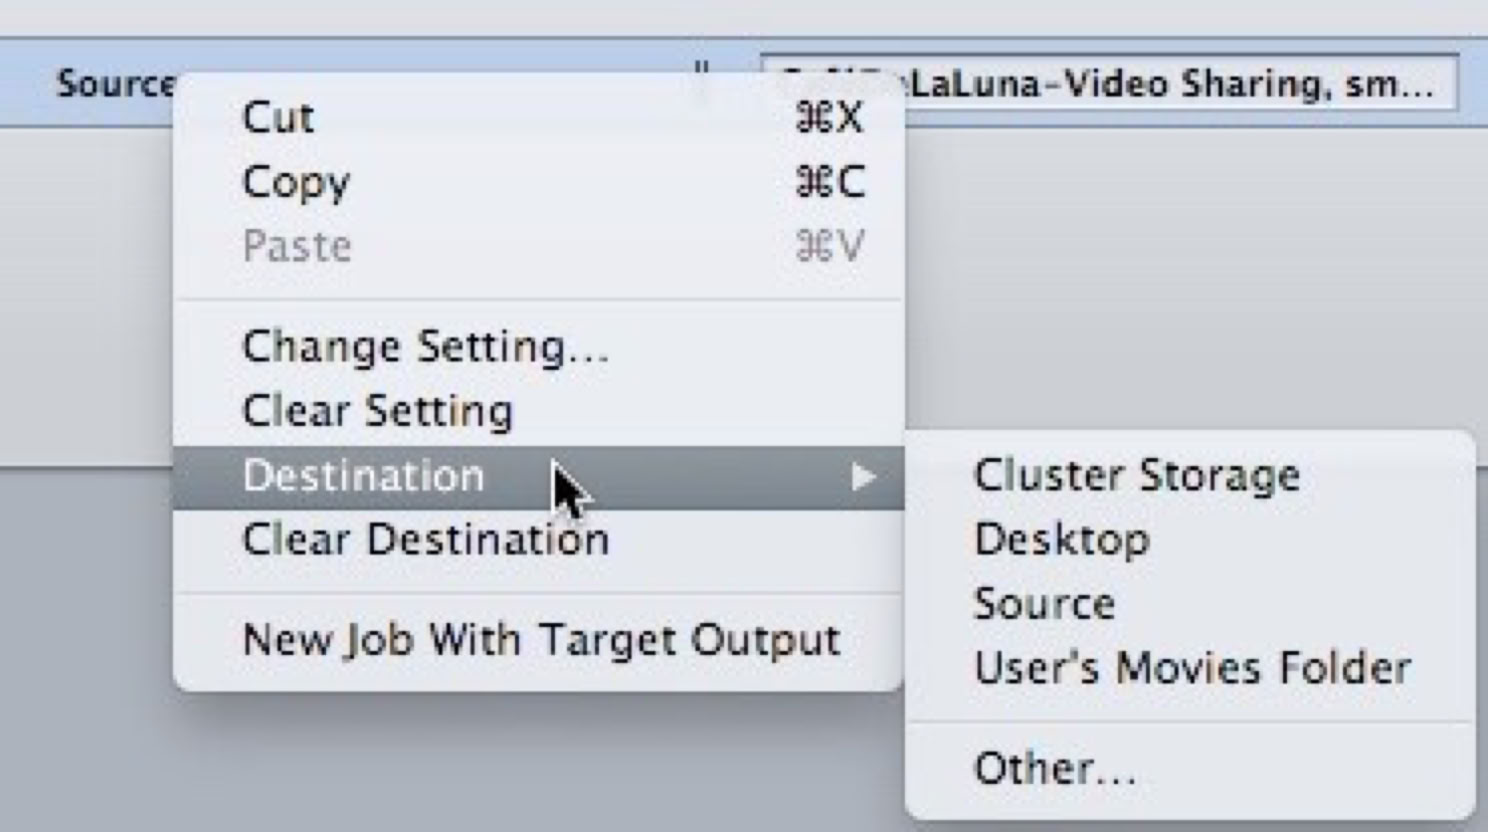
Figure 9 Destination Pop-up
If you have a regular location where you put compressed files, such as for the web or for disc, you can add that as a custom destination. Behind the Settings tab is the Destinations tab, which has a Custom folder. If you click the + button in the upper right you can create a custom location that you can access or drag into the job.

Figure 10 Adding Custom Destination
The destination can either be a local drive or a remote location to an FTP site. You can also set the destination as the default in Compressor Preferences.
Creating Custom Presets
To start the job, click the Submit button in the lower right of the jobs window. A drop down menu appears that allows you to name the job, set a cluster, and give the job priority, and if you click Submit again the compression process begins. The job then appears in the History window where you can follow its progress.
There are three ways to create a custom preset. In the Settings tab you can click on the + button in the upper right and select a basic format. The exact parameters can then be set in the Inspector.
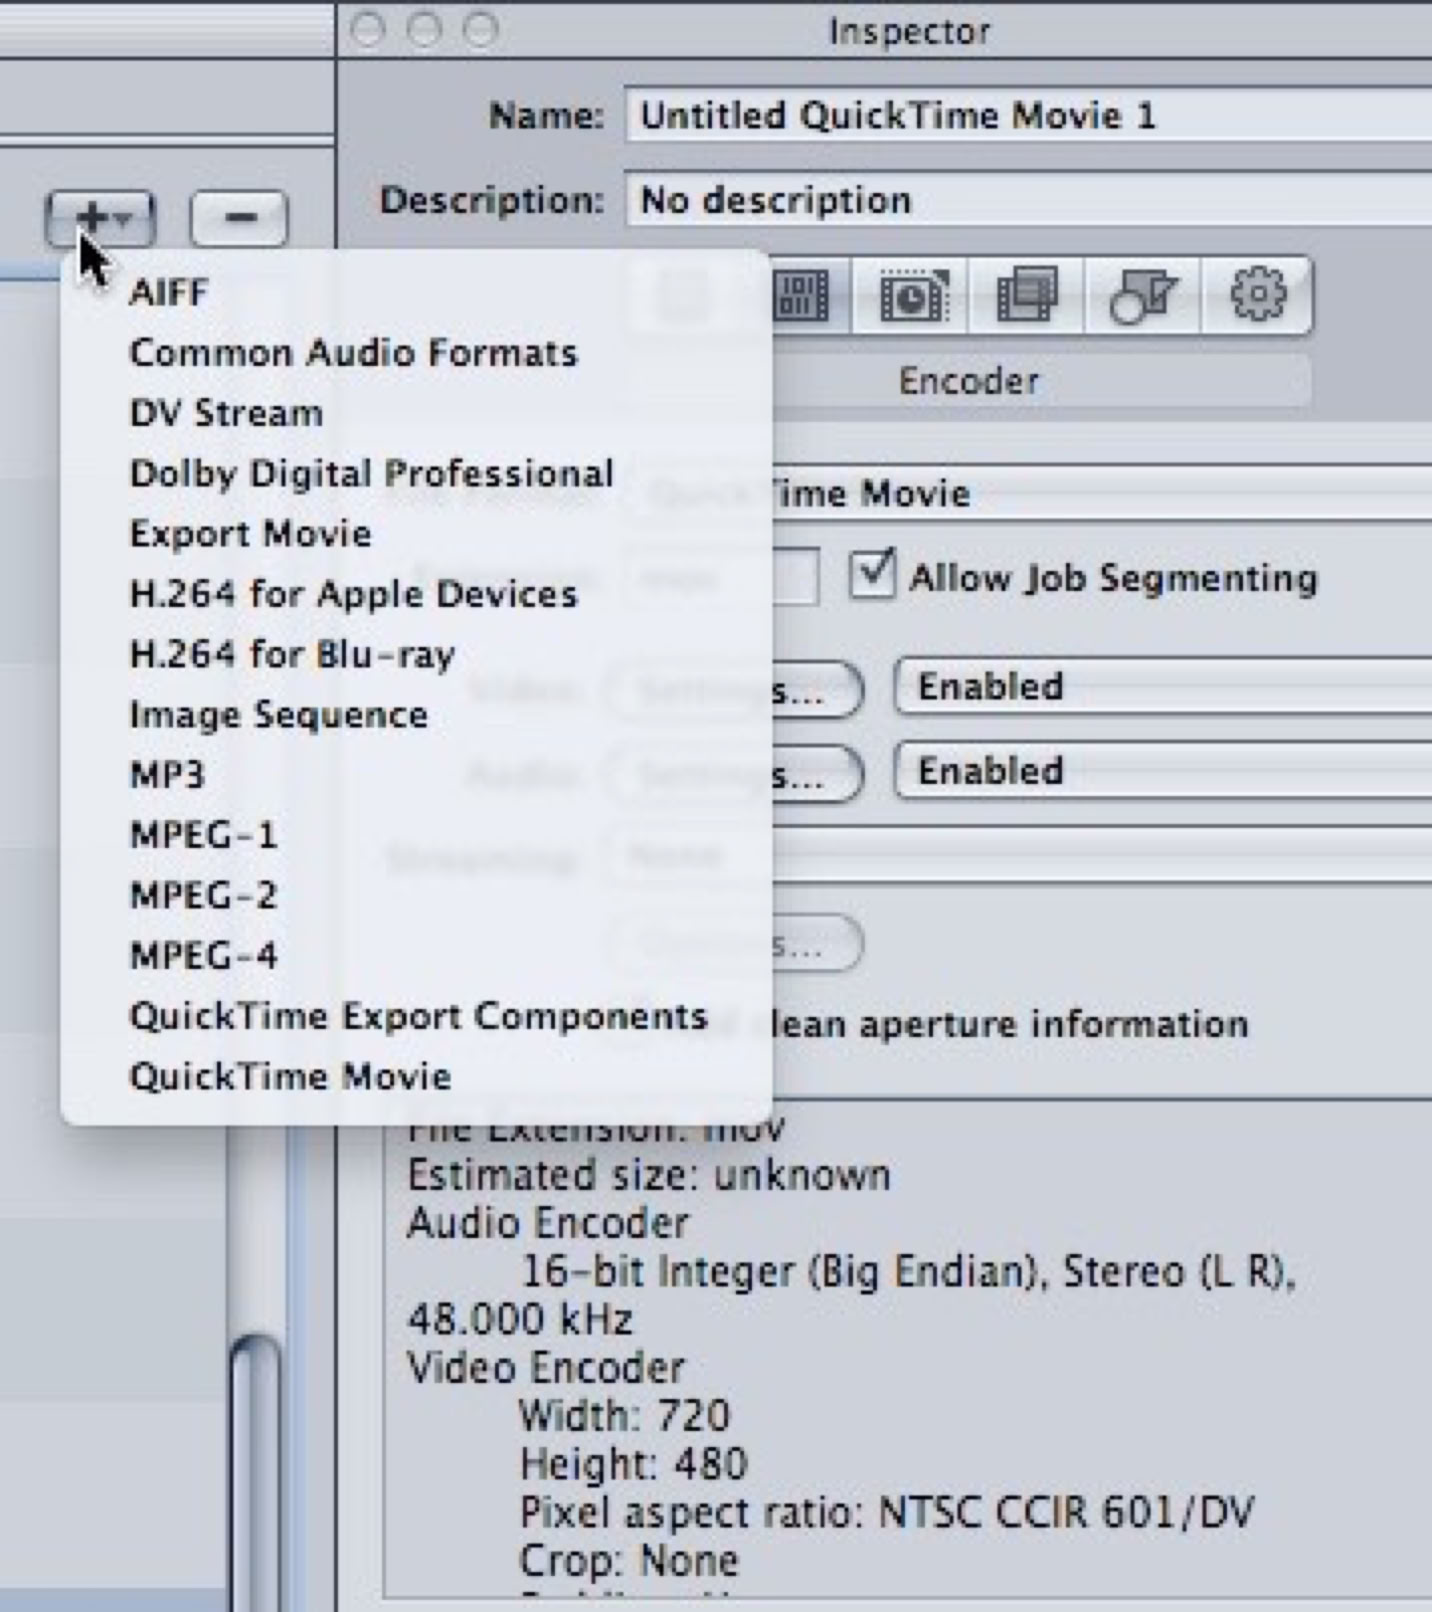
Figure 11 Basic Formats Pop-up
The second way is to use one of the existing Apple presets as a base and duplicate it as we’ve seen.
If you have a clip that you really like the way it’s been encoded, even something you’ve downloaded from the web, simply drag the file into the Custom folder in the settings tab, and Compressor will take all its audio and video parameters and create a preset from it. Very cool, but do be a little careful, as sometimes the video codec may be misinterpreted or the original may have been adjusted using filters.
We can’t look at all the different formats and capabilities of Compressor, but I just want to show you two typical formats, MPEG-2 transport stream and a QuickTime movie.
Lorem
Lorem
Copyright © 2011 South Coast Productions
Aug 13, 2021
Lorem
