Using Compressor
You have Compressor, now what? The first thing you have to do is to bring the file or files you want to work with into Compressor, either by dragging it into the Batch pane or by clicking the Add File button in the center of the pane or by pressing Command-I for import just as in FCP.
Whenever you add files to the Batch pane, a drop down sheet appears from the top of the window (see Figure 7). Here you can select any of the available presets, either an Apple preset or a custom preset.
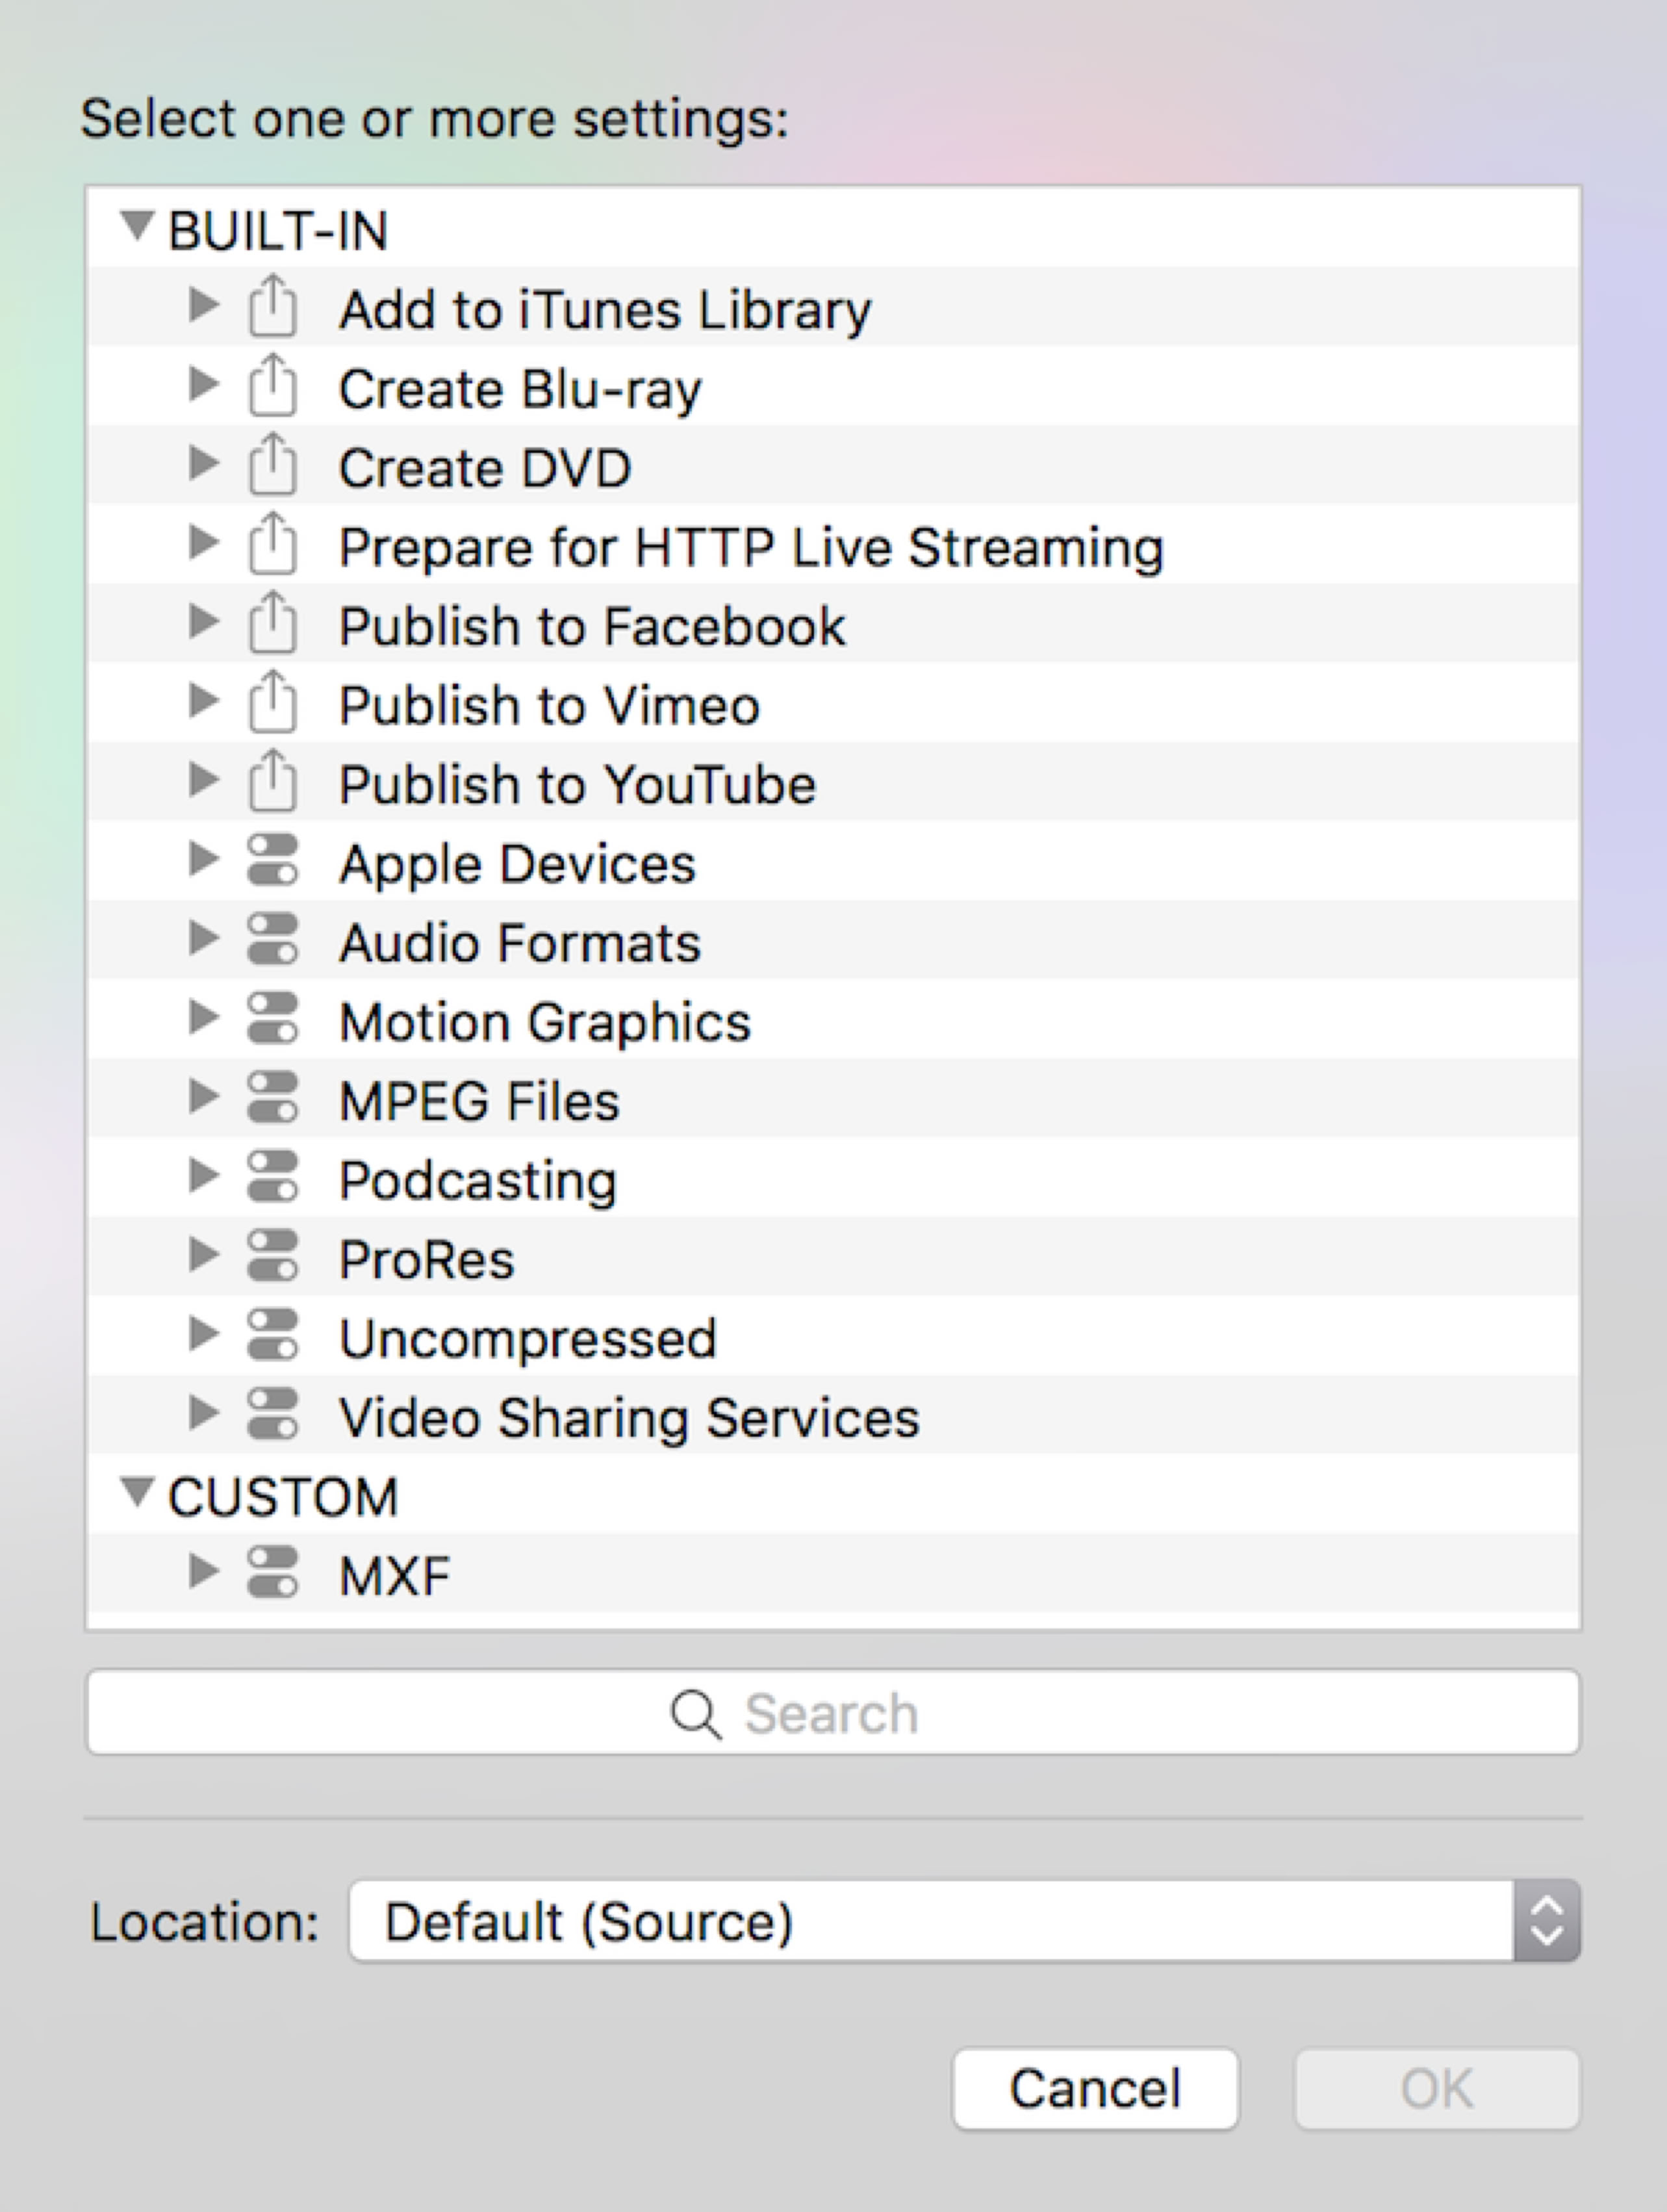
Figure 7 Preset Selection Sheet
You MUST pick one. Even if none of them are right for what you want to do you have to select one, any one. If you click Cancel the file will not import. If the preset you select is not one that you want to use, you can delete it from the job. If you want to make a custom preset, it’s simplest to pick one of the Apple presets that’s close to what you want. Unfortunately there are no MPEG-4 Apple presets, so pick an Apple preset it and delete it from the job. You do this by selecting the preset in the job, not the job itself (see Figure 8).

Figure 8 Preset Applied to Job
The video you have selected will appear in the Viewer (see Figure 9). You can play the video with the spacebar, and you can play backwards and forwards and pause with the J, K, L keys. You can mark In and Out points with I and O, which will trim the output.
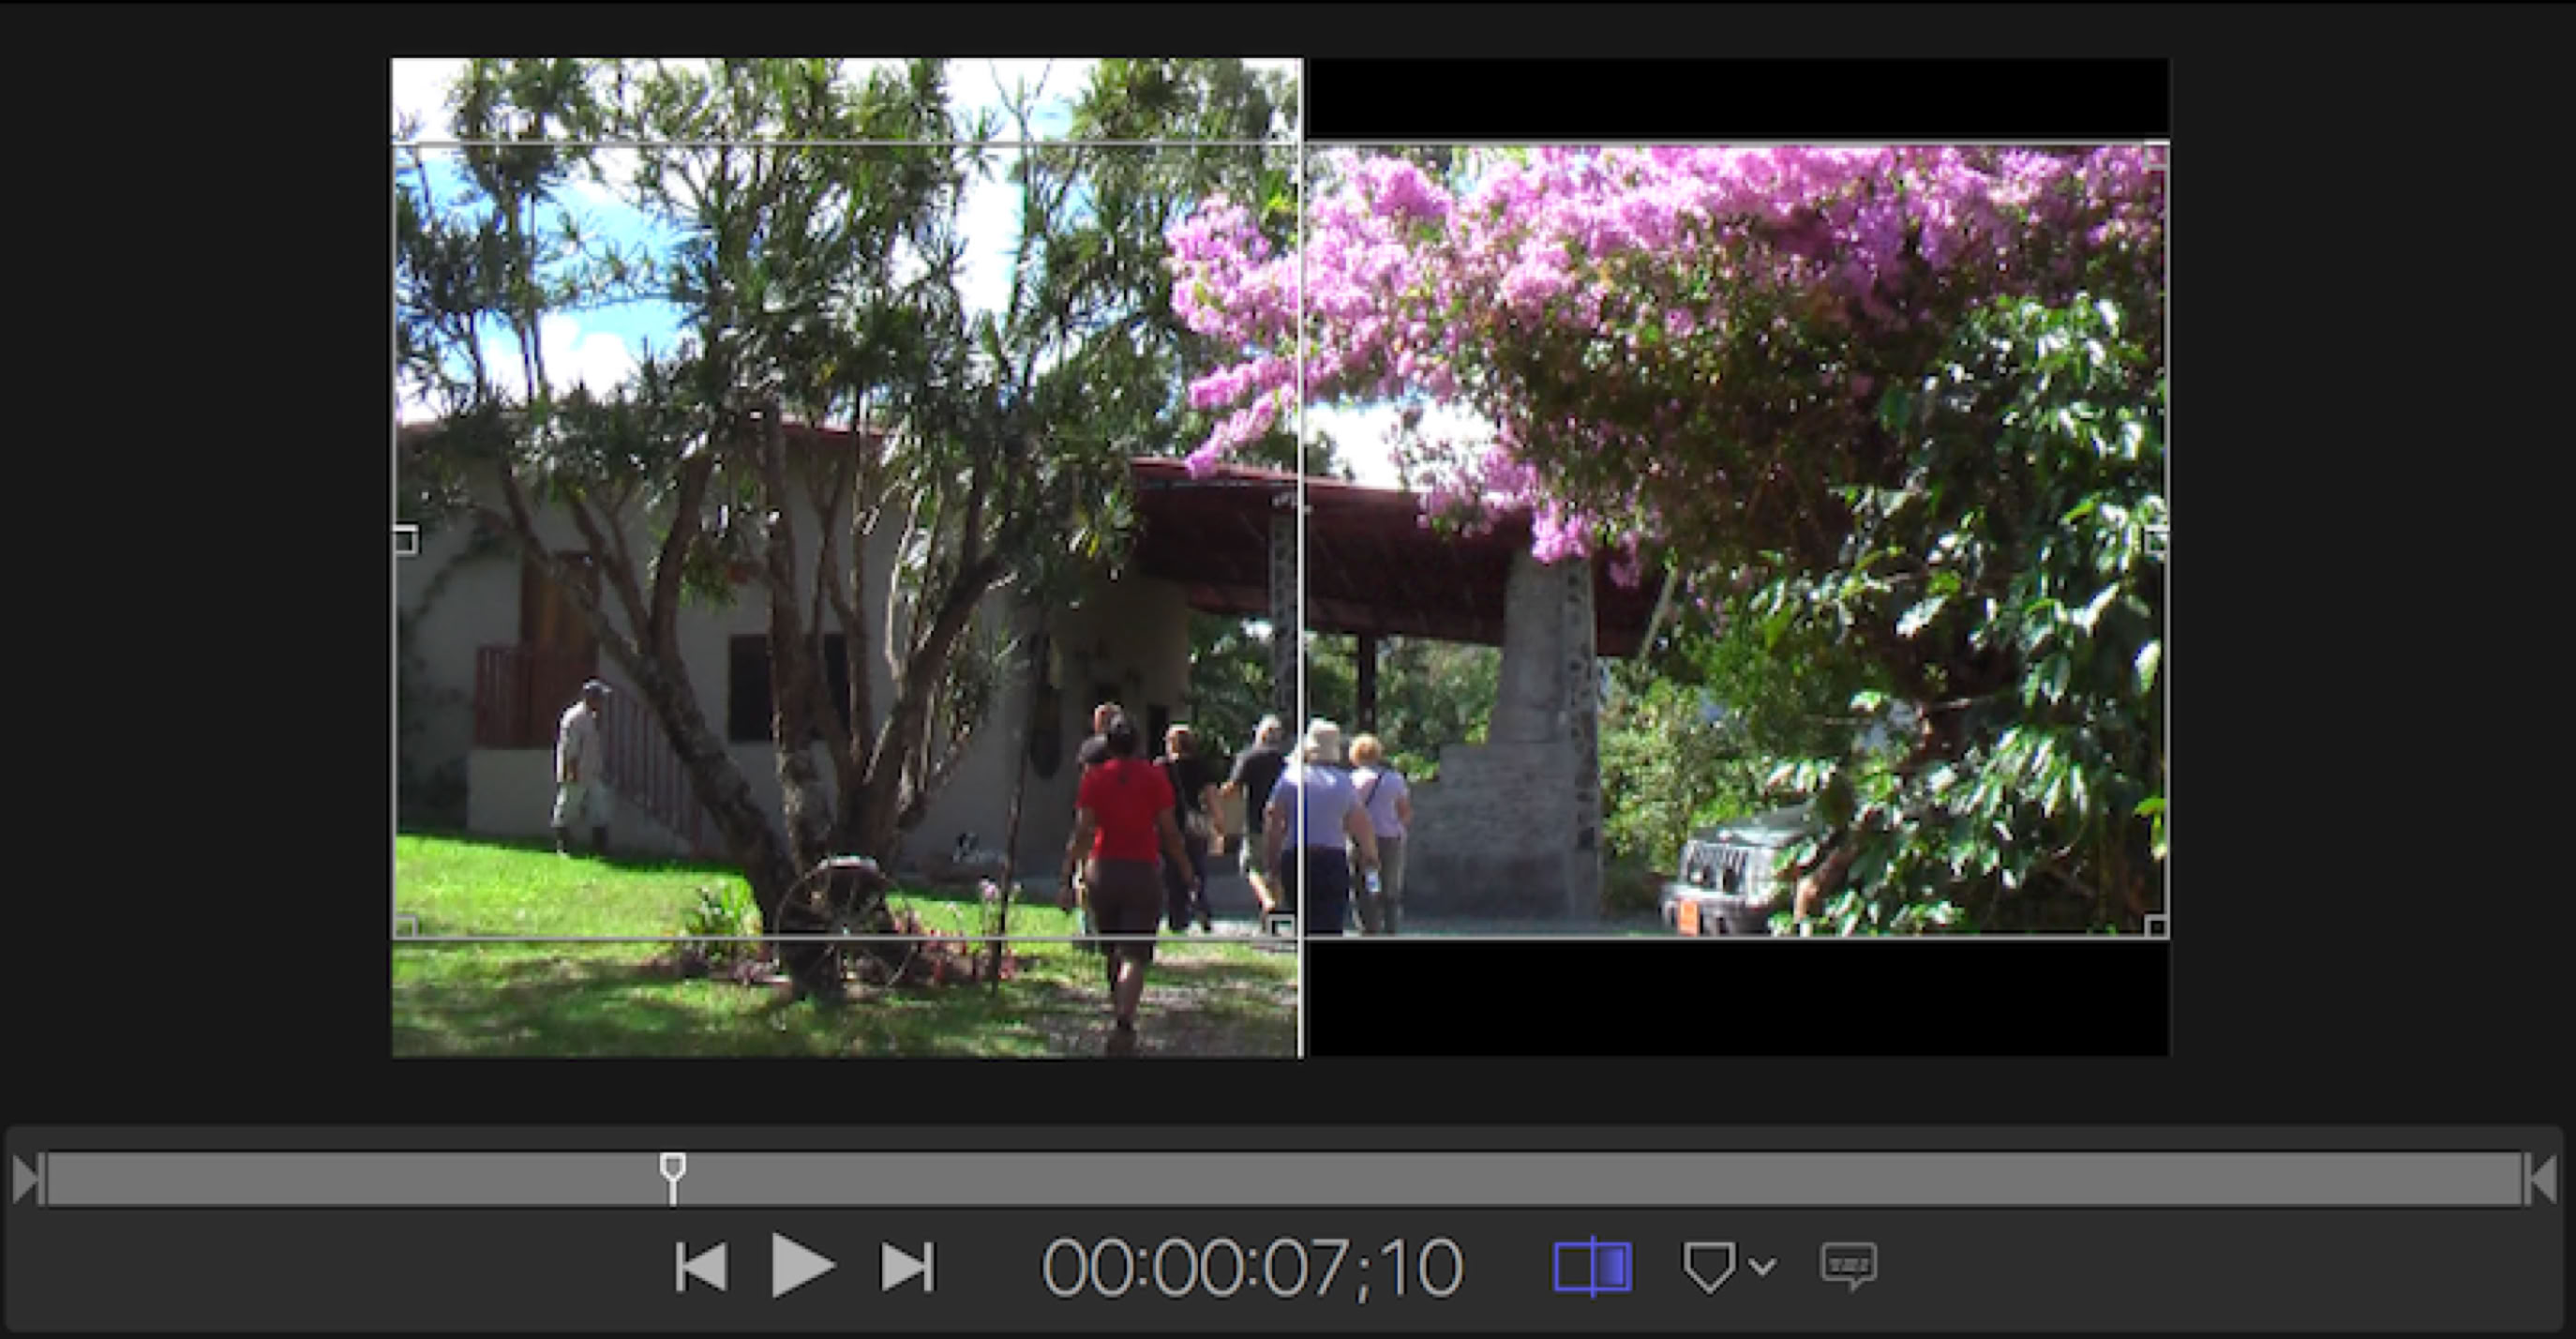
Figure 9 Viewer
The rectangle button next to the timecode display switches the transform controls and the vertical line off and on. The transform controls around the image allow you to manually crop the output image. This is great for a web site where you might want to make a custom shape, maybe something wide and thin, or tall and narrow. The vertical line in the center of the image can be moved left and right, and it shows you a before and after view of the video.
To the right is the marker popup, which allows you to add chapter markers to the video and import a marker list, which can be any tab delineated file (see Figure 10). The file needs to have the exact timecode for the marker location and the name you want to use for the chapter. The timecode must have hours:minutes:seconds:frames separated by colons or semi-colons. After the timecode add a tab and then the chapter name. The time and the name must be separate by the tab to create the tab-delineated file that Compressor will read. Notice in here you can also set the poster frame for the output file.
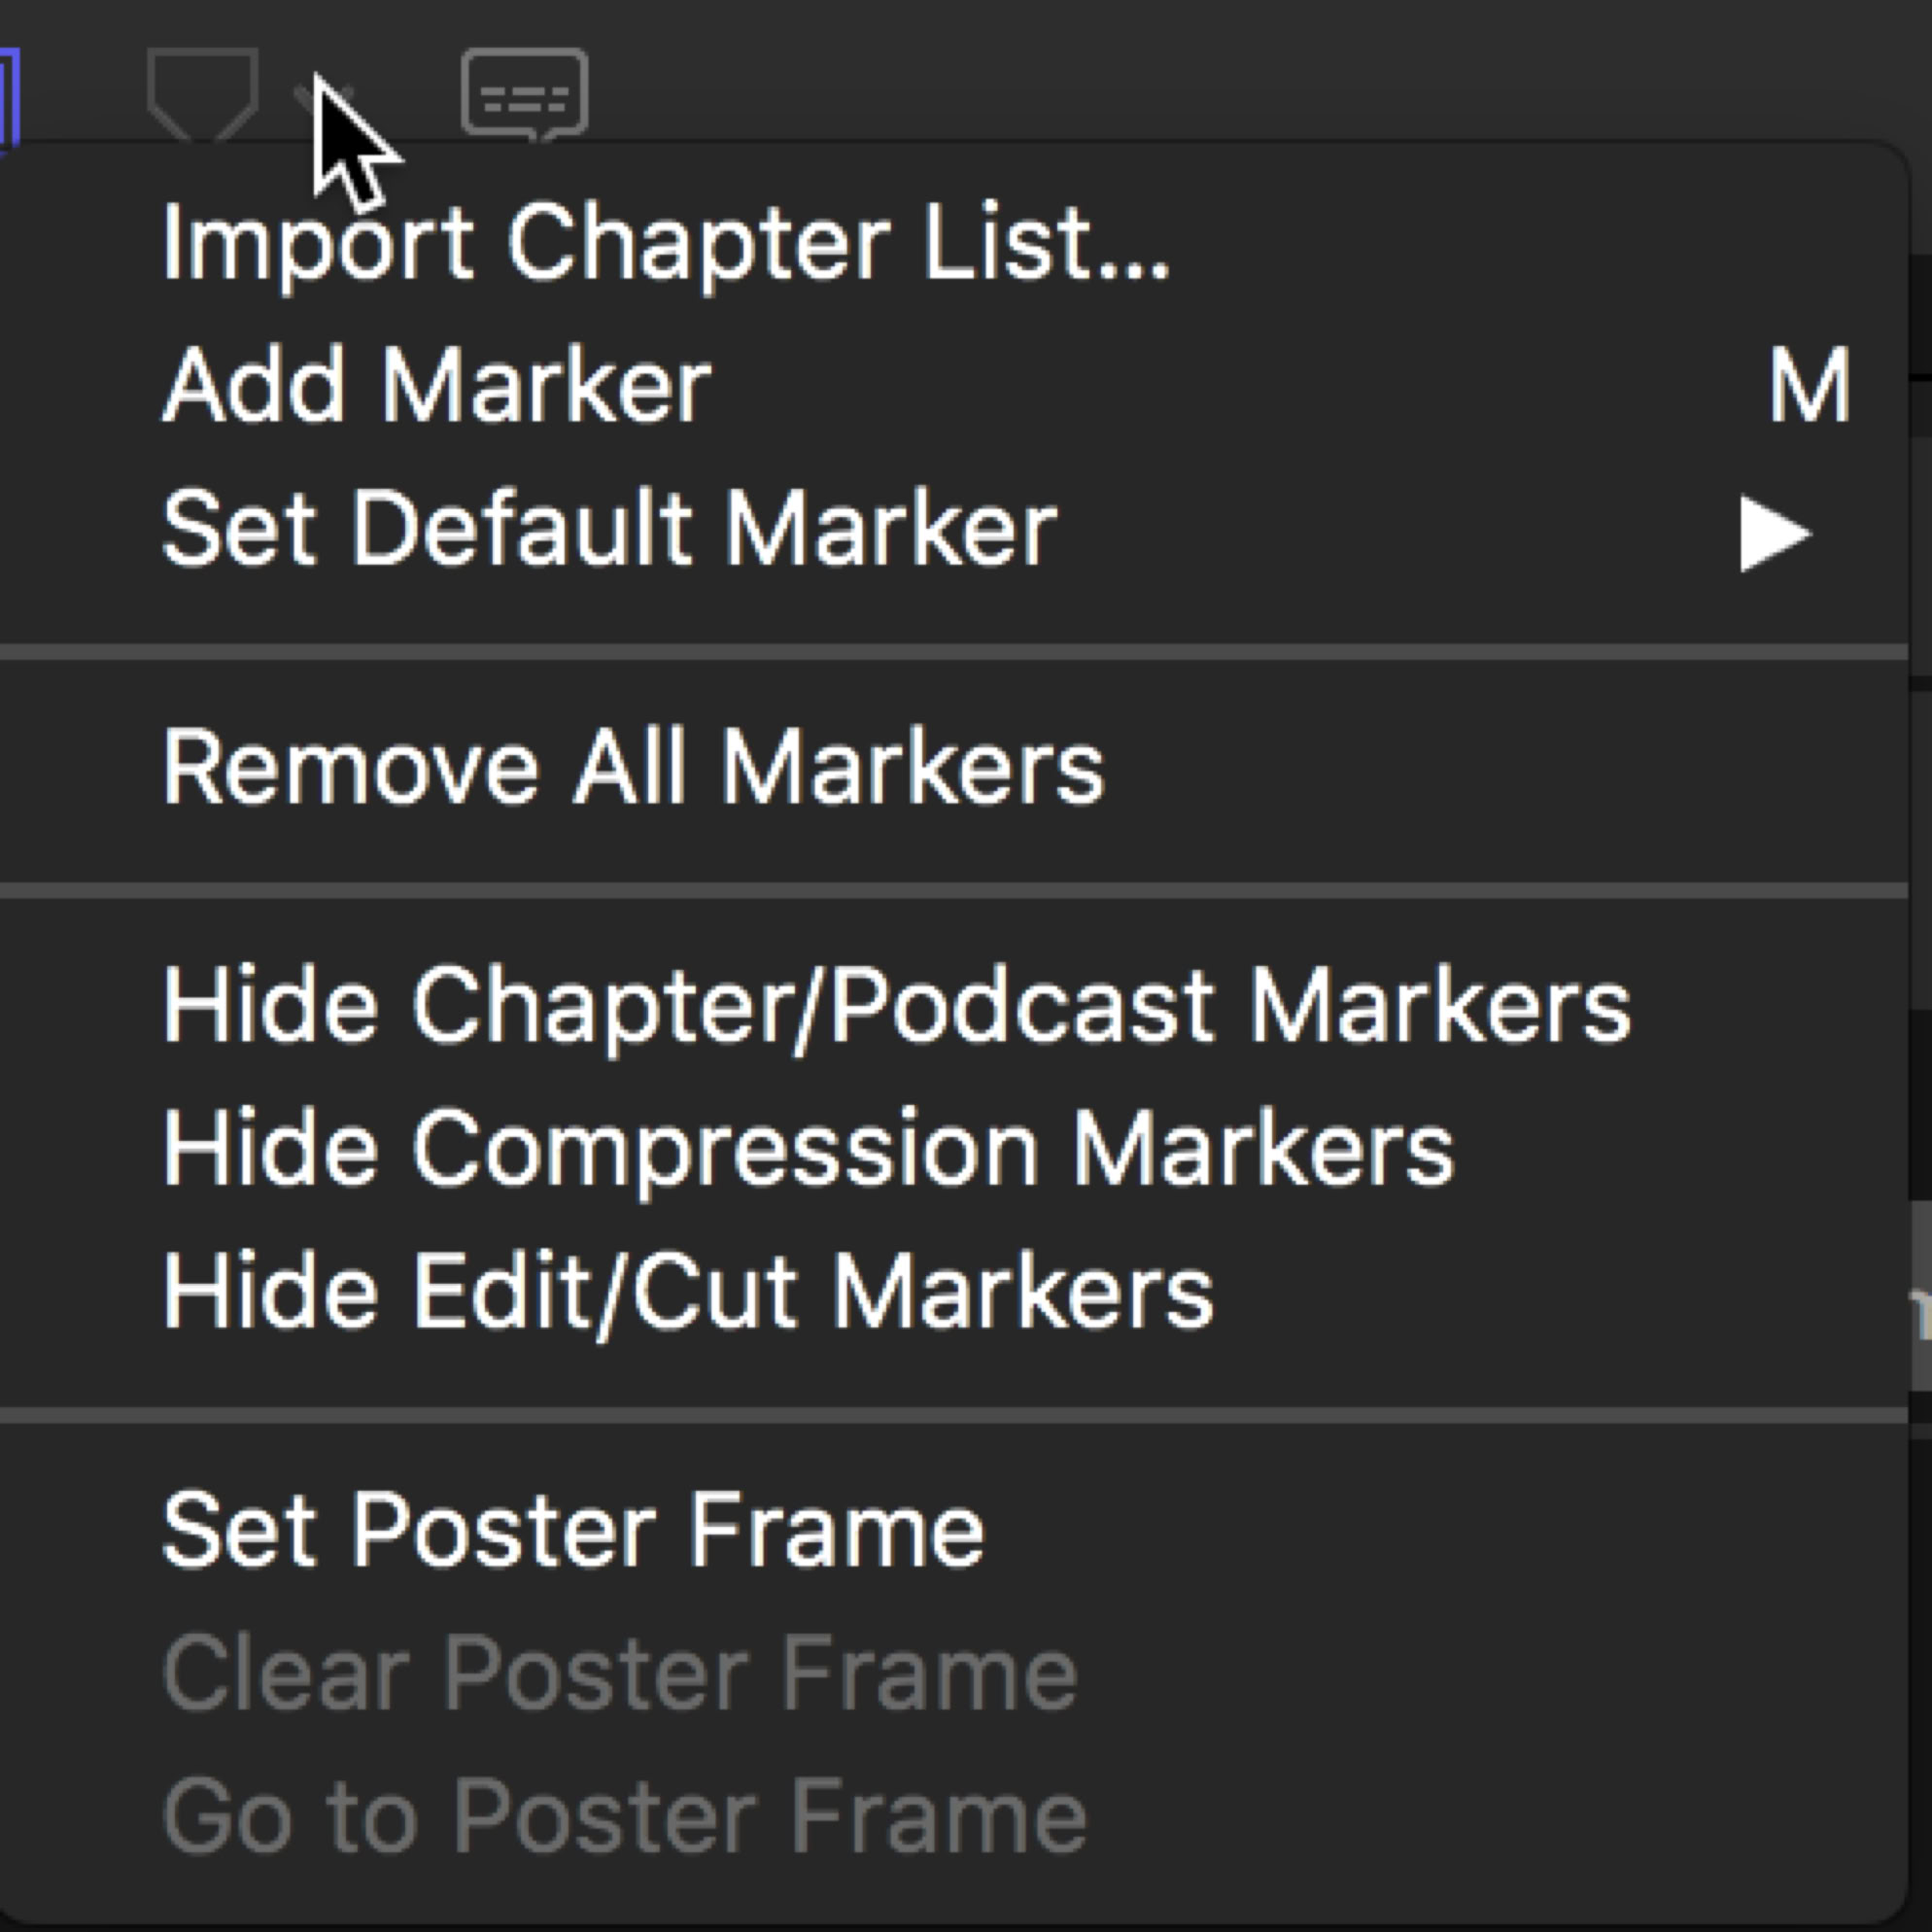
Figure 10 Markers
You can apply multiple settings to batch encode any job. You can also select an applied setting and press Delete to remove it.
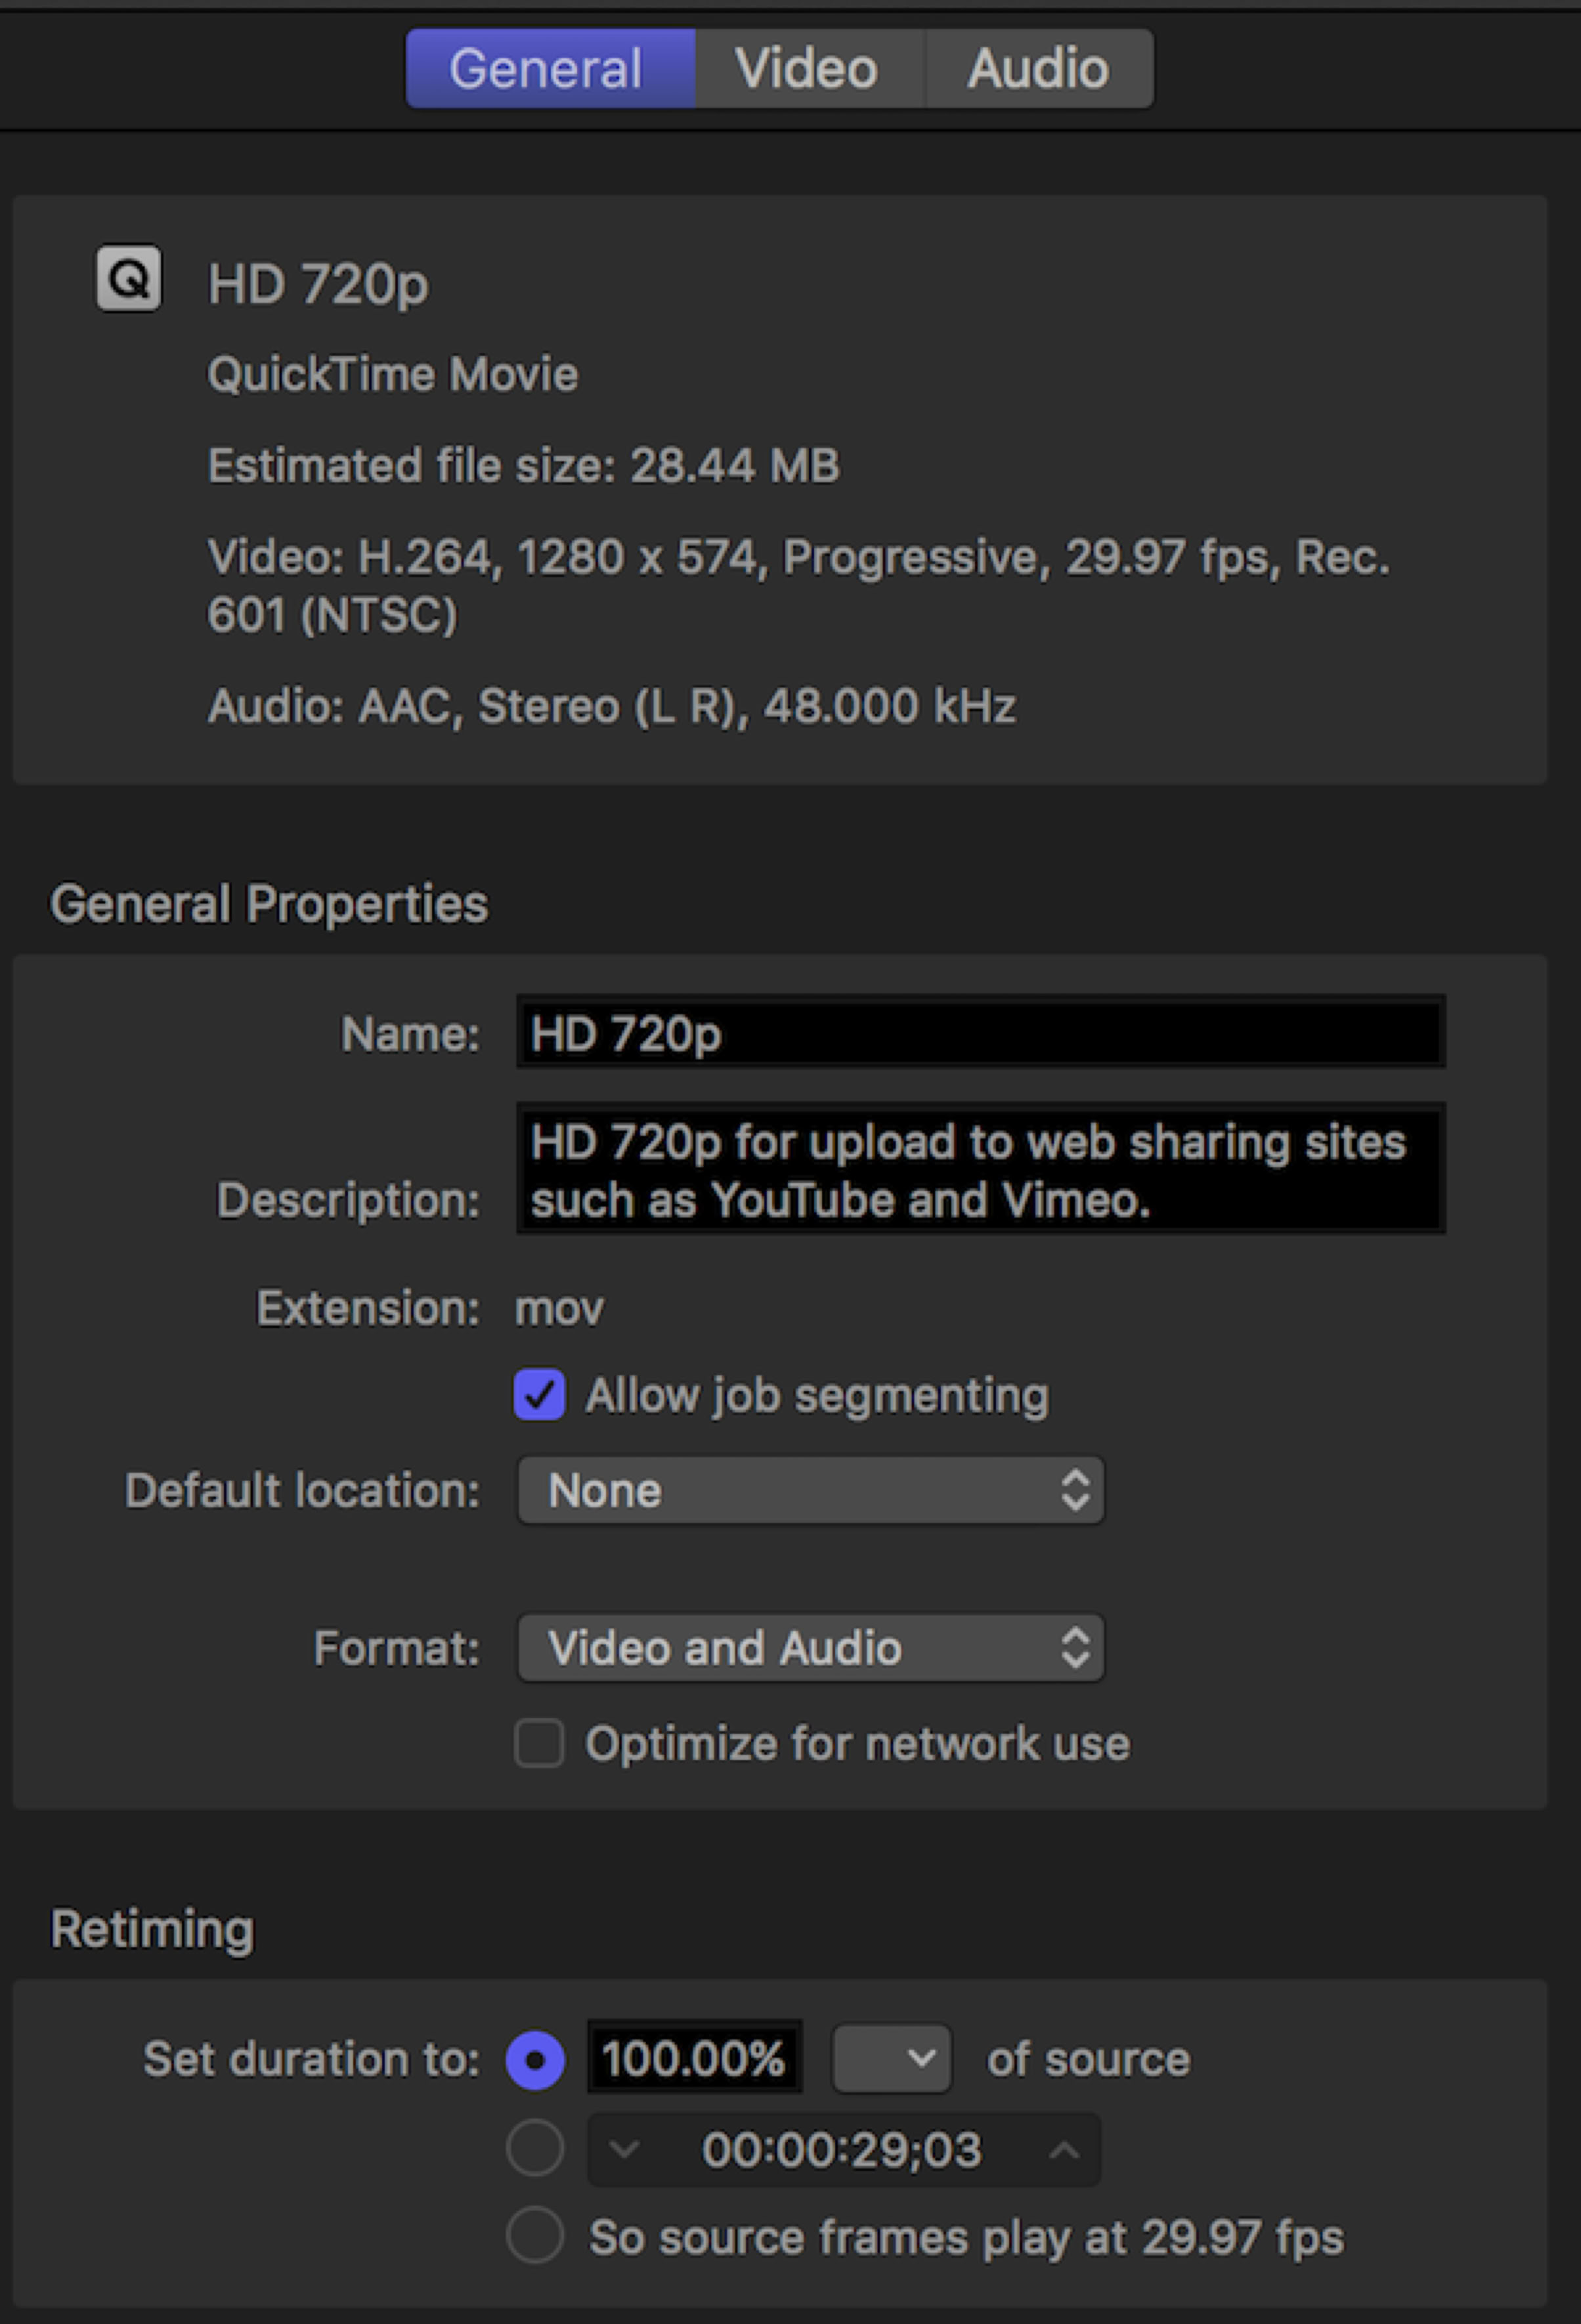
Once the preset has been applied you can see in the Viewer how the compression might look with your media. If you select the job you’ll see the parameters of the specs of the original file in the Job inspector (see Figure 11). The General inspector mostly has information, but it also has a few specific functions such as setting field order.
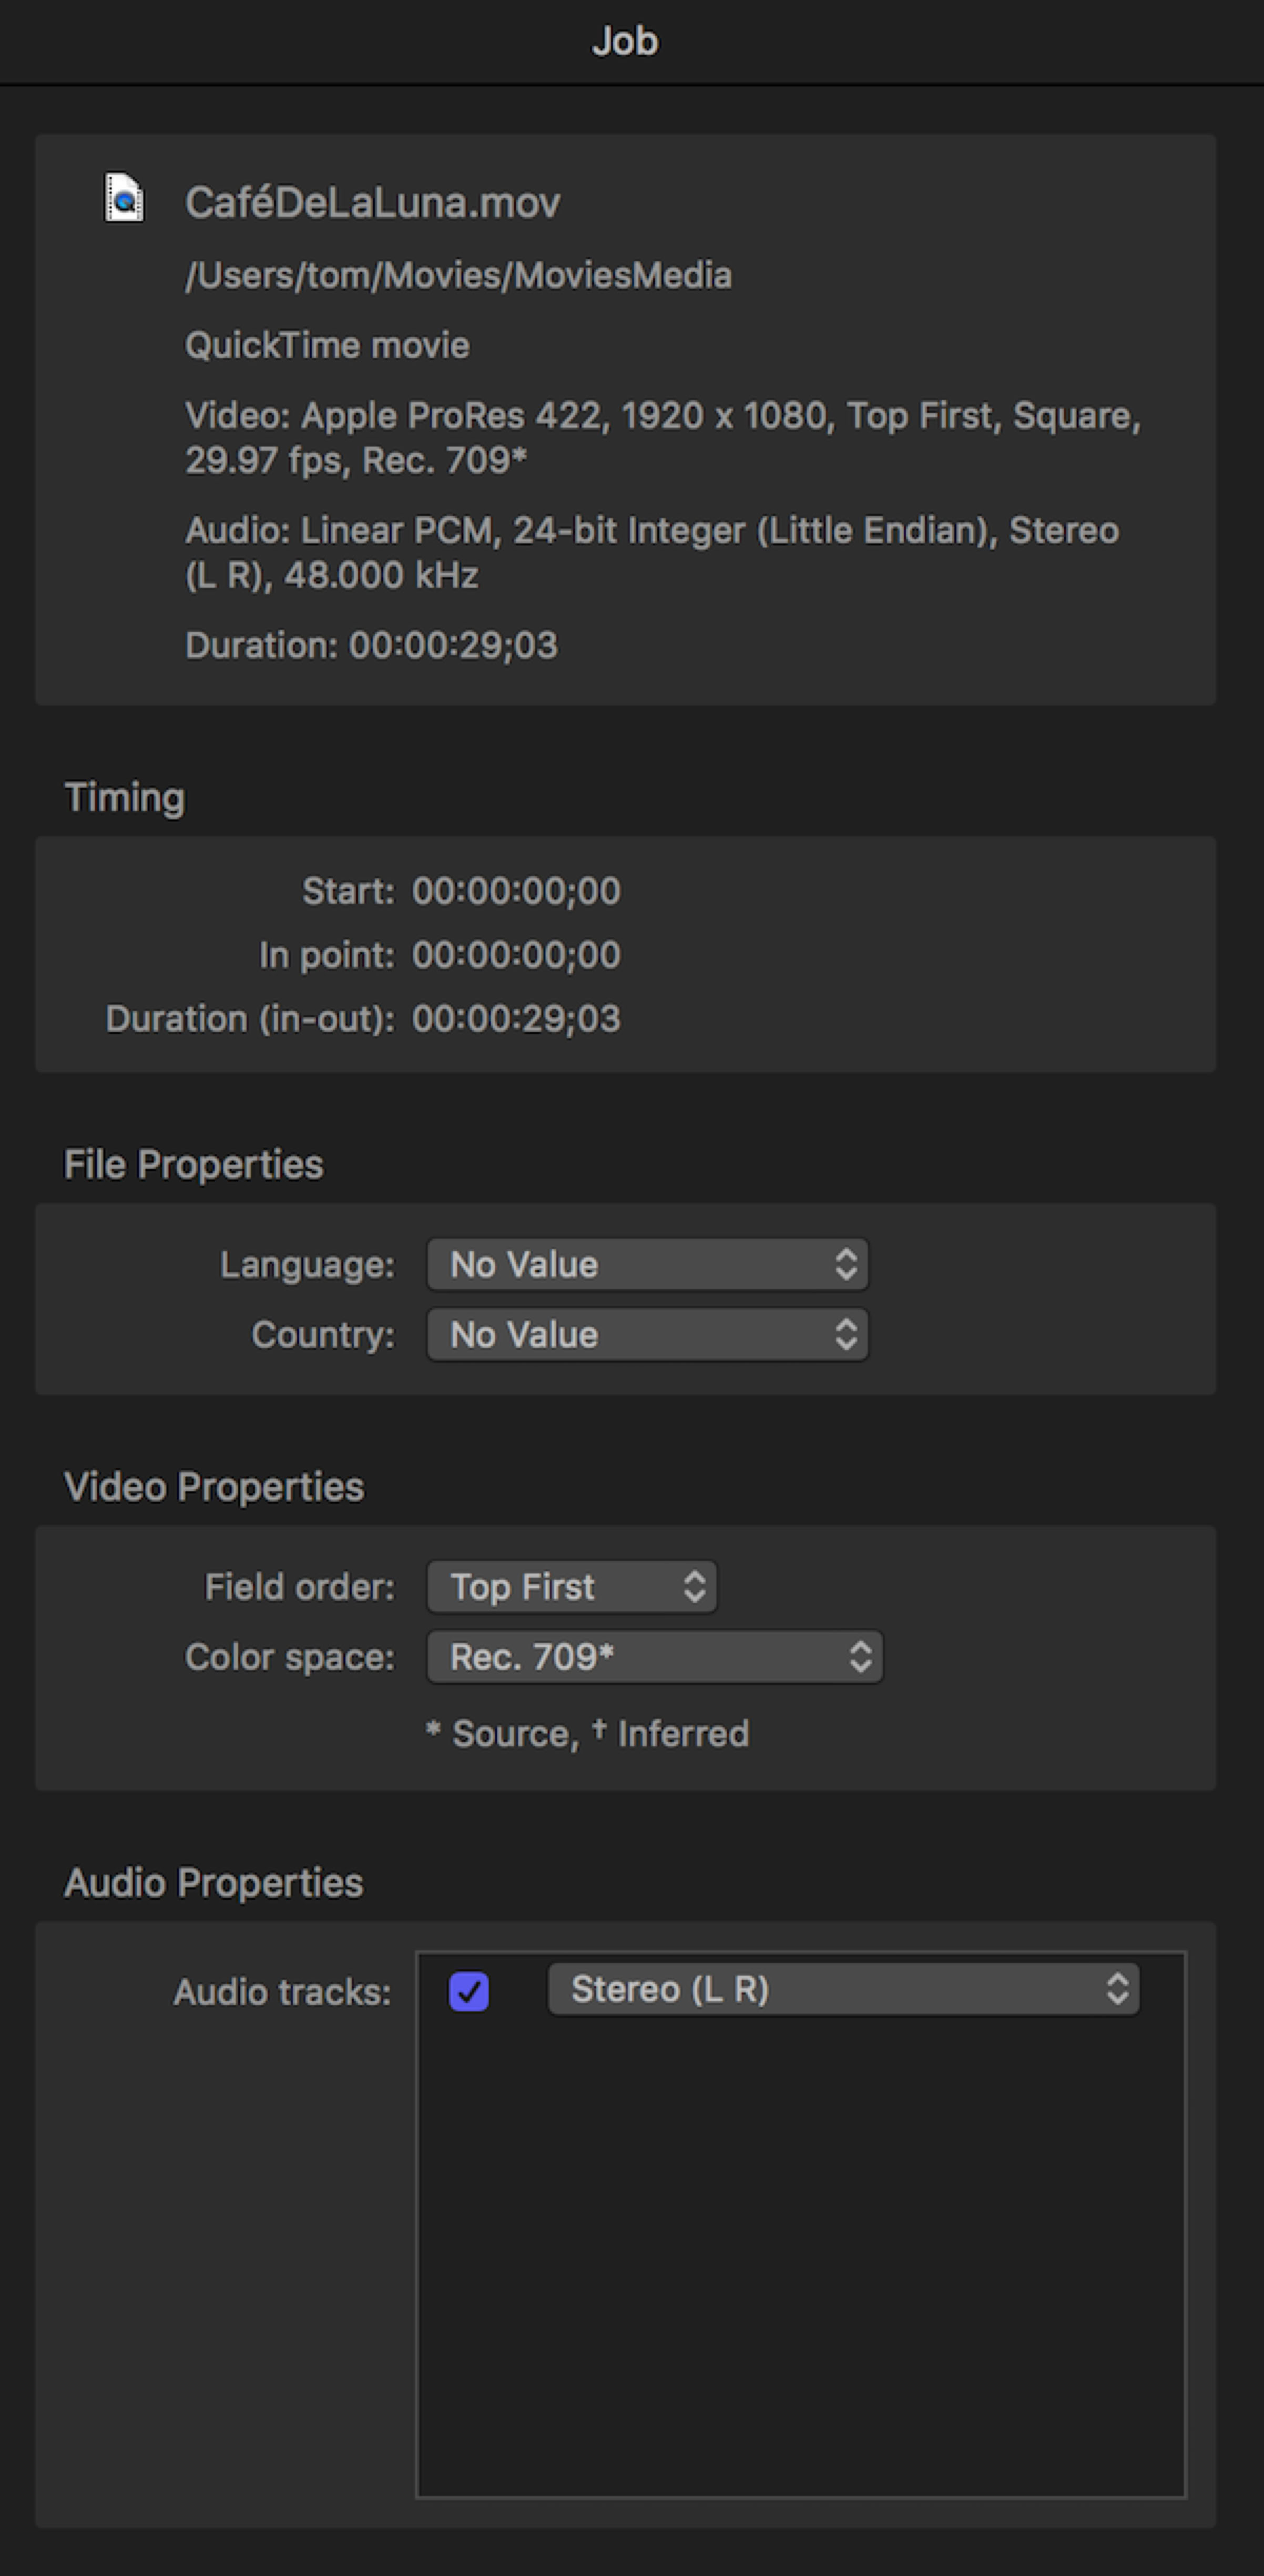
Figure 11 Job Inspector
If you scroll down to the bottom, you’ll see options for adding metadata tags for search engines, and also creating job actions, such as sending an email on completion, adding to iTunes, uploading to a sharing service, burning a disc, or even just opening in a specific application like the QuickTime player.
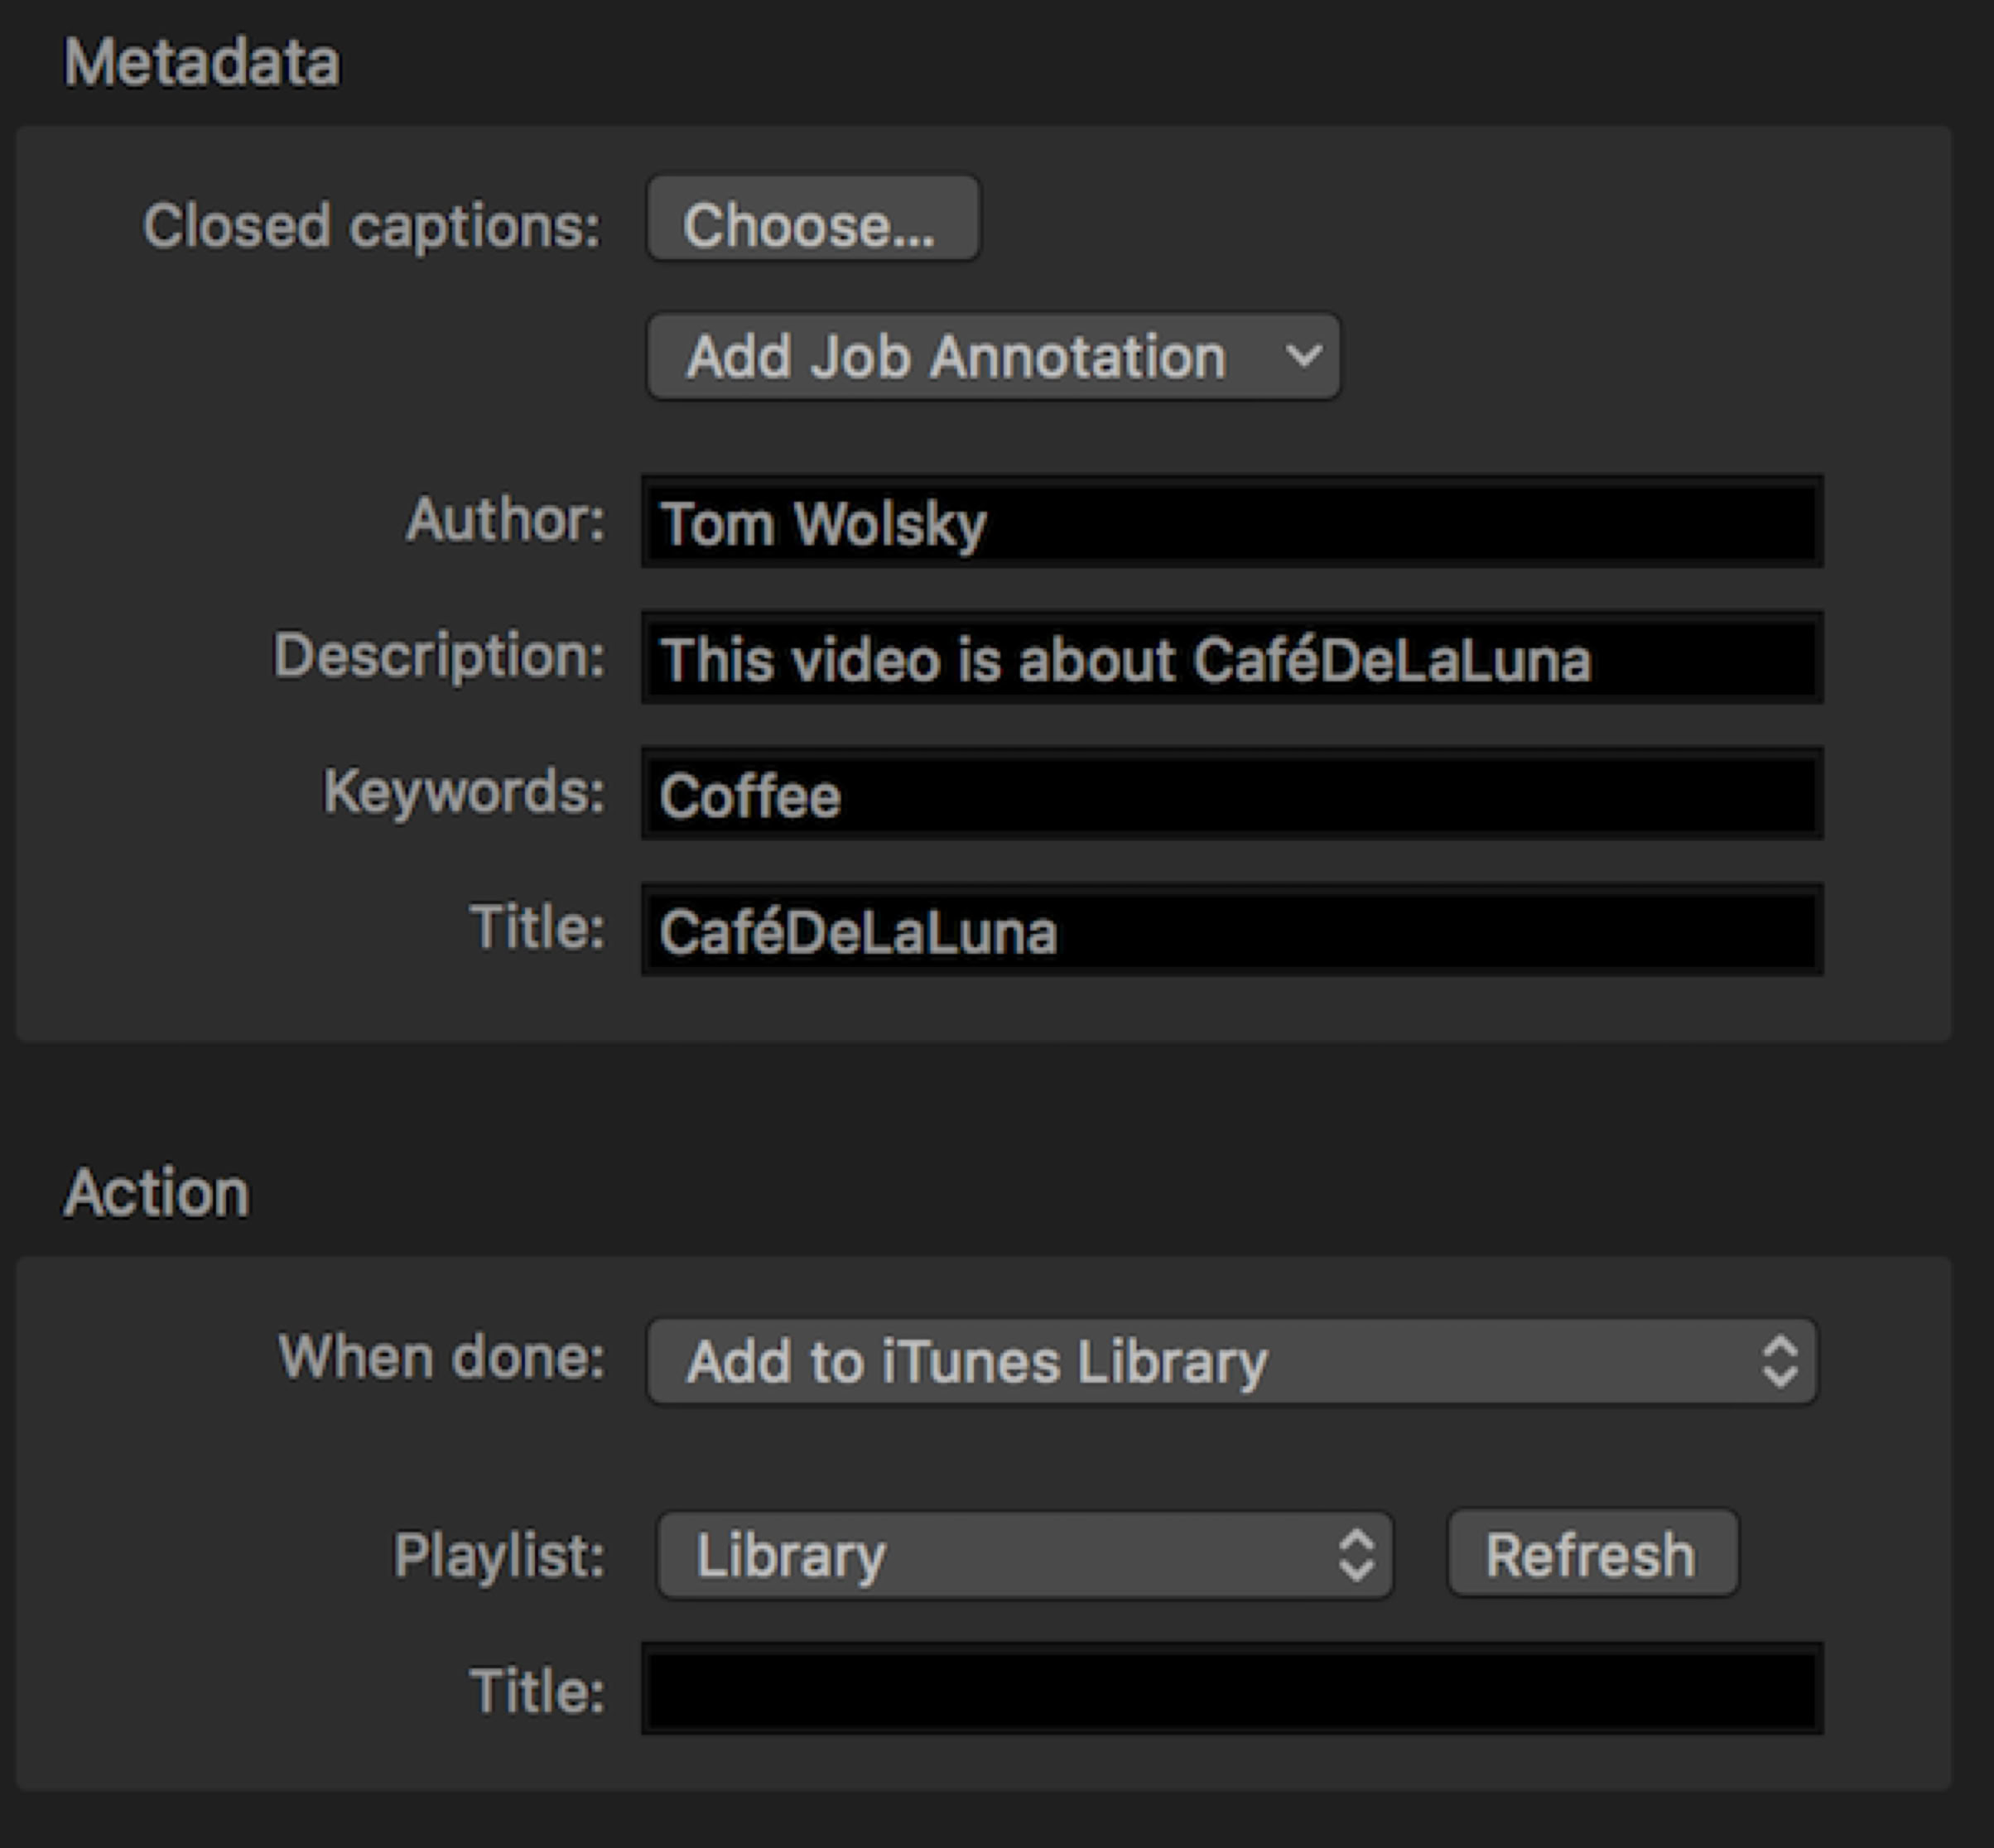
Figure 12 Metadata
