Miscellaneous
There is a slew of new modifications to the application. One of the most important is the new select clip behavior. Previously if you selected a clip in the Timeline, the playhead moved to the skimmer on the selected clip. This made sense: you selected a clip, you want to work on the clip, you want to see that clip in the Viewer. In the previous behavior you could go to the Inspector and still see the selected clip in the Viewer. Now when you select a clip the playhead does not move. So the clip you have selected, the clip you want to work on in the Inspector, is not the clip in the Viewer. The new behavior harks back to legacy FCP behavior when there was a single playhead and no skimmer. There, making a selection and seeing the clip was a two step process. Now to move the playhead to the current point of the skimmer you have hold the
Option key when you select the clip, or after selecting the clip, click up in the gray area outside the clip (which deselects it) to make the playhead move. Holding the Option key is the reverse of the behavior in the first six versions of the software. Until now holding the Option key held the playhead in place, now holding the Option key moves the playhead.
There are new improved Blade tools.Command-B still cuts the clip on the primary storyline of a selected clip underneath the skimmer or playhead. Now you can use Shift-Cmd-B to cut everything, across multiple layers whatever under the skimmer or playhead. Also new is a Blade All tool. If you use B keyto activate the Blade tool, holding the Shift key will give you multiple Blade tool that will cut through all the layers.
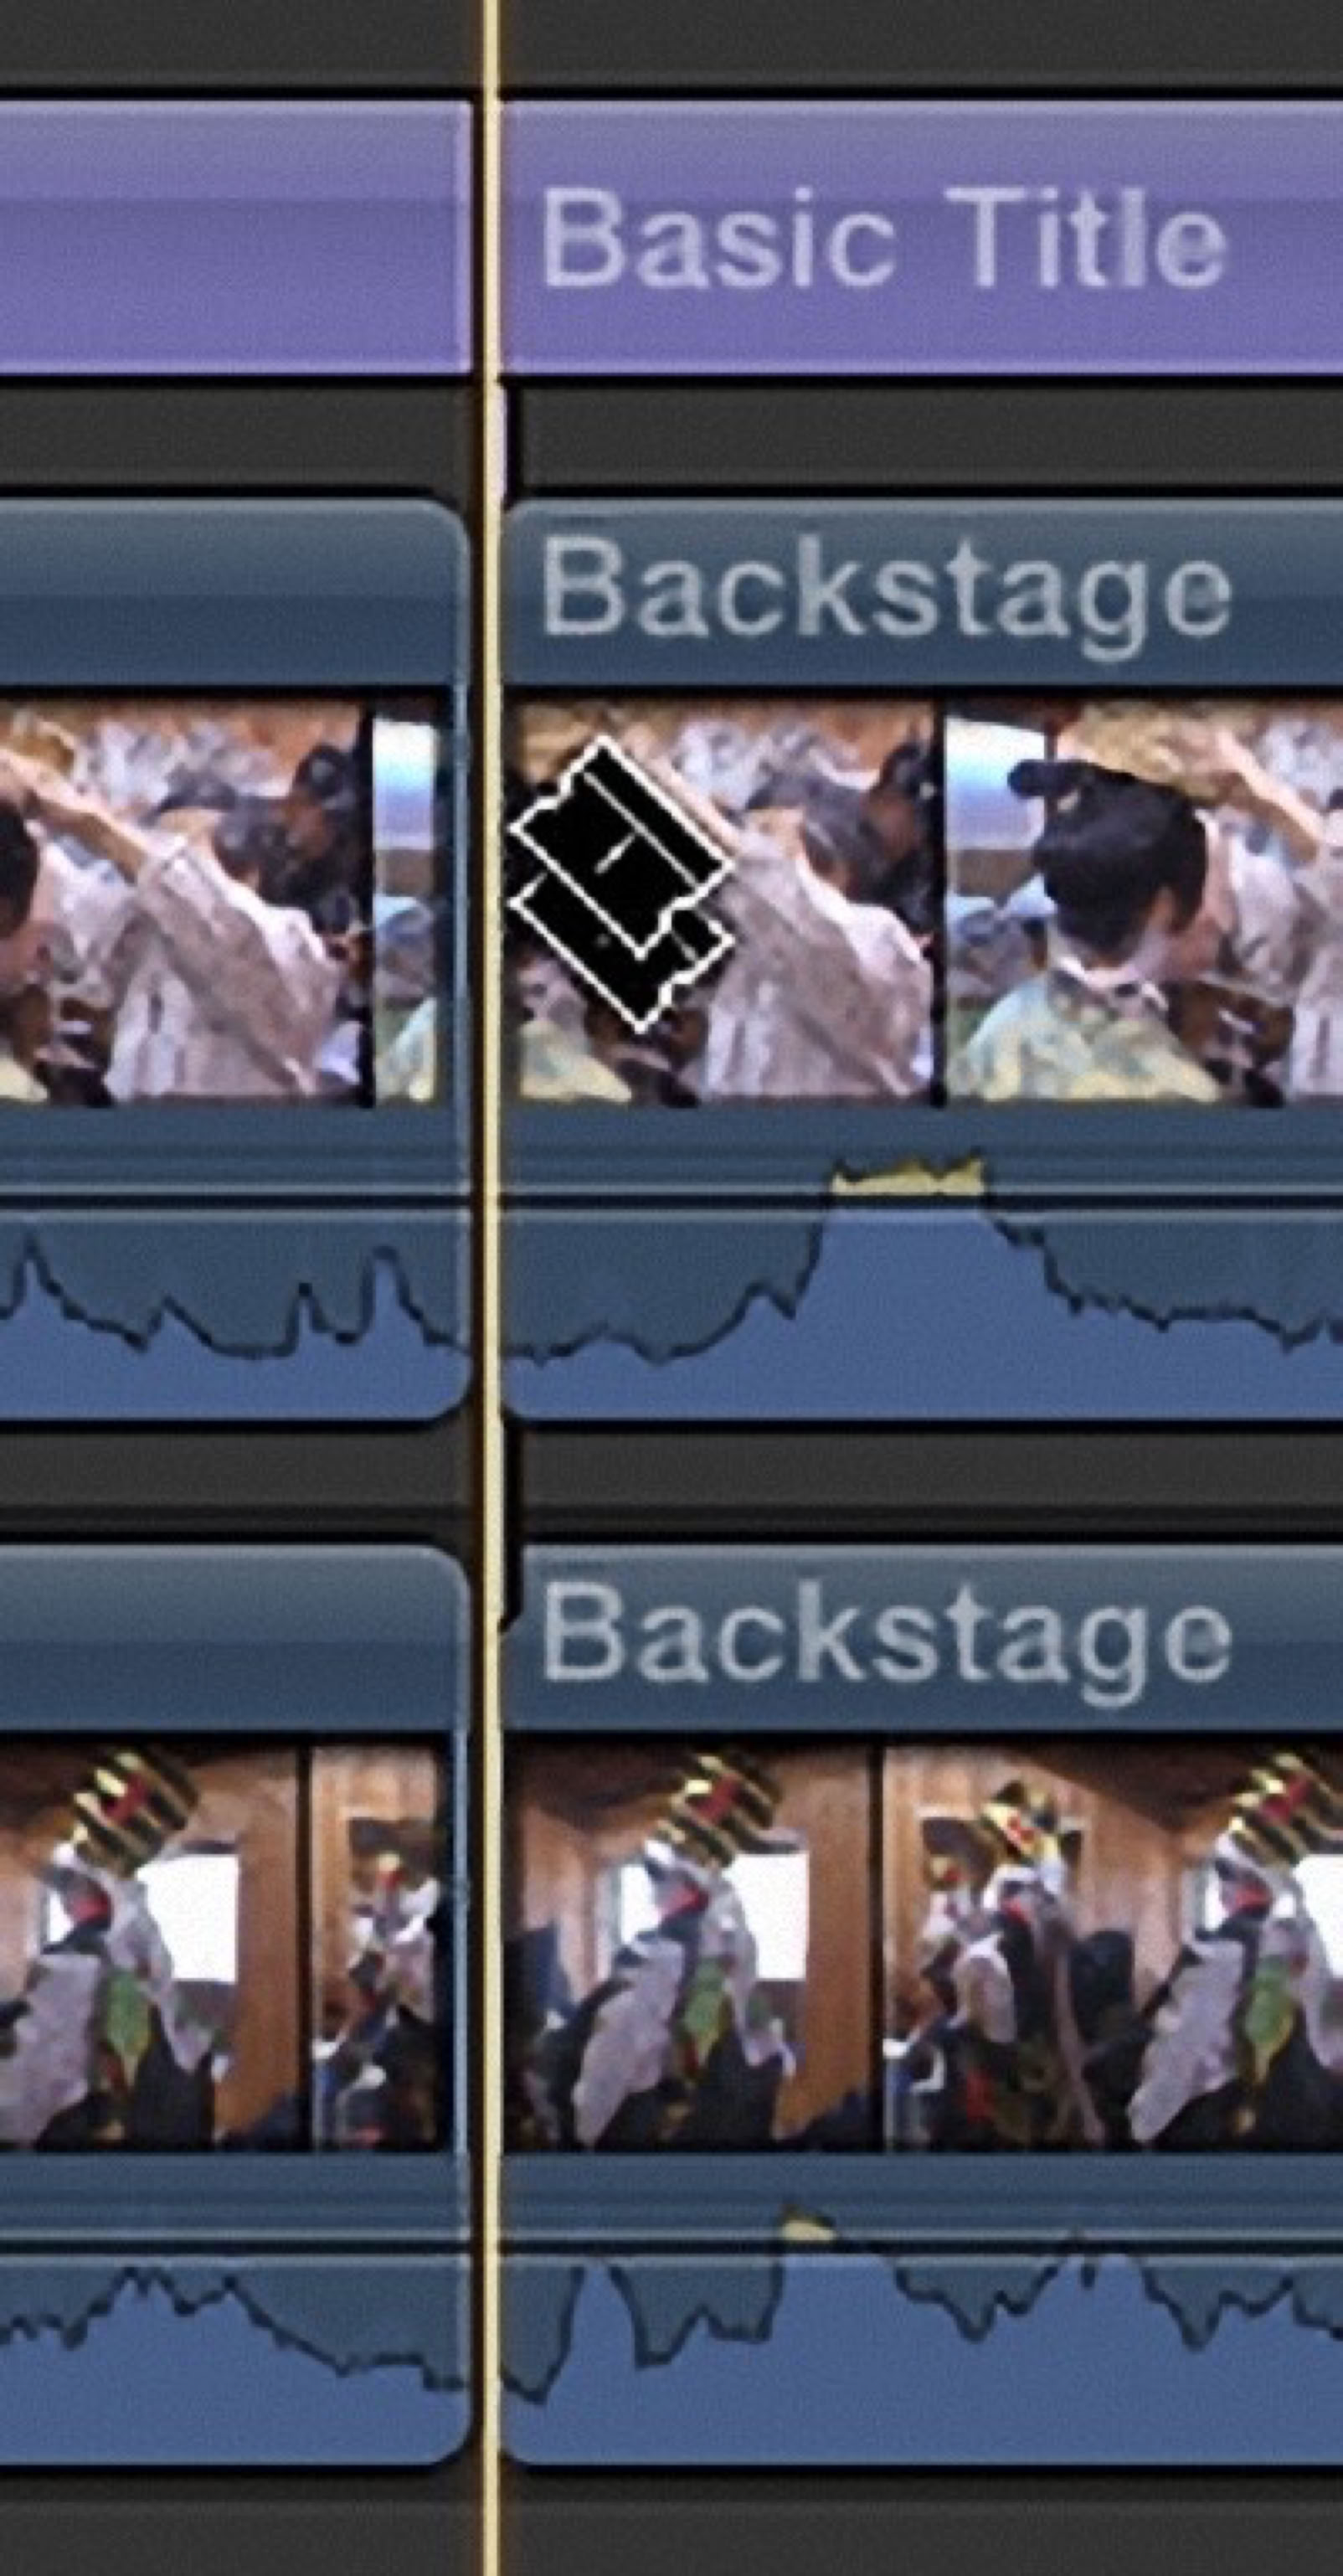
Blading Multiple Tracks
The default transition has been the Cross Dissolve. Now you can make any transition the default transition by right-clicking on it and selecting Make Default. You can always tell which is the default transition by selection All in the Transition browser. The first transition you see will the the default. You will also see the transition name in the Edit menu next to the same default keyboard shortcut Command-T.
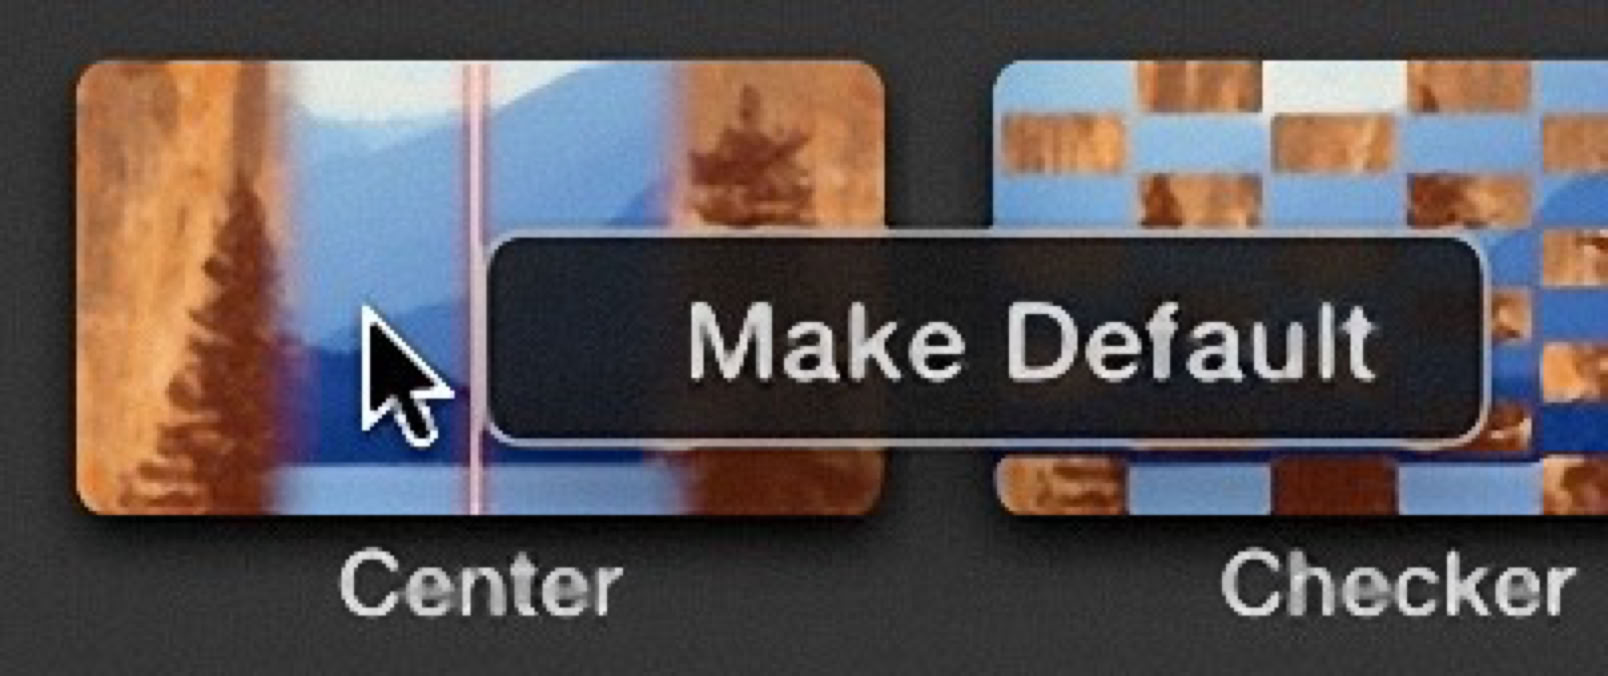
Default Transition
Another change is the little button in the upper left of every clip in the Timeline that opened Audio and Video Animations has been removed. Many users would inadvertently click it when trying to select a clip. Now these can be called up from the Clip menu or with the shortcuts
Control-V or video and Control-A for audio.
You can now right-click on a clip in the Timeline and from the shortcut menu select Rename Clip. This is handy when you have a lot of pieces taken from a single shot.
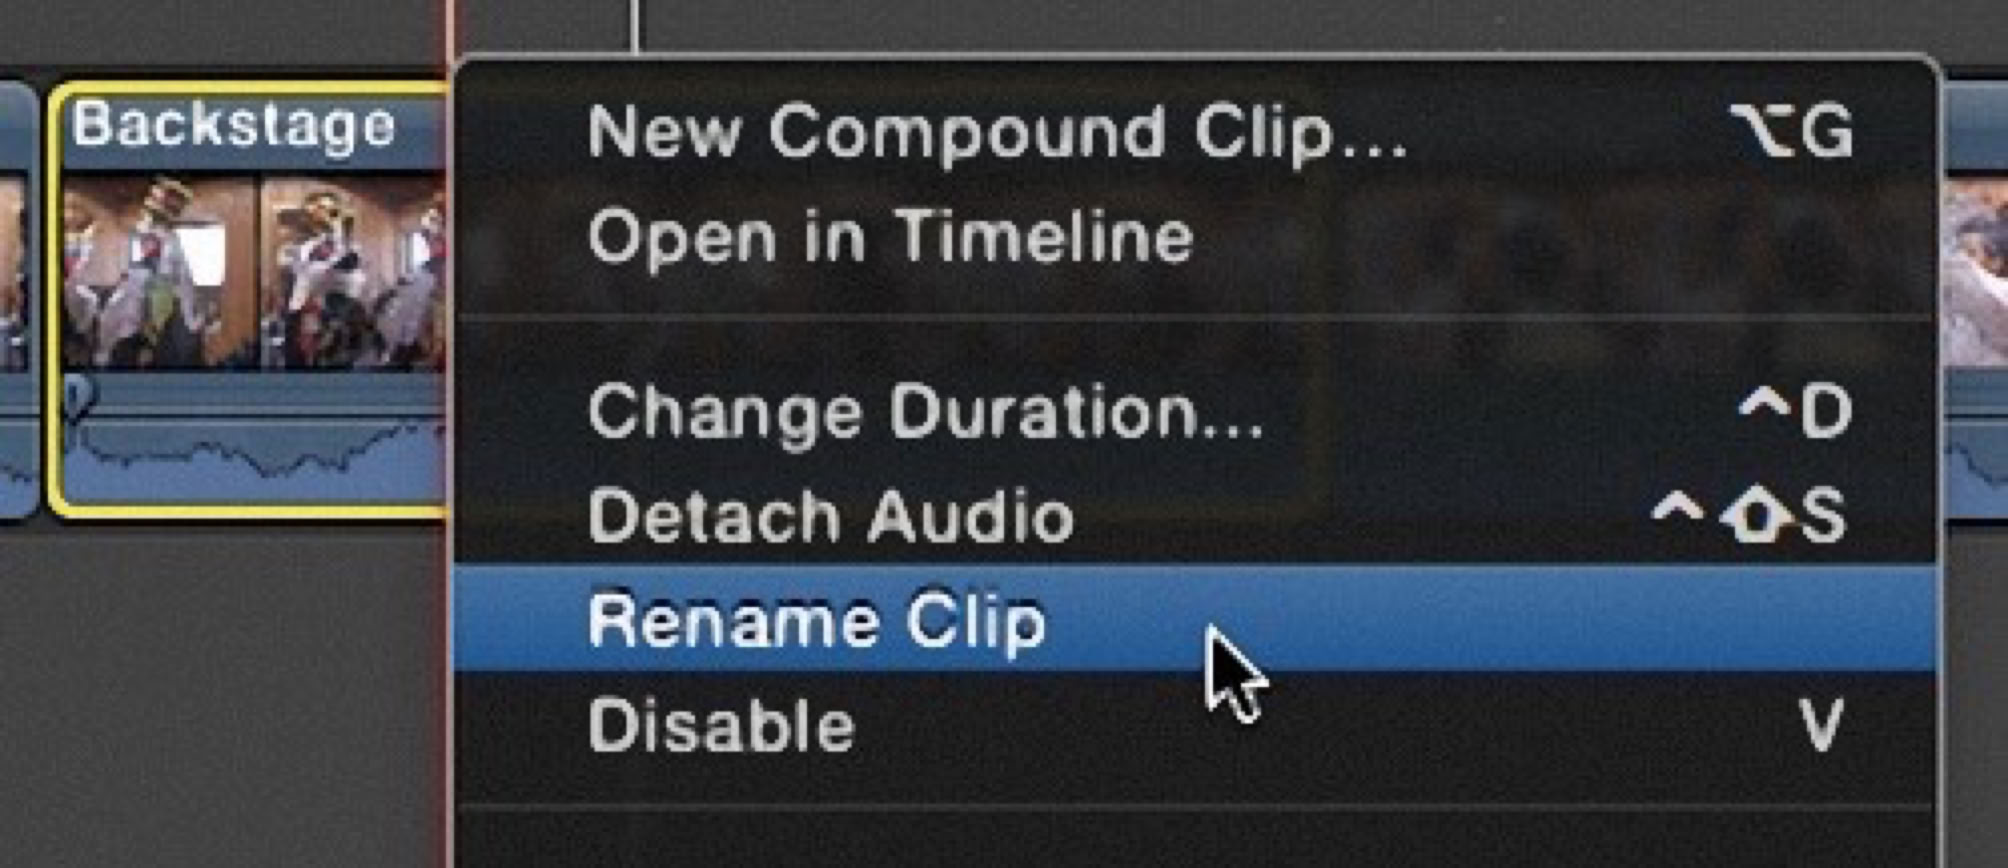
Renaming Clip
Another minor change is that the Crop and Distort buttons are combined into a single Transform popup in the lower left if the Viewer.
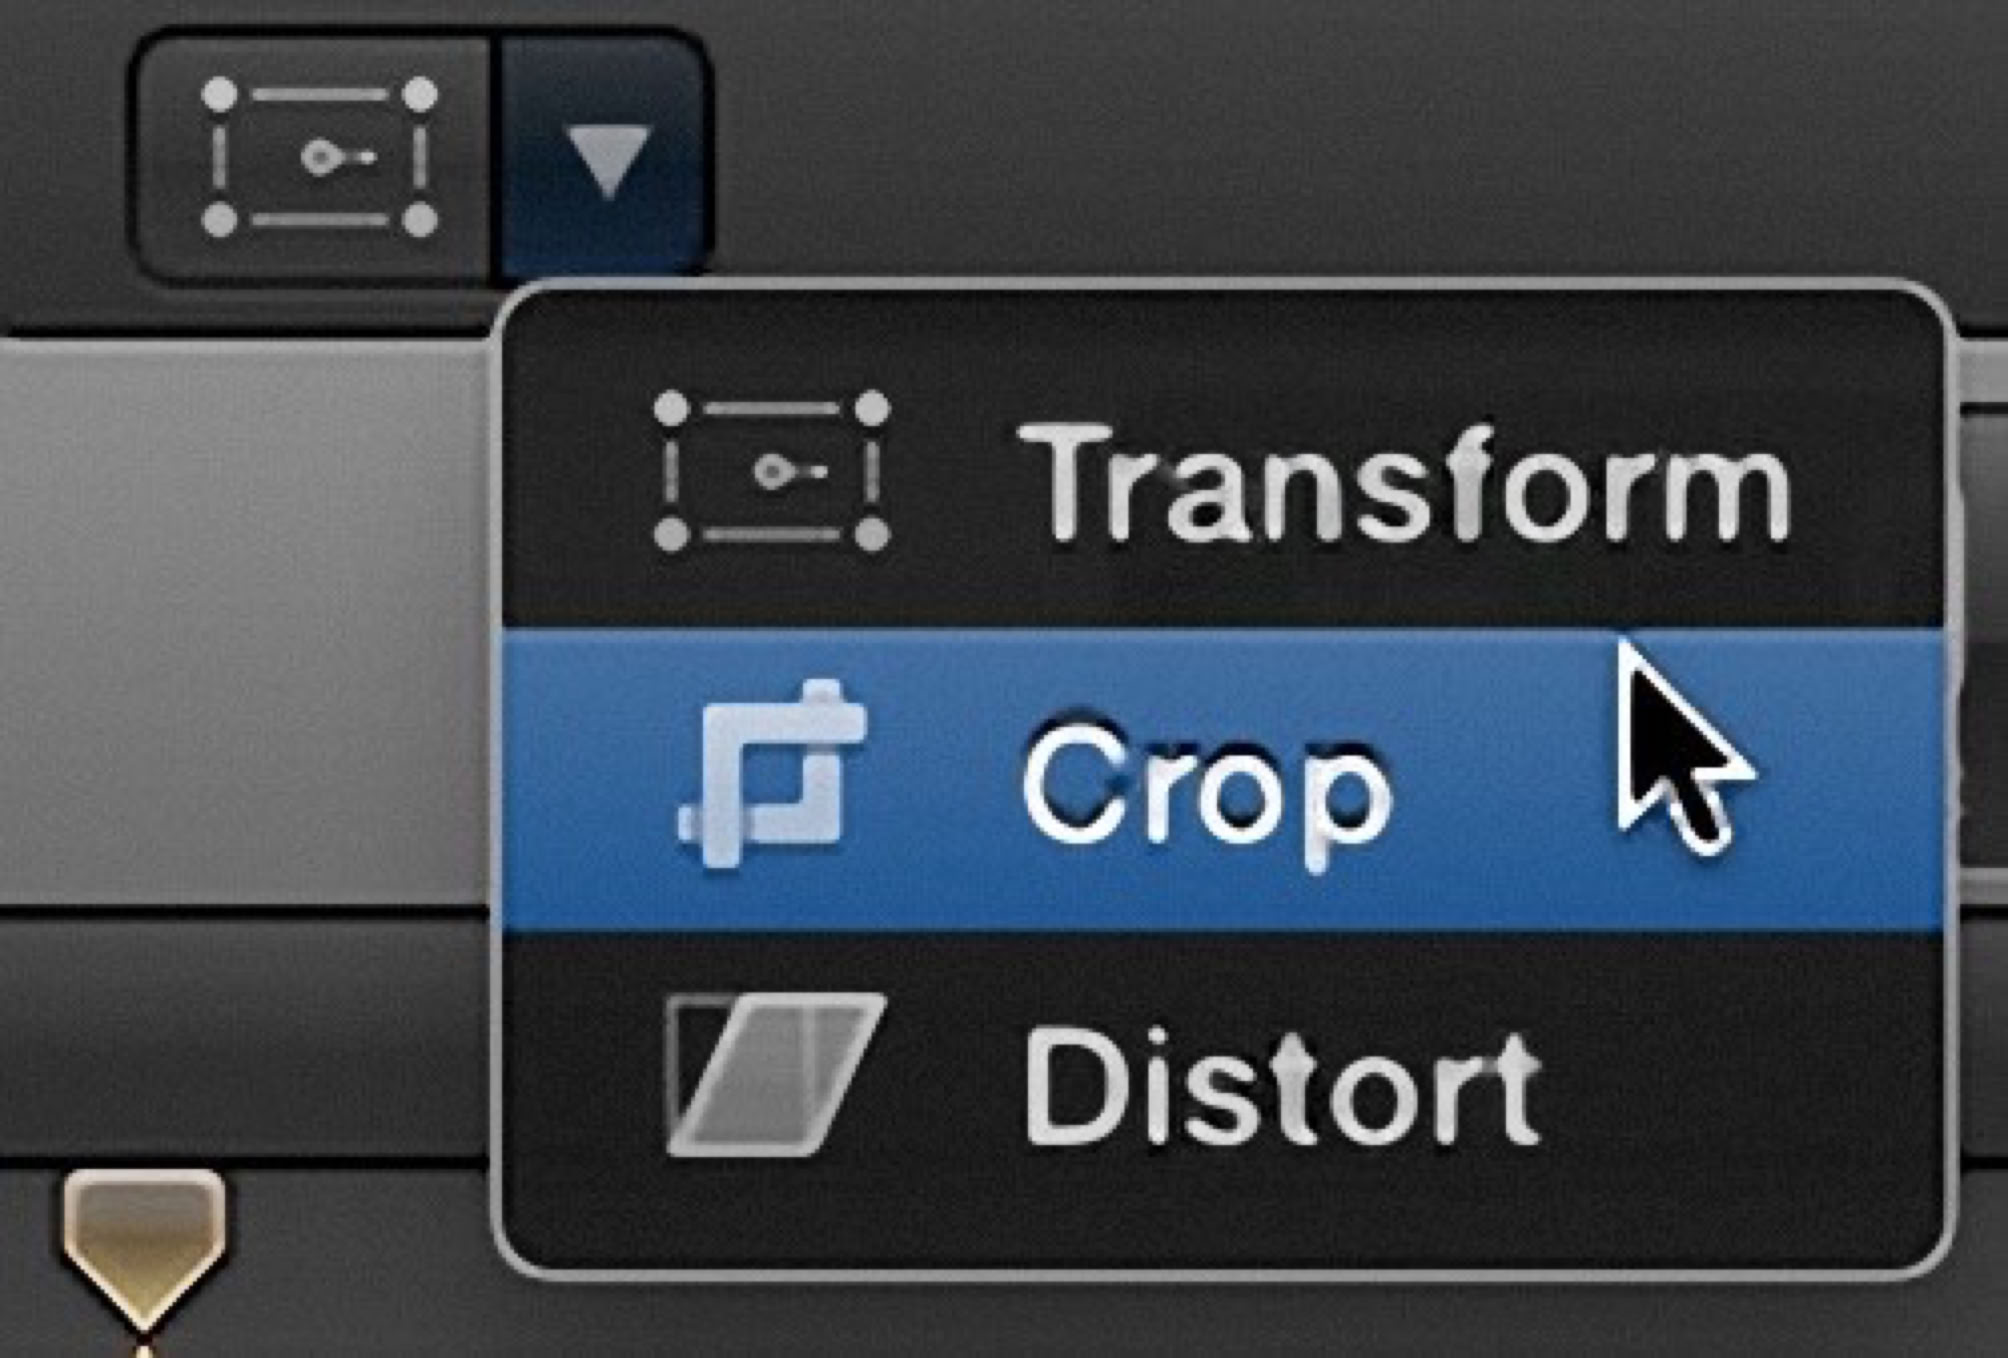
Transform Popup
In the Generators there are a new backgrounds. Previously there were only four in the Backgrounds category, but now all the backgrounds from the themes are also available in Generators, which makes sense.
There are also new animated titles called Bugs, which are theme based and are in the Lower Thirds category. They’re small animations in the lower right of the screen that appear periodically to identify the network or production company.
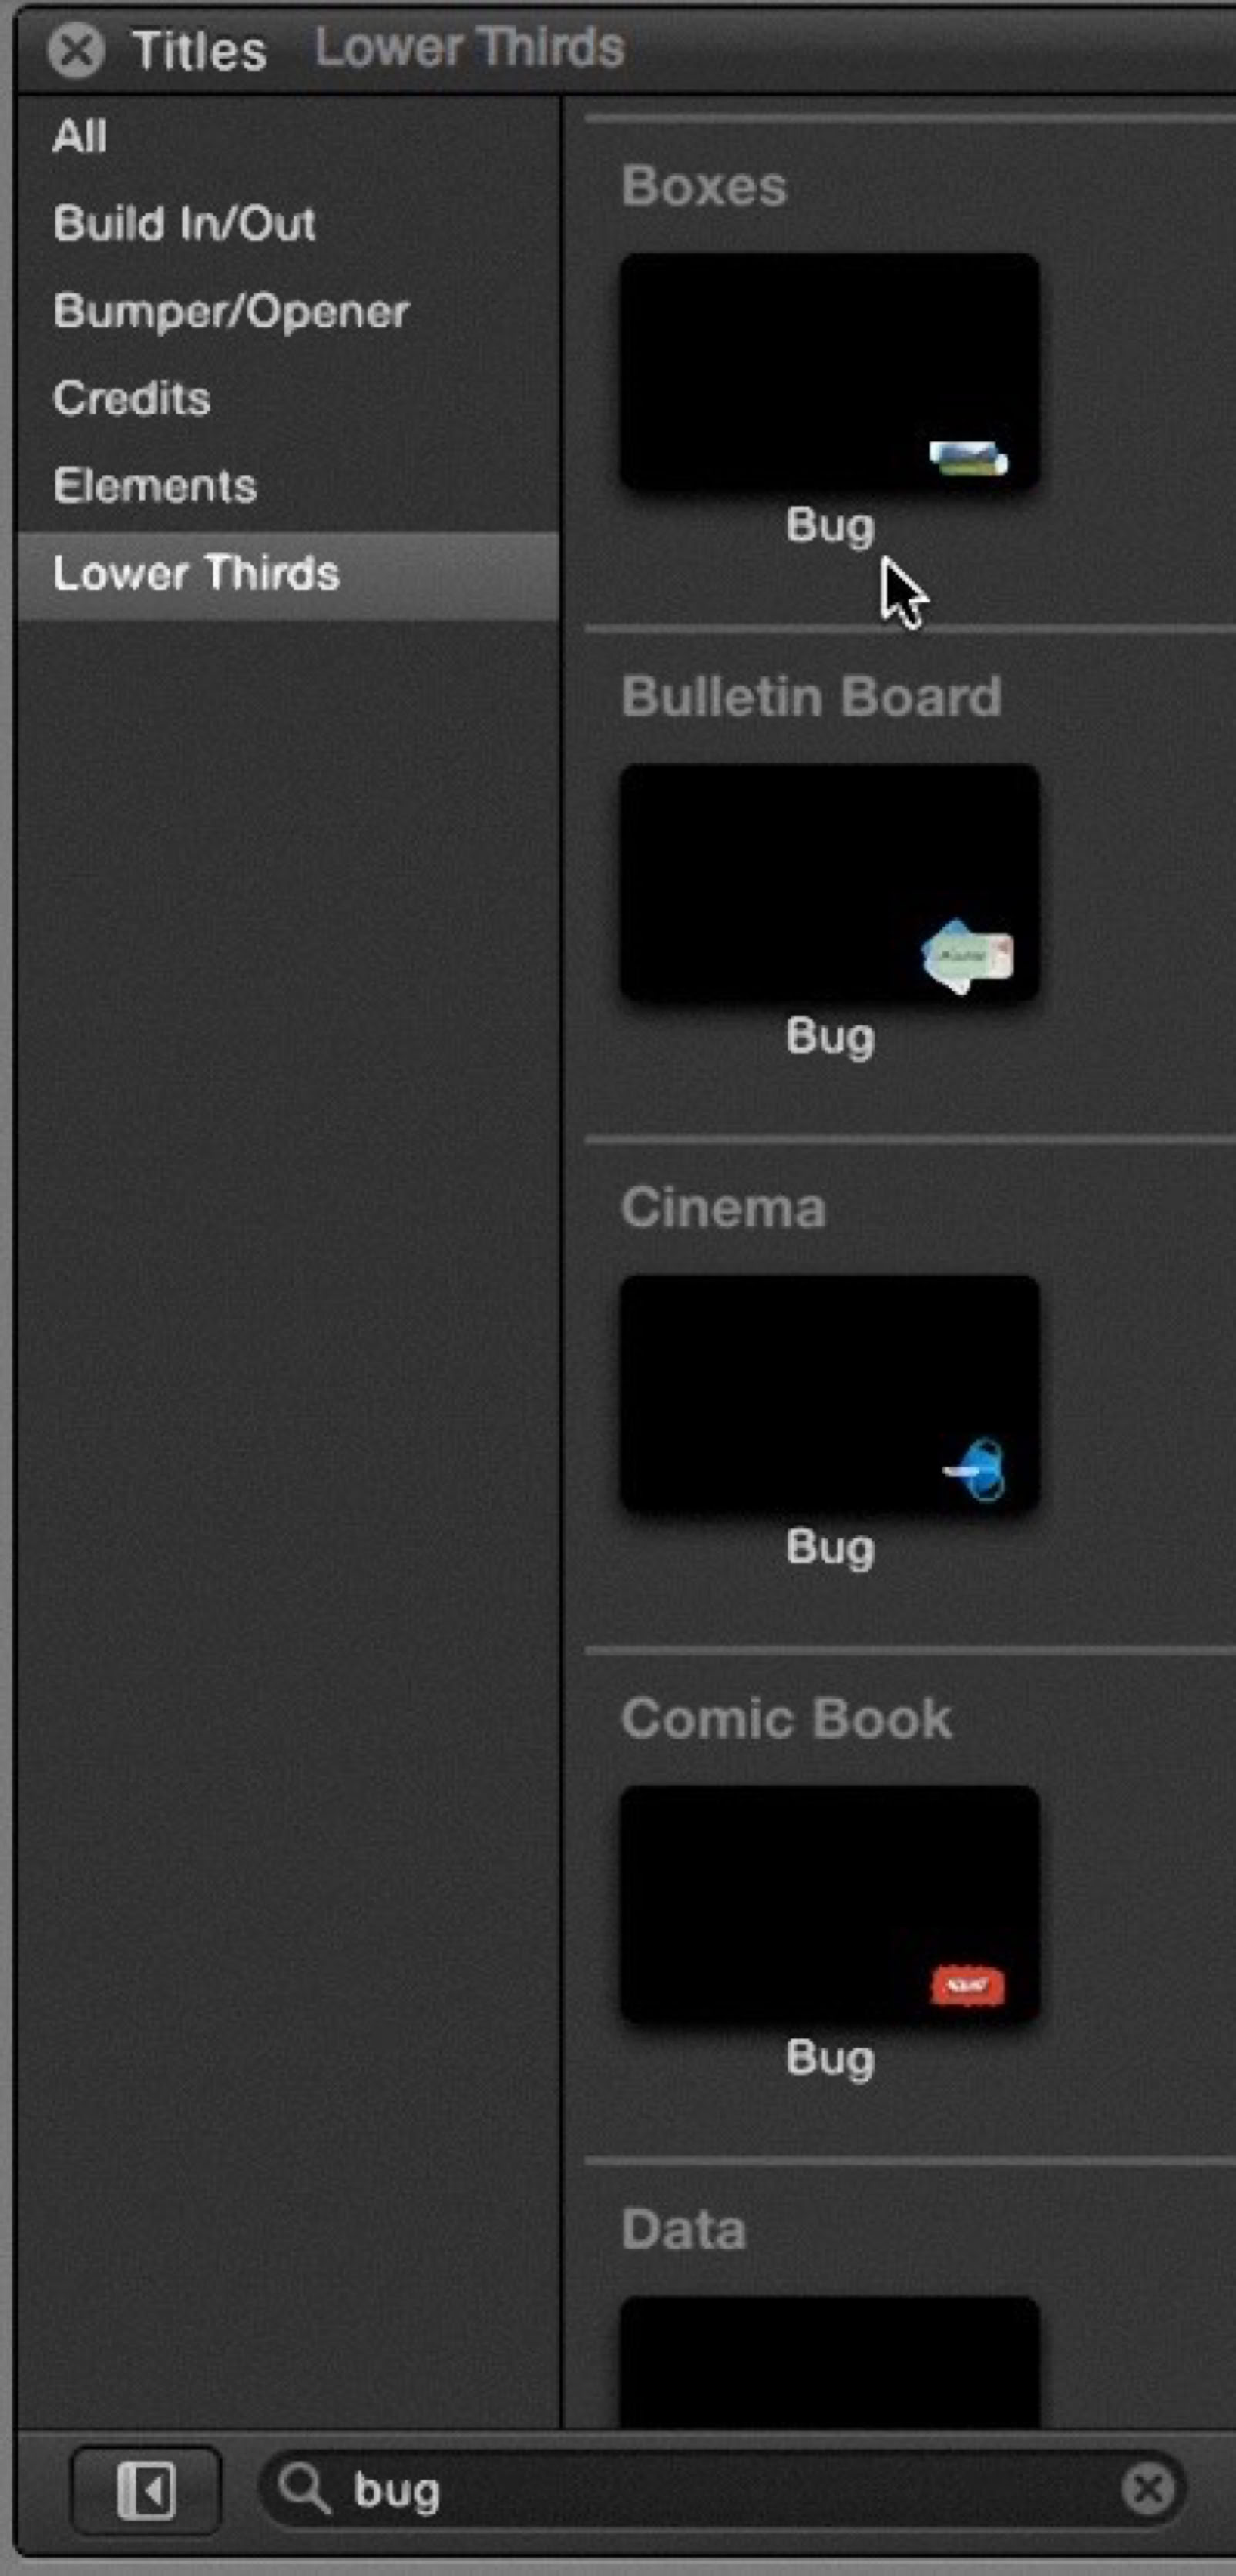
Bugs
Speaking of titles: there is a new way they display in Timeline. Previously what you typed in the title was all that appeared as an identifier in the Timeline. Now, the type of title appears in addition to the text.
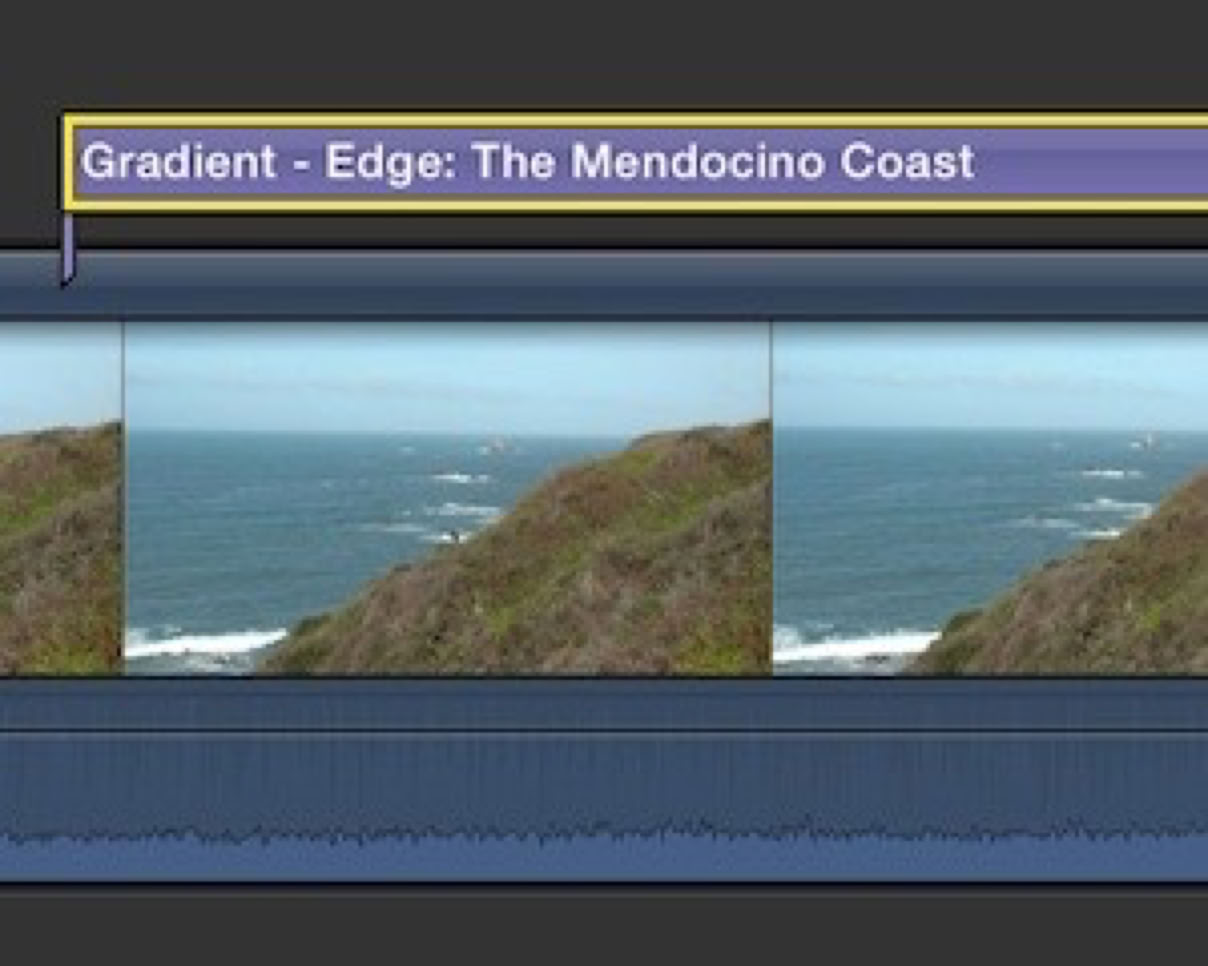
Title Type
In addition to the new Generators and the new Bug title, there is a new Handheld effect. This is basically the opposite of stabilization. It jiggles the shot to make it look handheld for that
cinéma vérité look.
Though FCP has had the ability to make simple DVDs and Blu-ray discs, they have always been without chapter markers. Now you can add chapter markers to any project can have them appear on disc or in the QuickTime file, which will also carry over to other devices like AppleTV. To create a marker, press the M key to make the marker and press it again, basically double tap
M, and you will see a new marker dialog and marker icon. The new icon creates an orange marker, and in the dialog the chapter can be named. There is also a little pin that appears near the marker that lets you position it to select the poster frame on the clip for the chapter. This is handy is the chapter marker is in the middle of a fade from black transition. The poster won’t appear on DVD, but will appear in the QuickTime player and Apple devices. Unfortunately the poster frames don’t seem to be working properly at the moment.

Chapter Marker
And finally, not a new feature, but a long-nagging bug fix. Looped playback on selection works even while you make adjusts on the fly to video or audio parameters. This is great news for tweaking audio effects.
Inspector Behavior
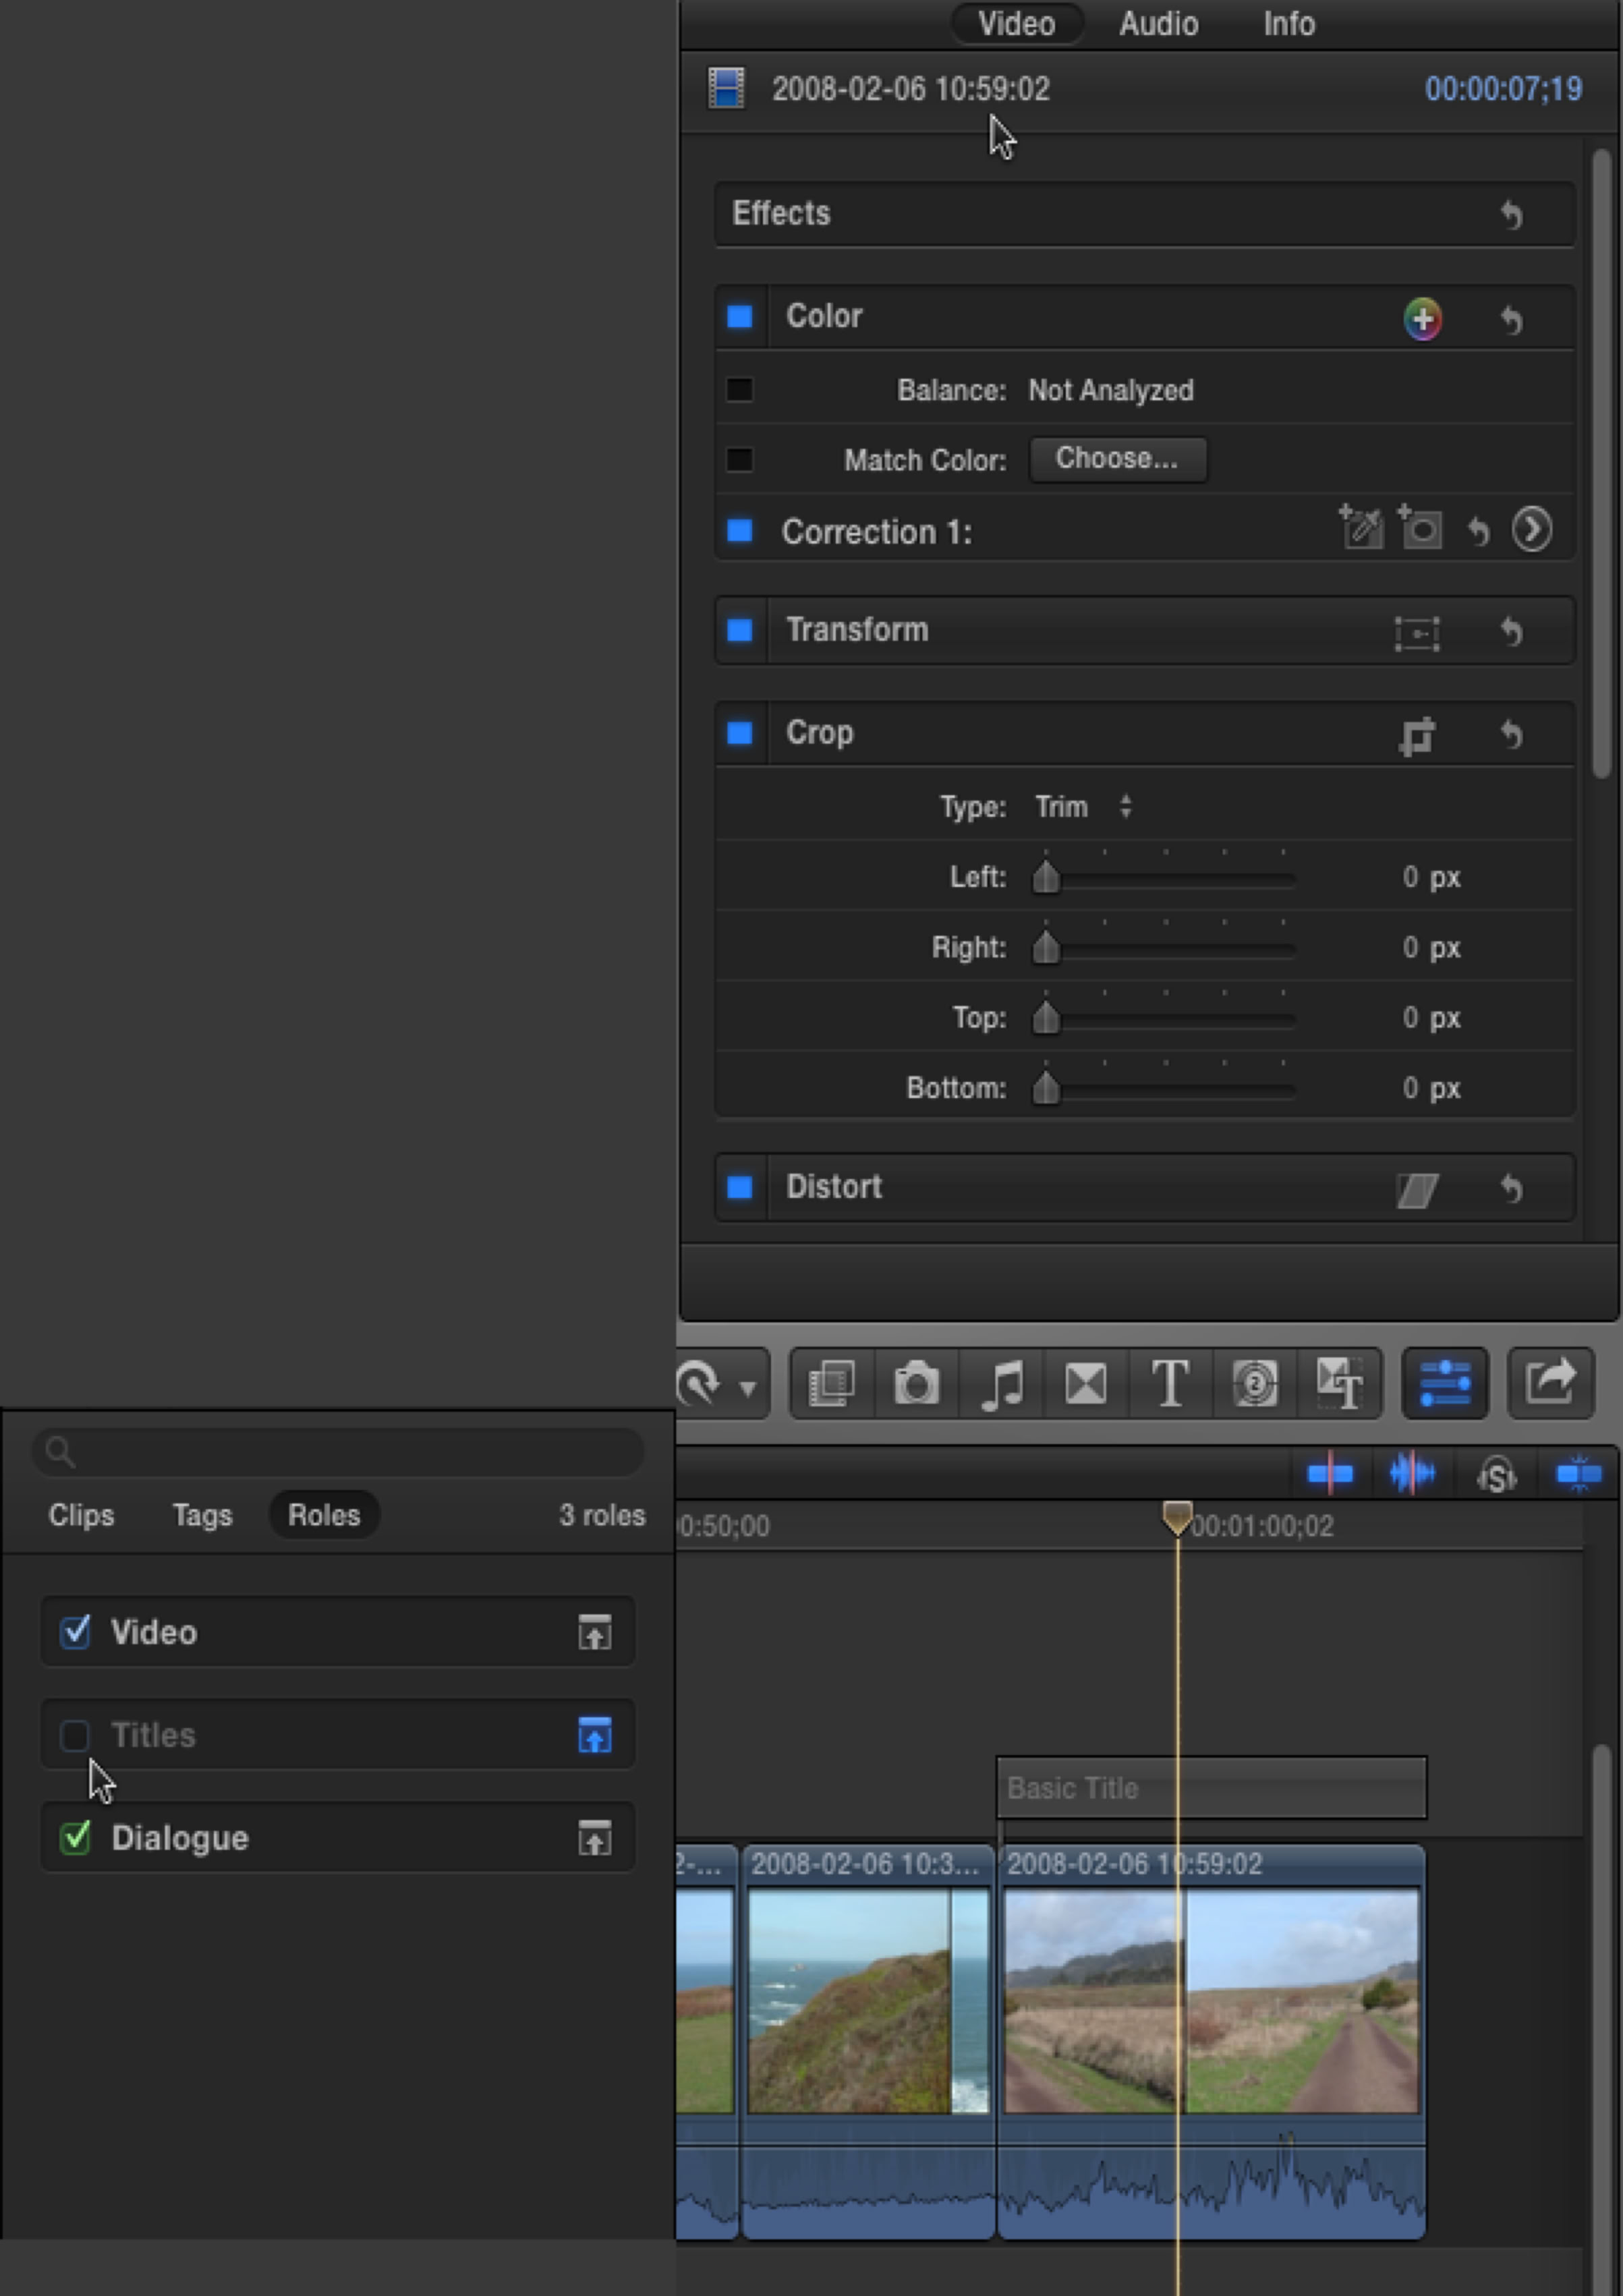
In previous versions you had to have a clip selected in the Timeline to have anything appear in the Inspector. Now, if nothing is selected in the Timeline, the top most clip in the project that is underneath the playhead (not the skimmer) will load into the Inspector, and not only into the Inspector, but also into the Color Board, which is really great for color correction. Now when you move the playhead between clips, the correct clip and its Color Board will load into the Inspector. If the uppermost clip is a title, the the title will appear unless it is switches off using Roles in the Timeline Index. It is not enough to use the V key to switch it off. You must use Roles.
Lorem
Title Roles
Duplicate Projects
New in 10.0.6 is the ability when duplicating a project to either duplicate used clips or to duplicate only multicam clips and compound clips.
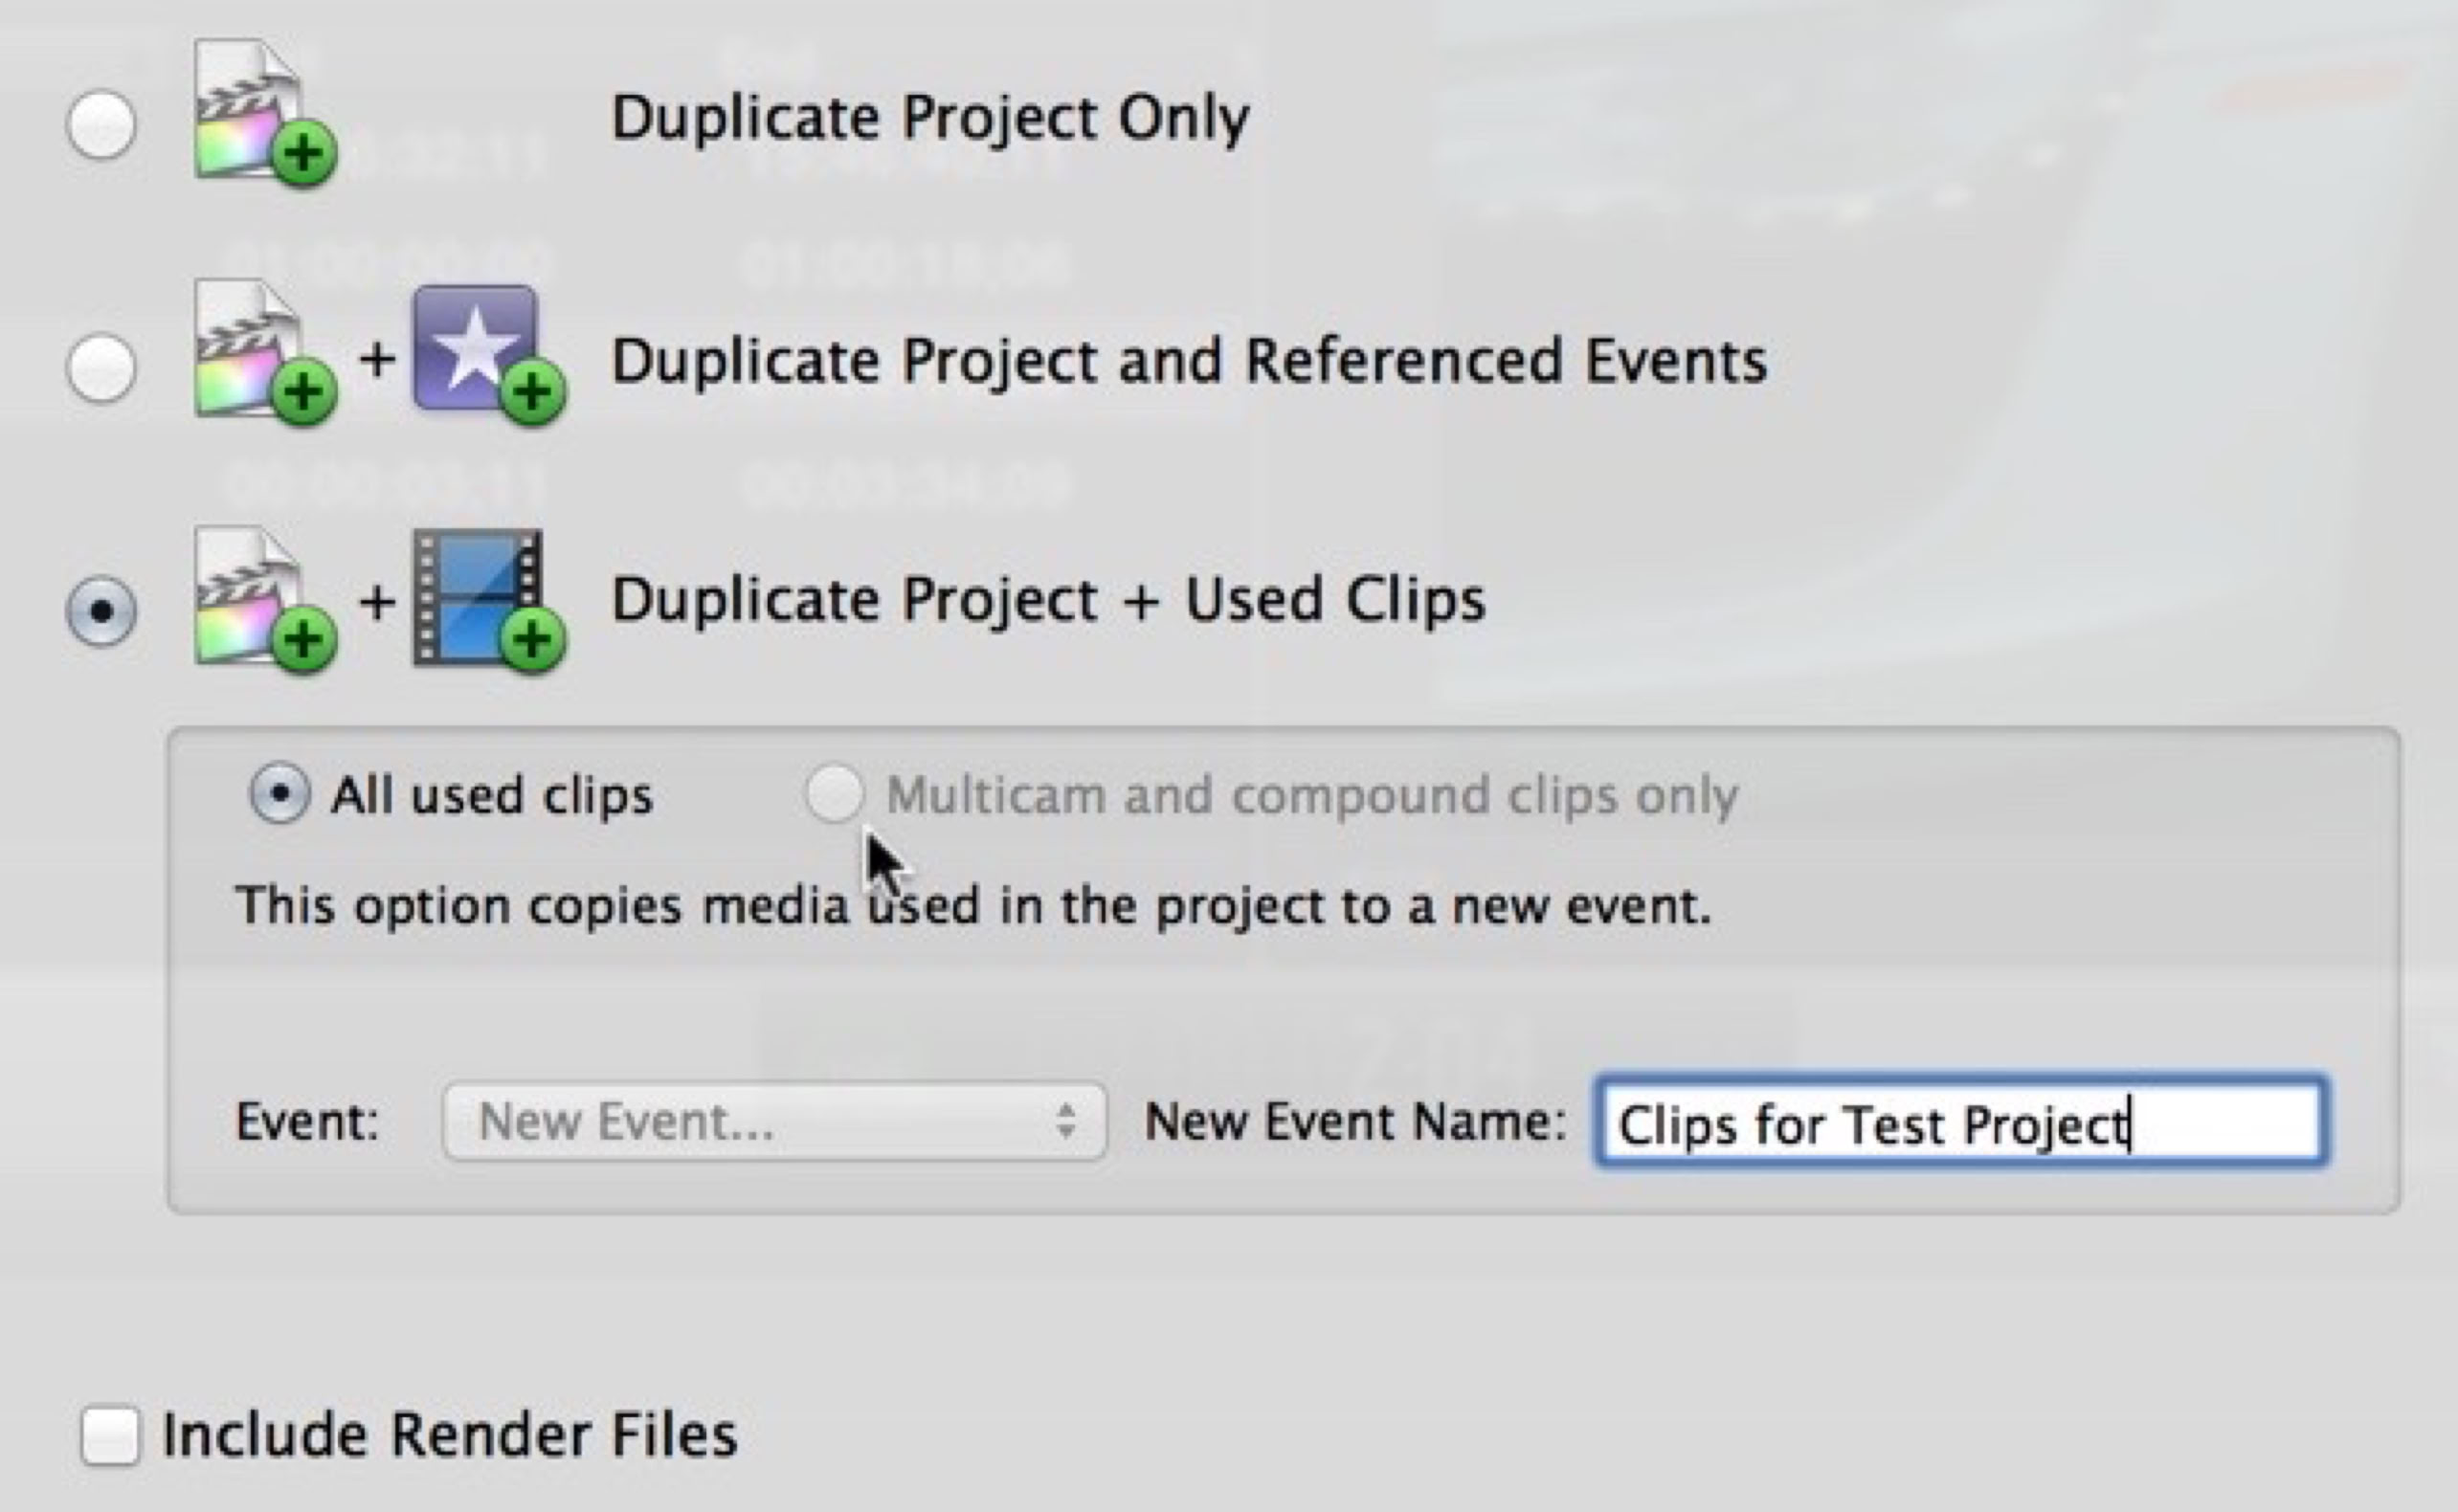
Duplicate Project
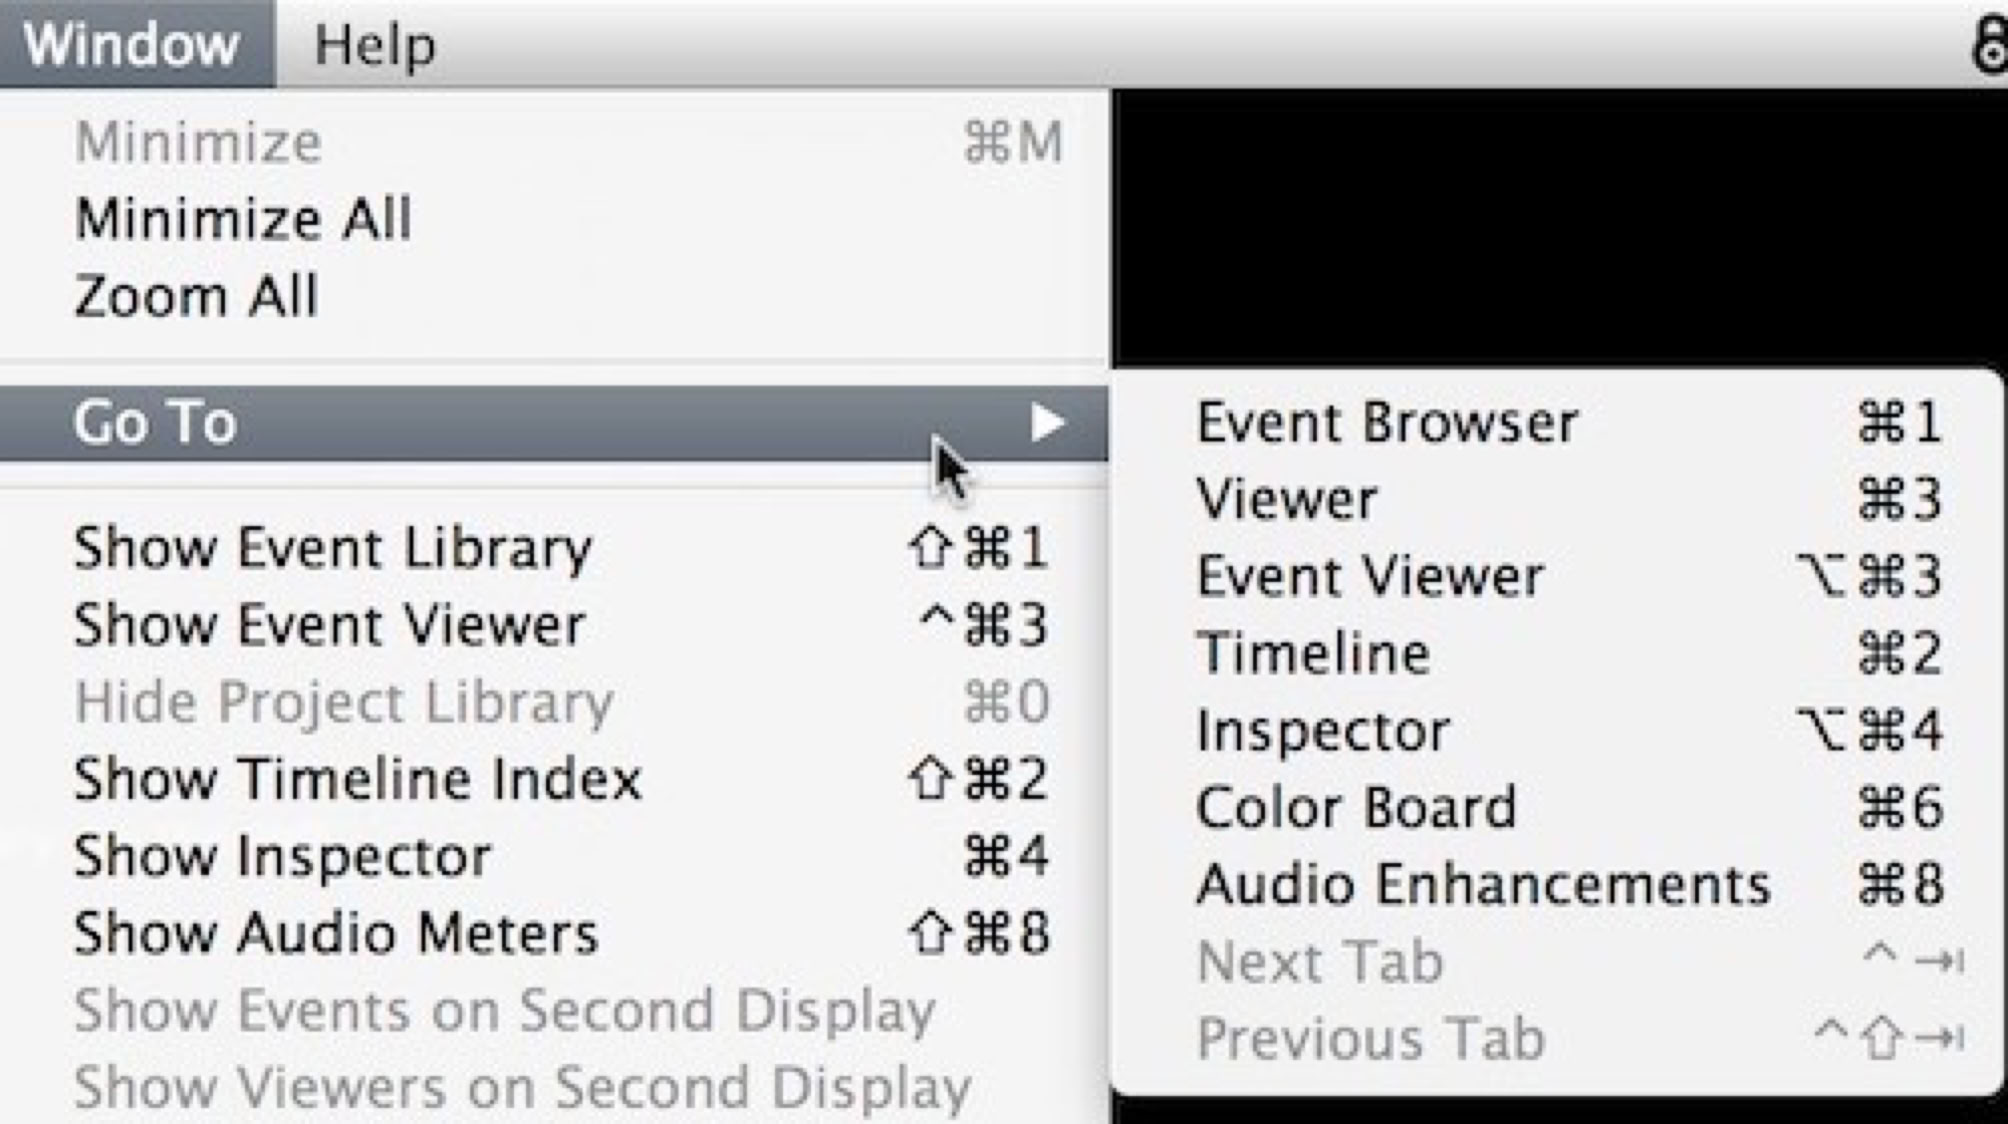
There is also an organizational change in the Window menu. Previously menu access to the FCP panels were laid out in a group in the menu, now they are clustered to together in a submenu called Go To.
