Through Edits
Though through edits, that is, a cut in a clip where the clip is contiguous, appear as a dotted line in the Timeline, you can select the Through edit, and eliminate it by pressing the Delete key. This used to work before in multicam clips in the Timeline, but now it also works on any clip that’s on a storyline. It does not work on connected clips.
Multicam Changes
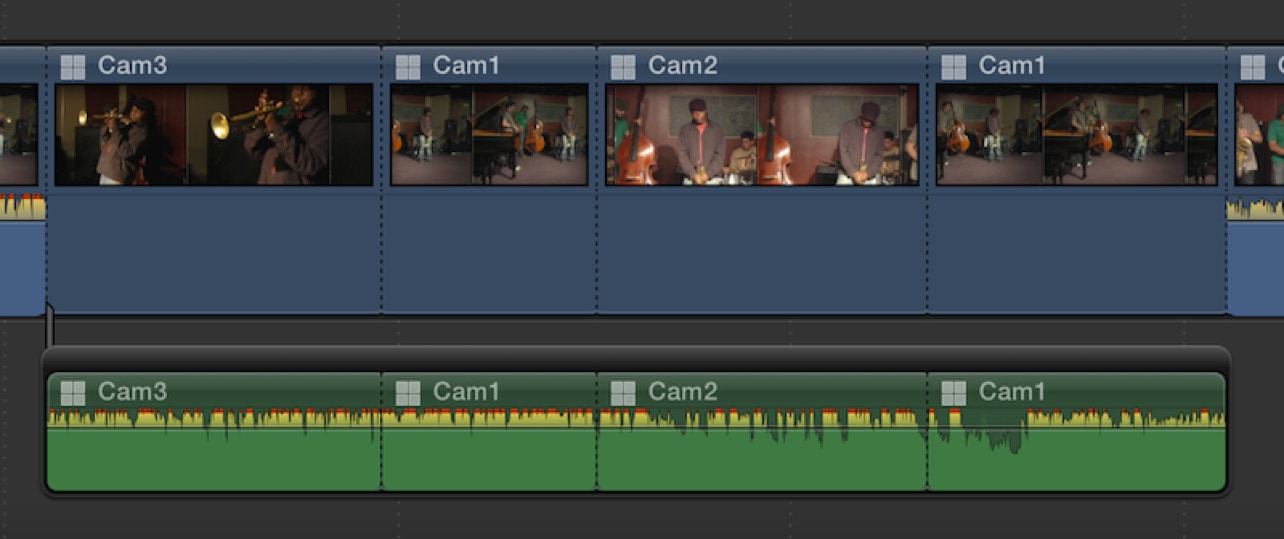
Now multicam clips in a project can have their audio detached. Previously clips could only be expanded, now you have full control to move around the audio by detaching the audio. If you detach multiple clips, as seen below, the detached clips are grouped together as a connected secondary storyline.
Lorem

Detached Audio
To break apart the audio into individual clips you have to select the storyline and break that apart.
You can now also make a video-only or an audio-only edit using a multicam clip as a source. Previously when you had a multicam clip selection made in the Browser, and had video-only or audio-only switched on, you would still get both video and audio together.
Active Clip Indicator
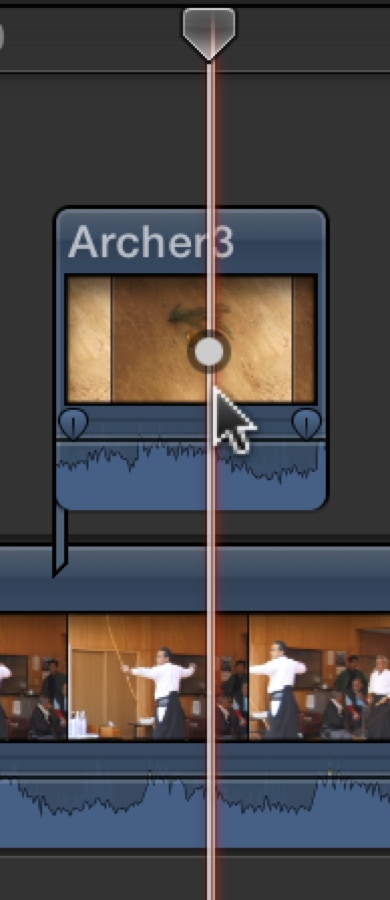
This is a useful feature in 10.1. In previous versions, if nothing was selected in the Timeline, the topmost layered clip underneath the playhead would automatically load in the Inspector. This was great for moving between clips when doing color correction. To enhance this the application has added a little gray dot to the playhead to indicate which is the active clip. It looks like this.

Active Clip Indicator
So when you see that dot, now you know what it’s for. It isn’t only for the Inspector. It basically is a clip selector. So when the gray ball is on a clip the clip is active and if you apply a retiming effect it will be applied to the clip with the gray dot.
Expanded Audio Fade Handles
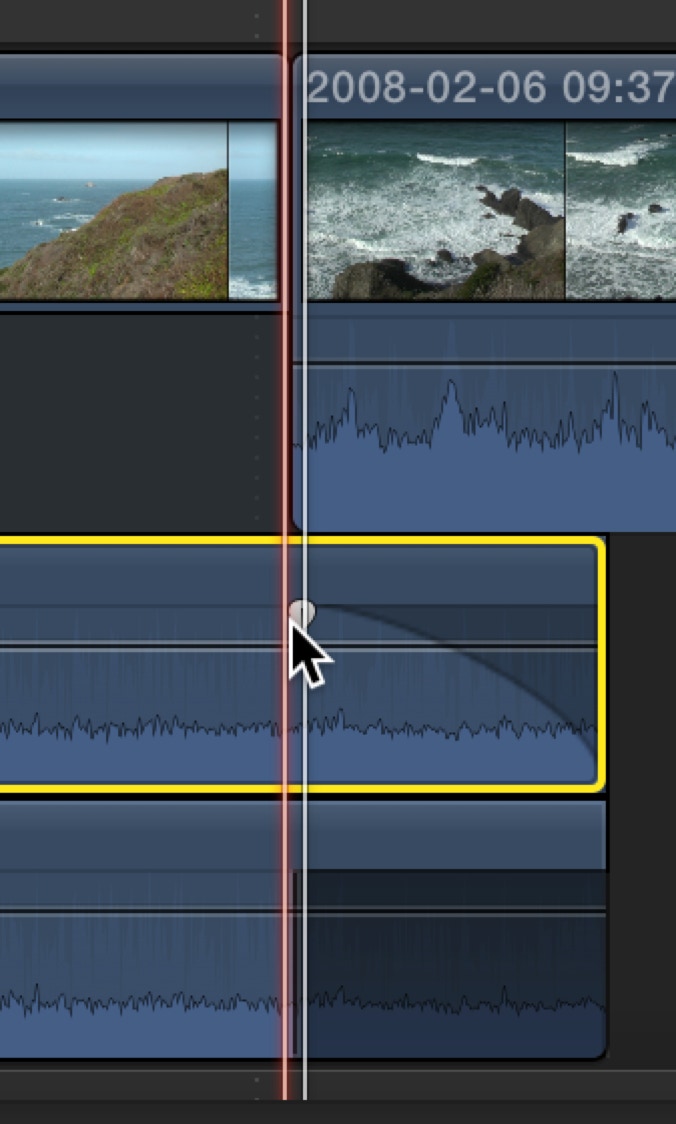
If you have dual mono audio or multiple channels of audio and Option double-click on the audio (or use the Clip menu) you can expand audio components, which will give you separate channels, allowing you to control them separately and have separatefades handles for each channel.

Separate Fade Handles
This may be very useful in certain circumstances, especially if there is different audio on each channel.
Another great audio feature is the ability to either Command-click to select multiple audio keyframes or use the Range tool to select multiple audio keyframes and drag them as a group. Wonderful new feature.

Moving Multiple Audio Keyframes
In addition with a group of keyframes select you can copy and paste them, keeping the same values. You’ll find it in the Edit menu under Keyframes. There are shortcuts for this Shift-Opt-X to cut the keyframes; Shift-Opt-C to copy the keyframes; and Shift-Opt-V to paste the keyframes. You can also use Shift-Opt-Delete to delete the keyframes. This is only for audio keyframes.
Another audio feature is that when you expand the audio for clips you can roll the audio edit in addition to rolling the video edit.
You can also copy and paste transformation keyframes in the Video Animation popup in the Timeline.
Hiding the Browser
An excellent new feature, long requested, is the ability to completely hide the Browser. This is especially useful in later stages of editing when you’re working with effects or color correction and have the Inspector and the Video Scopes all open at the same time.

Browserless Interface
You can open and close it from the Windows menu or with the shortcut Control-Command-1. If the Libraries panel is open that will close as well.
If you have a trackpad you can now use pinch and spread to zoom in and out of the Timeline.
Spanish Language Support


