Color
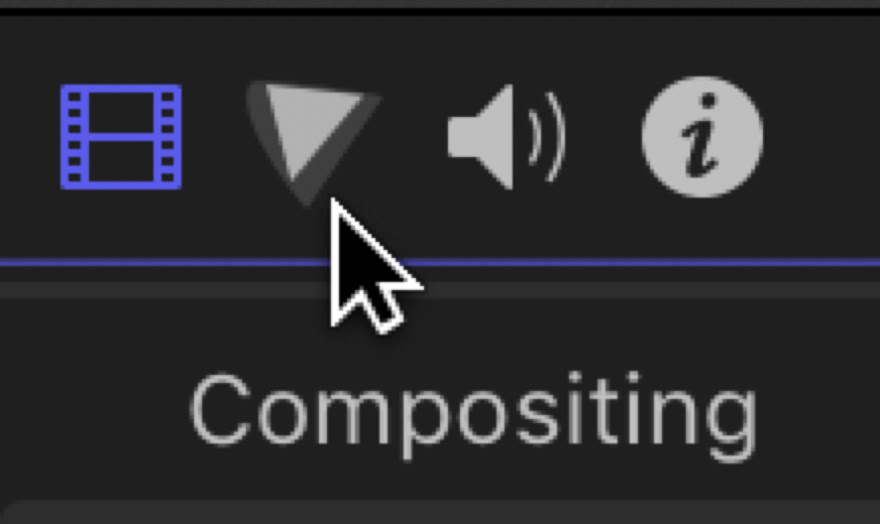
FCPX now has new tools for advanced color correction. The old Color Board is still there and is even easier to access. In earlier versions of the application every clip had Color Correction attached to each clip. This led to effect stacking problems so the Color Board was moved into the Effects Browser. That was great, but it confused some users who missed the old way. The effect could instantly be called up with the shortcut Command-6, which still works. Now every clip, once in the Timeline, has a triangular button at the top of the Inspector that can be used to activate the color tools.
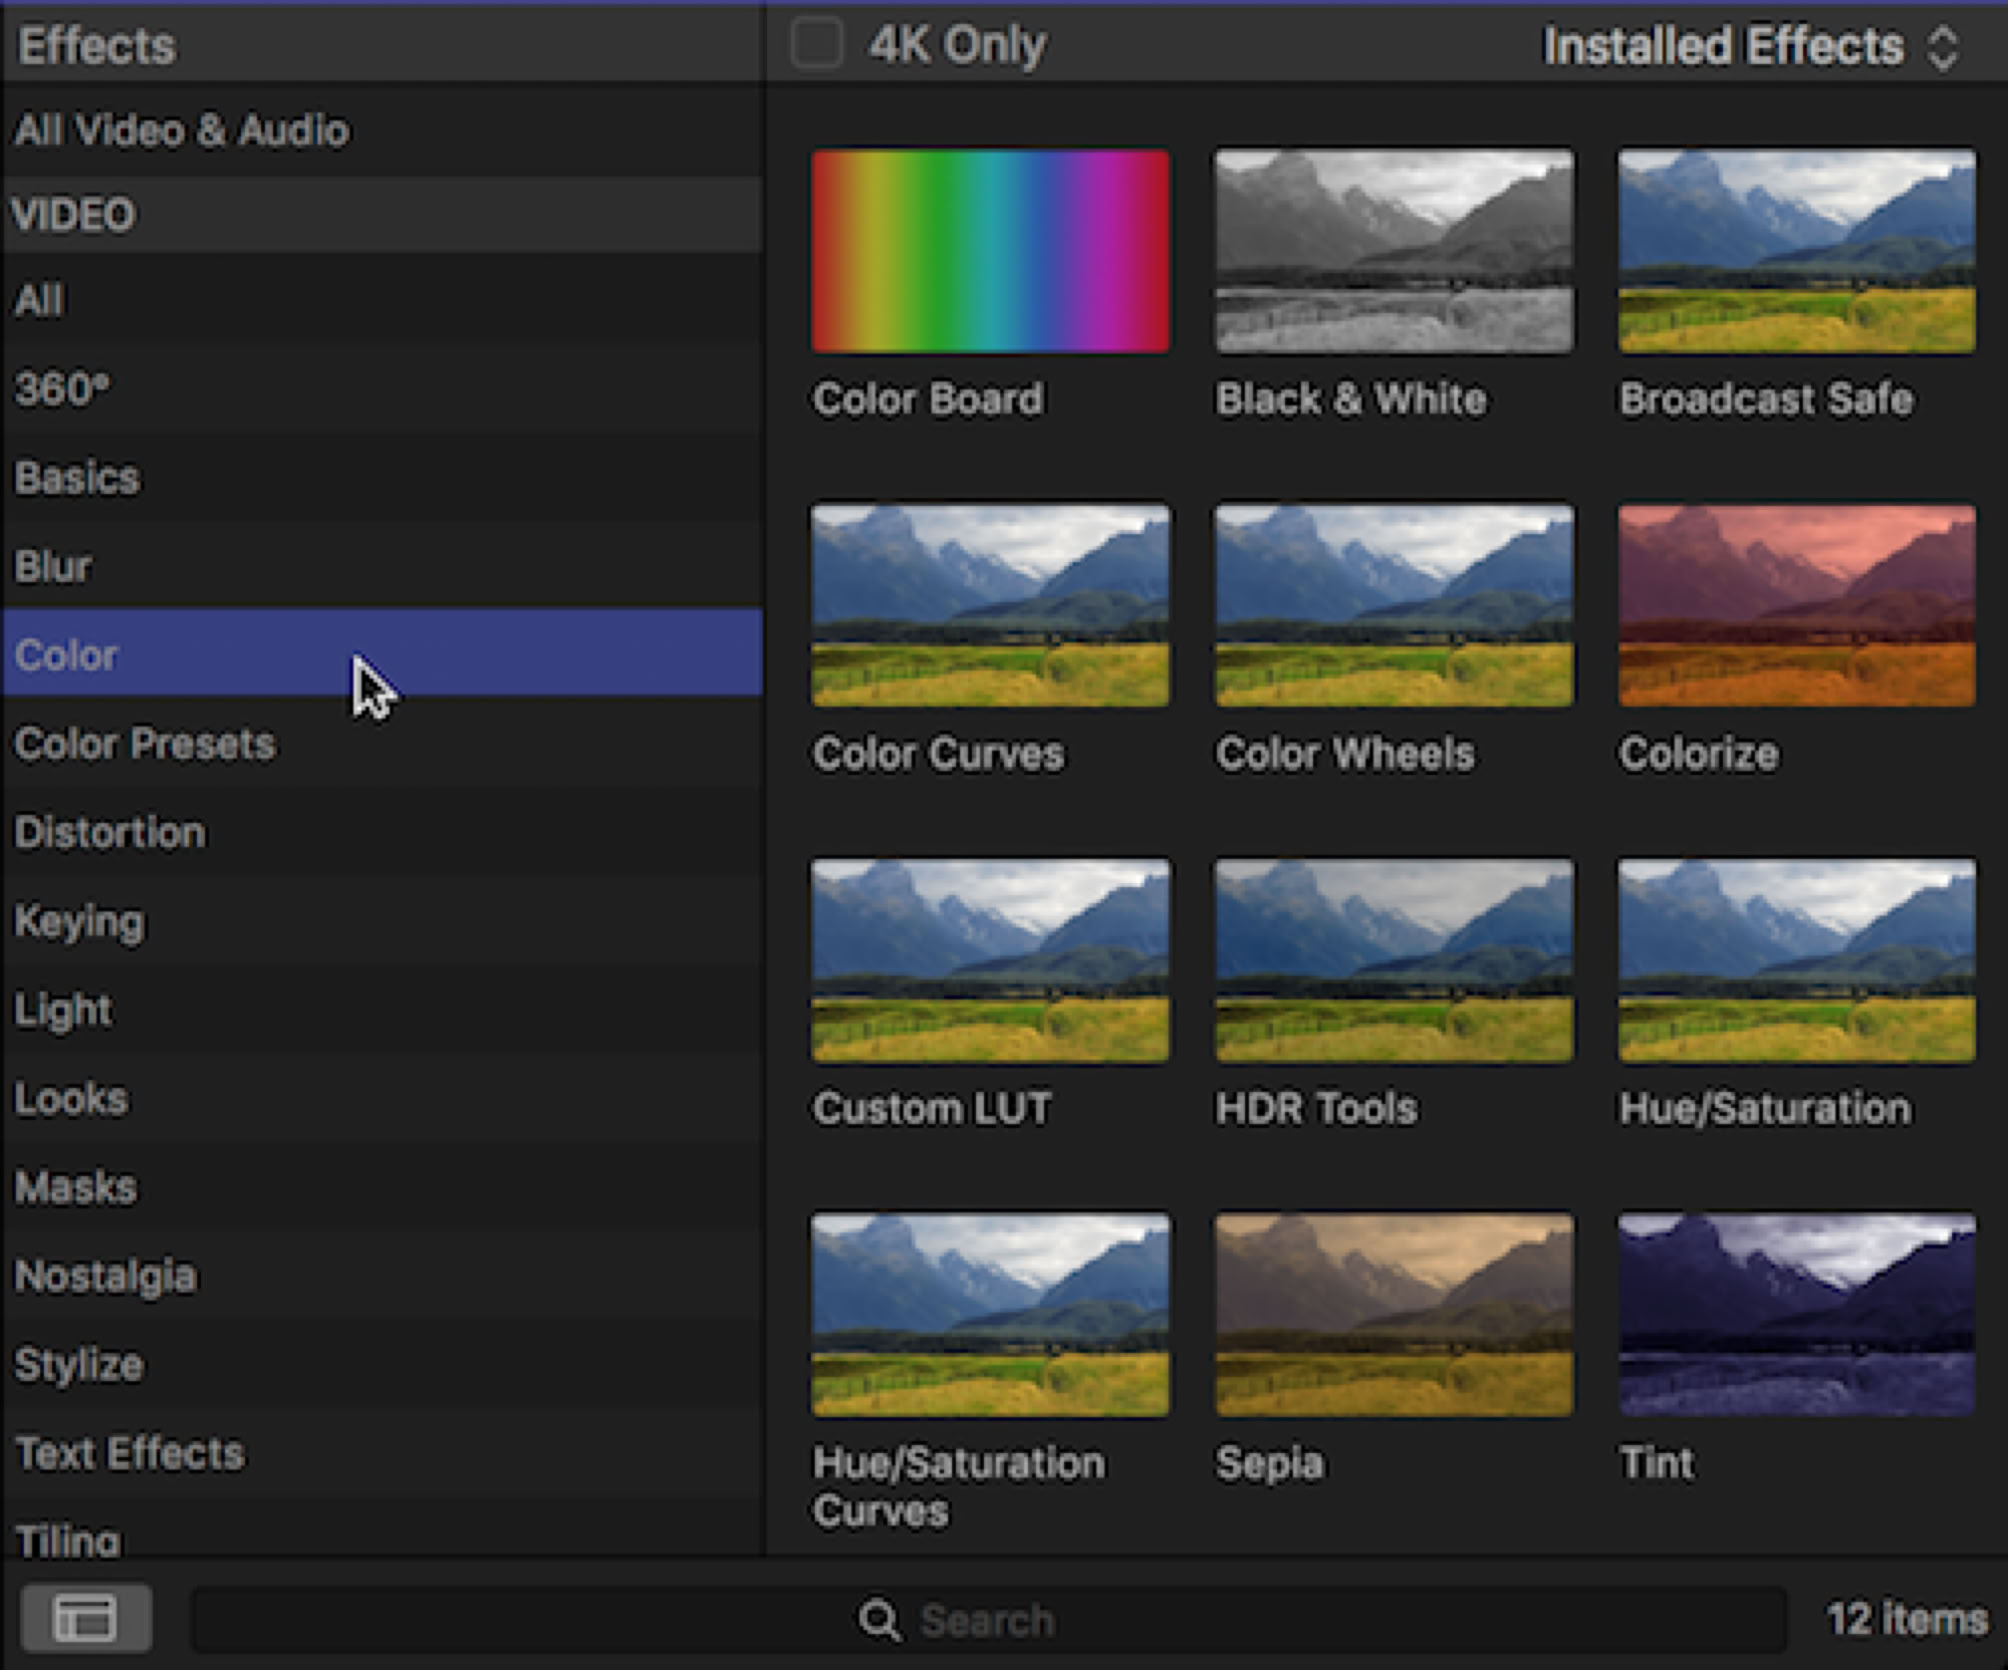
The new, advanced color tools have been added to the Color category of the Effects Browser. There are five new effects in the Color category: Color Curves, Color Wheels, Custom LUT, HDR Tools, and Hue/Saturation Curves have been added in addition to the existing Hue/Saturation sliders. Like the Color Board all of the advanced tools have Shape and Color Mask options.
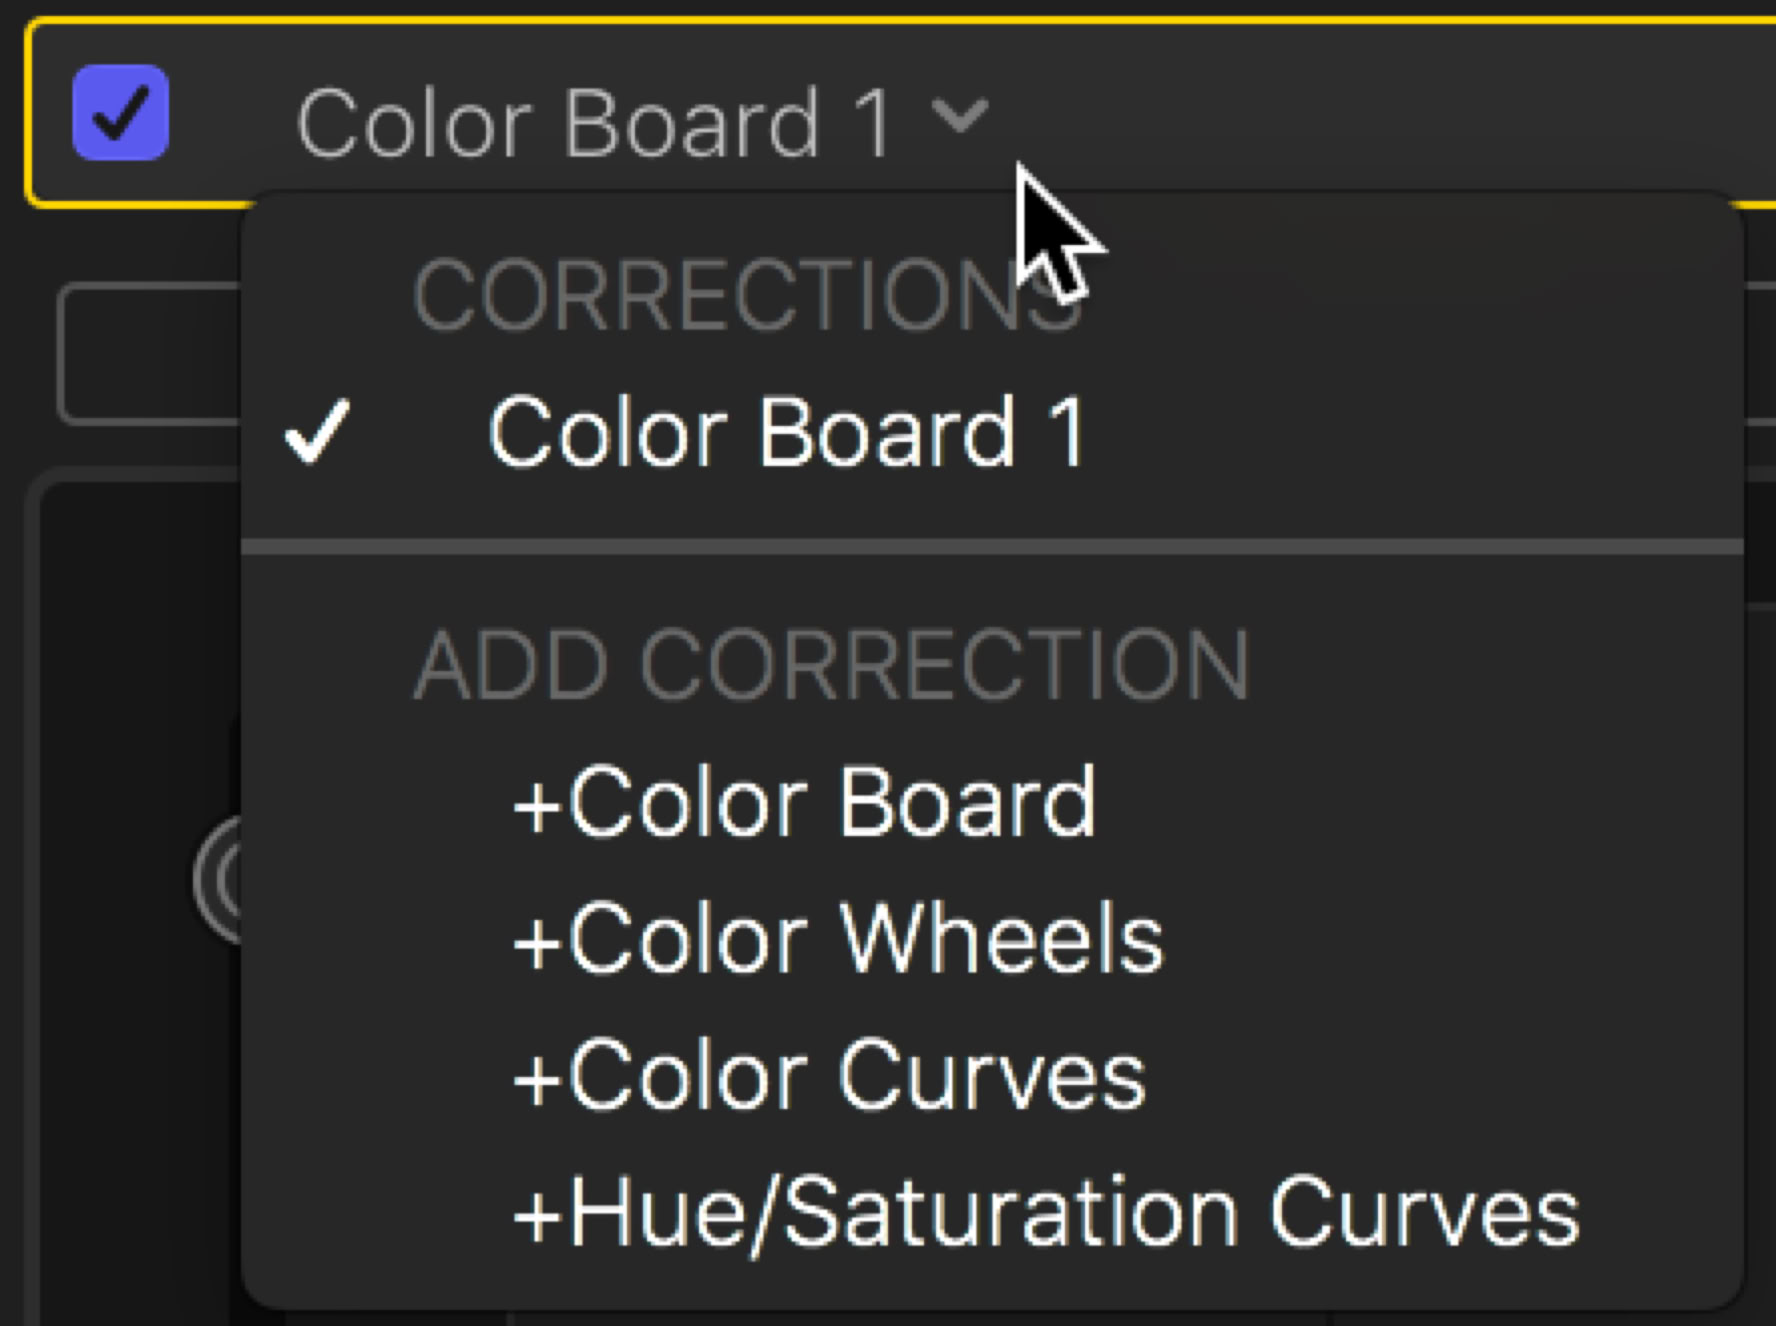
You can also call up Color Wheels, Color Curves, and Hue/Saturation Curves from the popup in the Color Board.
A great feature of these color tools is that they are fully keyframeable. No more splitting a clip and creating the color change with a dissolve.
There are Color Curves for Luma, Red, Green, and Blue. Each of the curves has an eyedropper that lets you make a selection in the Viewer. The selection will be indicated in the graph to show you where to adjust the curve. There’s also a color wheel that allows you to adjust the hue for each of the RGB channels.
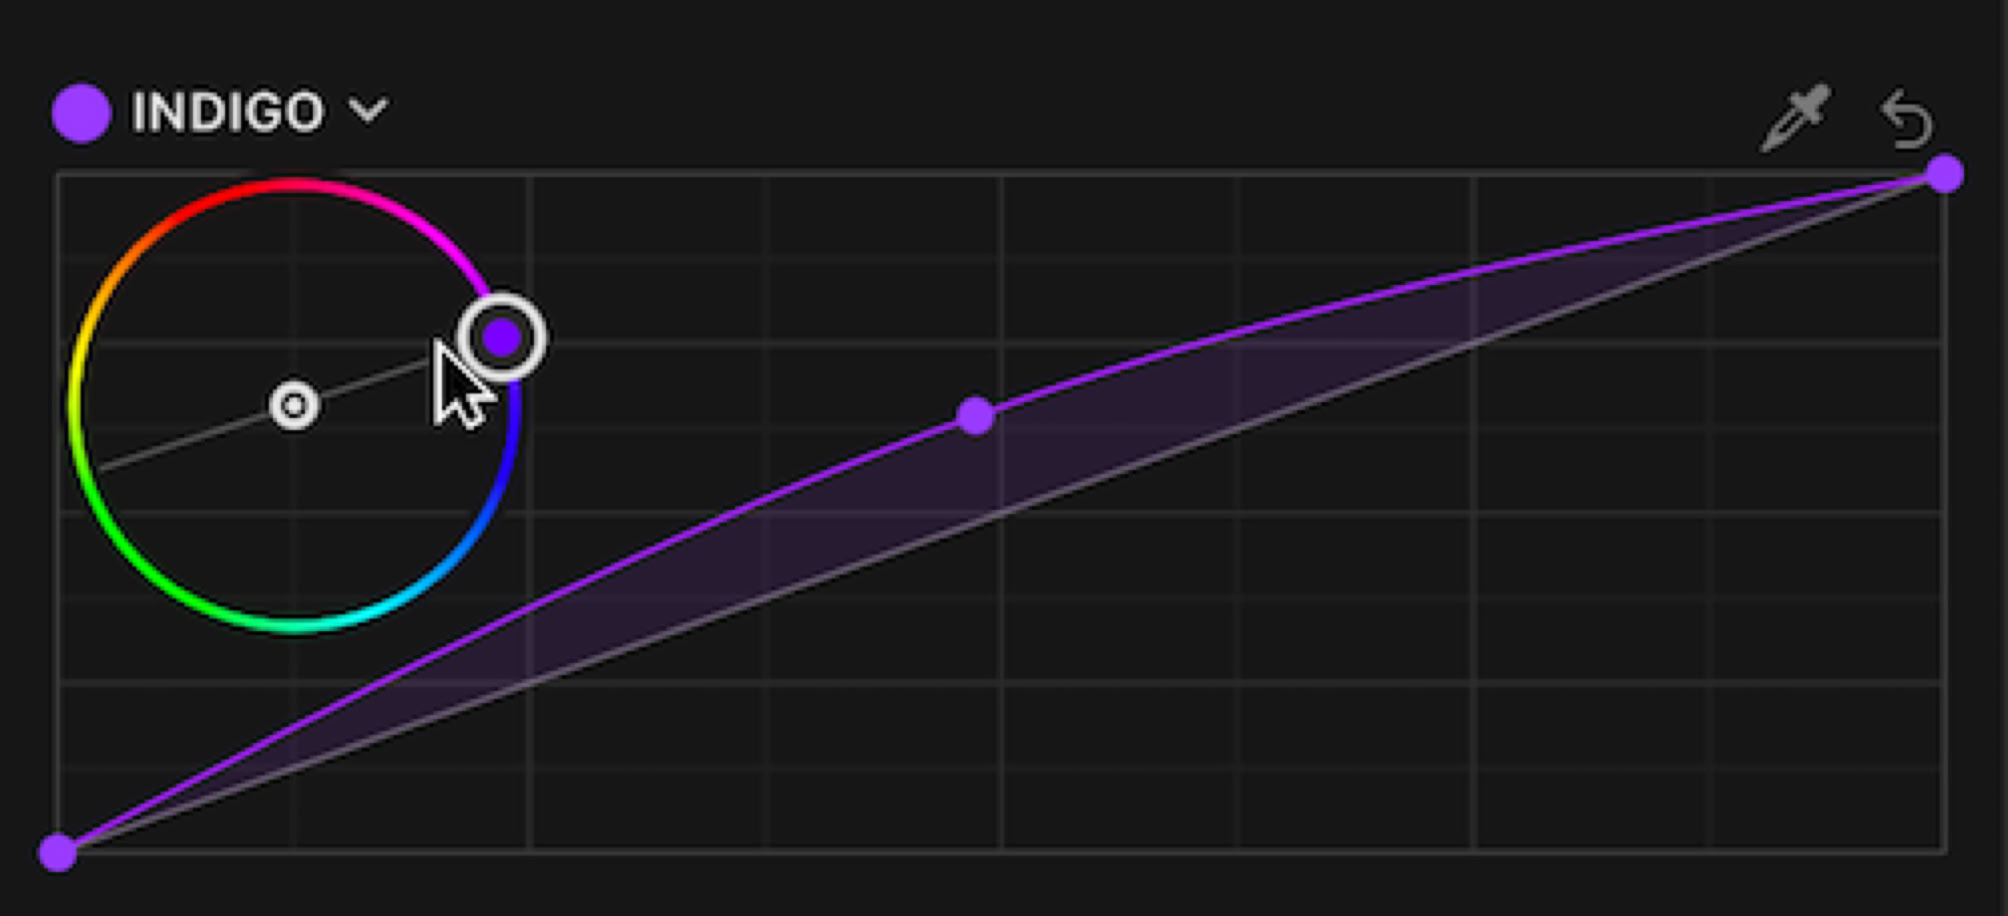
Color Curves can either be seen in separate panes, which is great if you have a large monitor or when using a full height inspector. You can also collapse the curves into a single pane that you can switch between, which is the more conventional display and great on a laptop. Notice at the bottom the checkbox to Preserve Luma and the slider to Mix in the original.
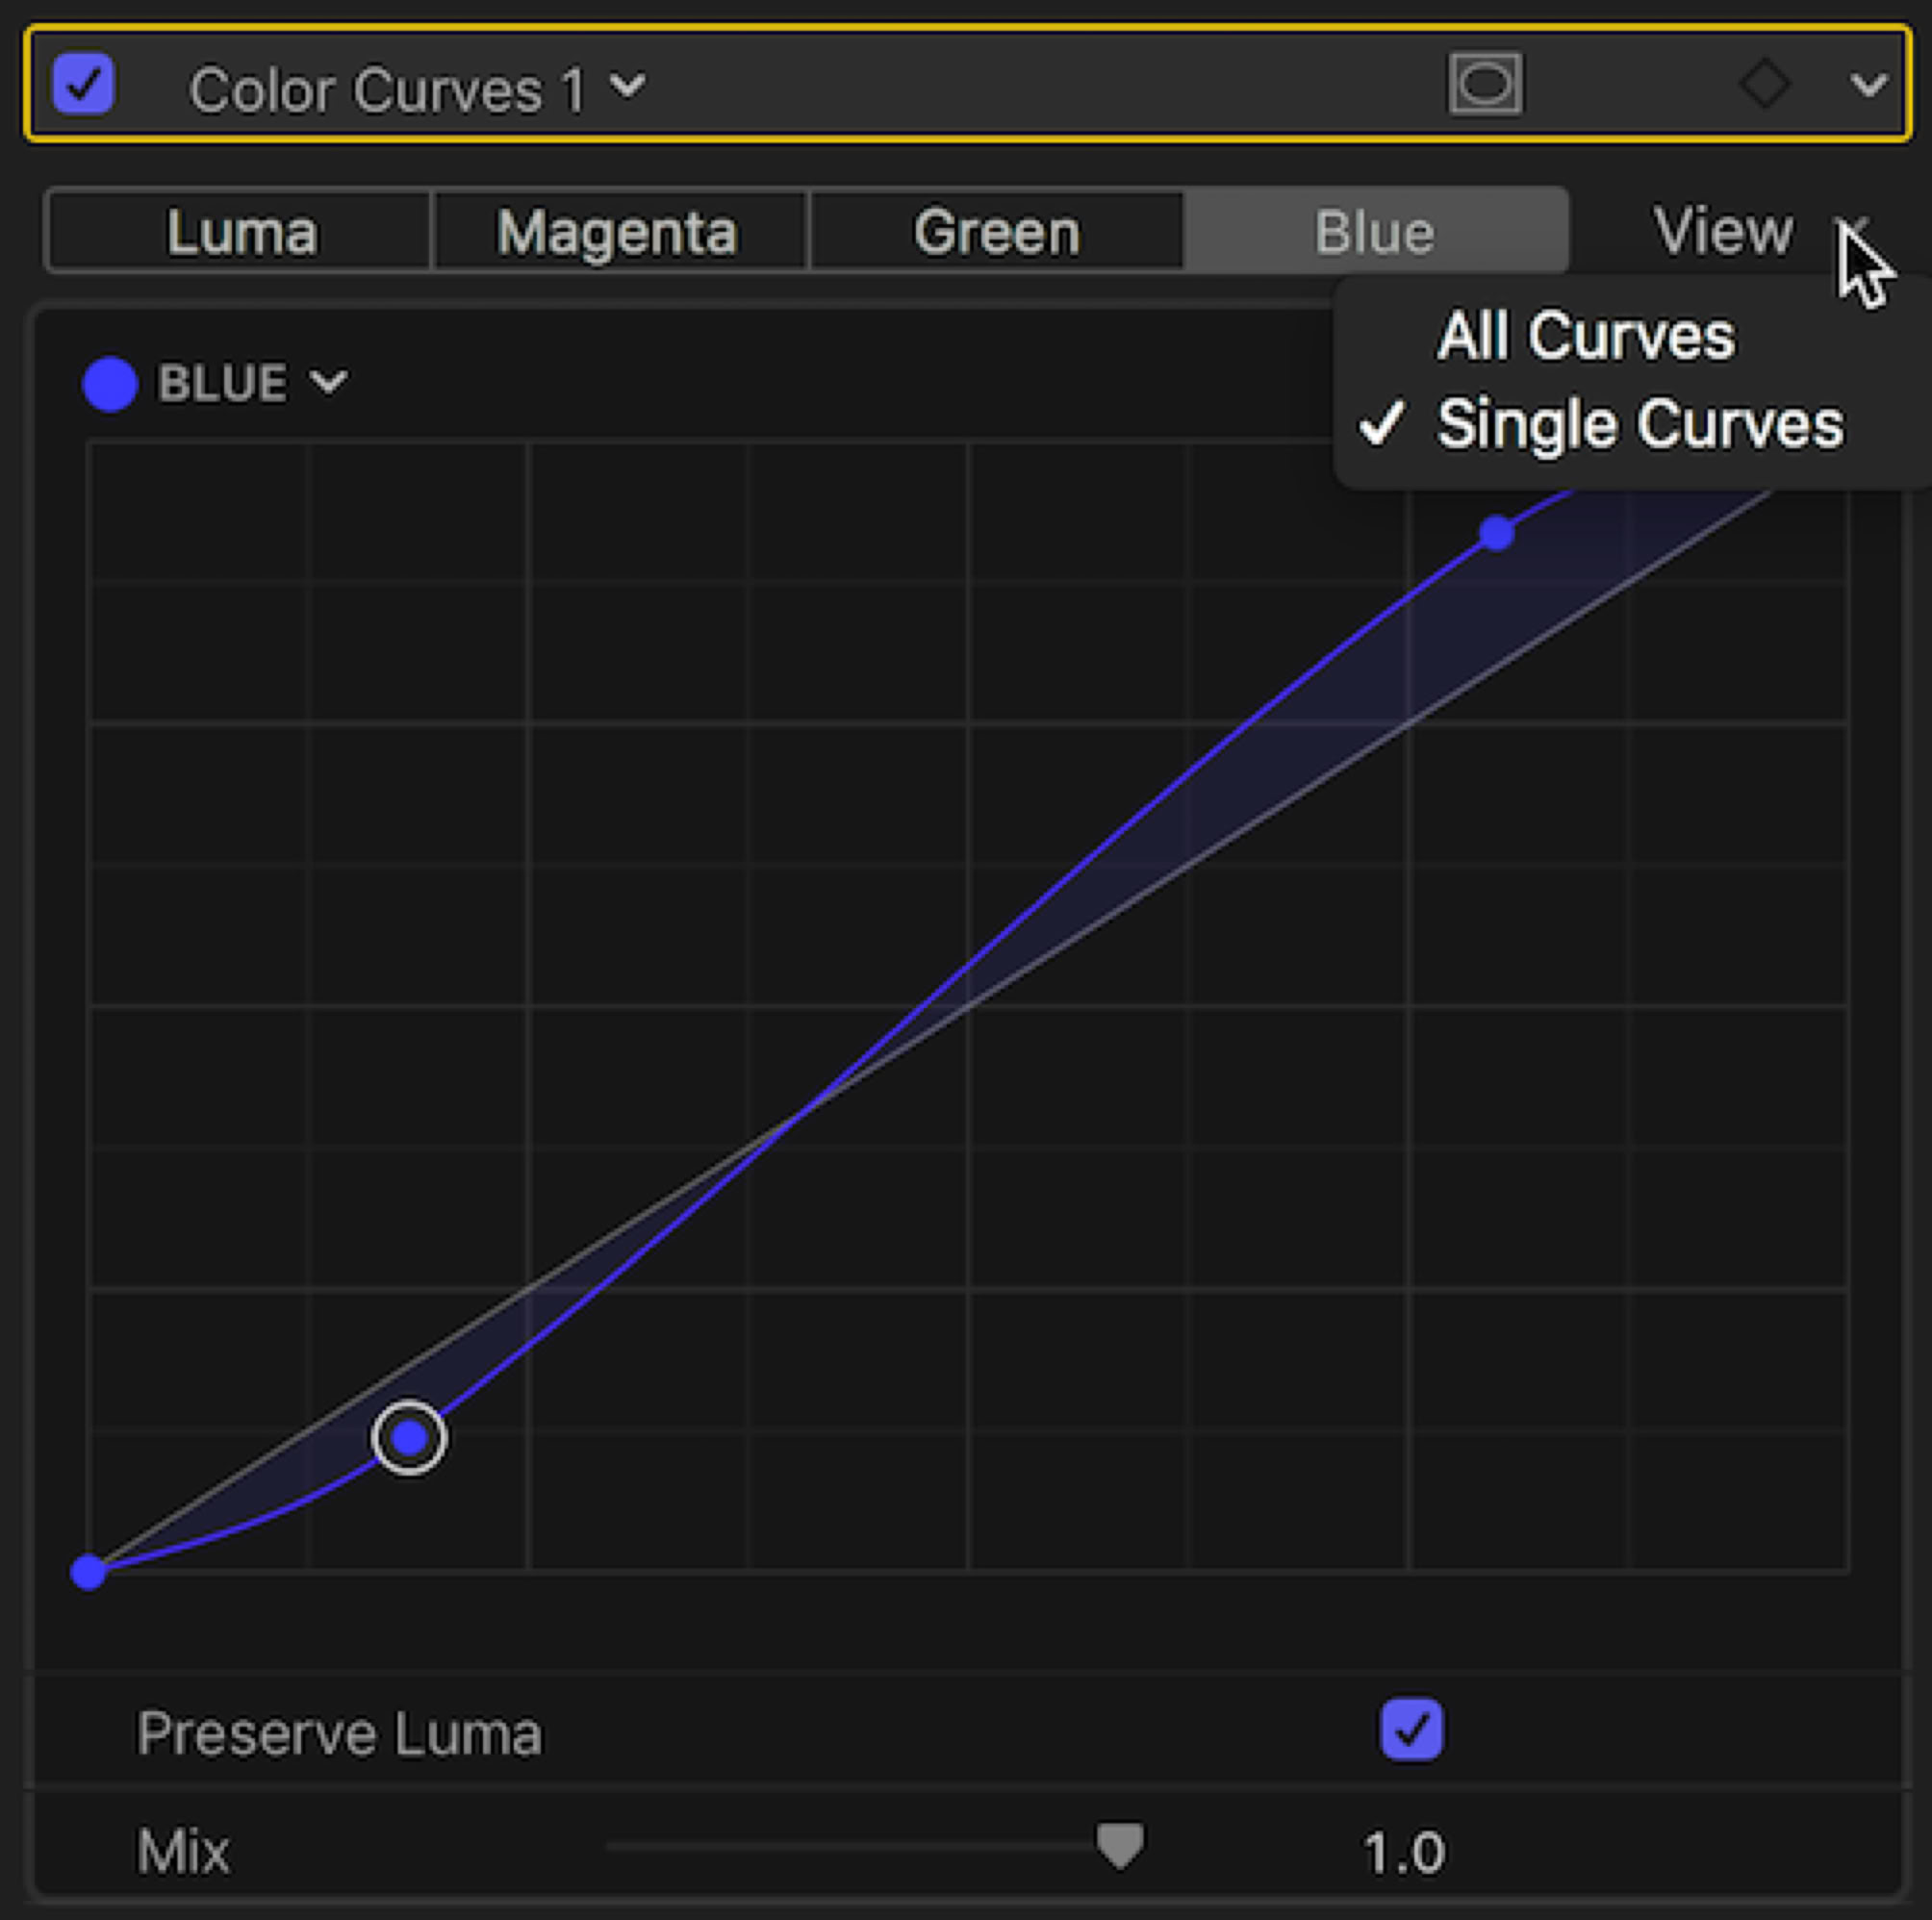
You can of course add as many points as you want to the ramp to reshape it. Setting a simple S-curve to the Luma to increase the contrast is a common starting point for many adjustments trying to achieve a film look. You can remove a point simply by selecting it and pressing the Delete key.
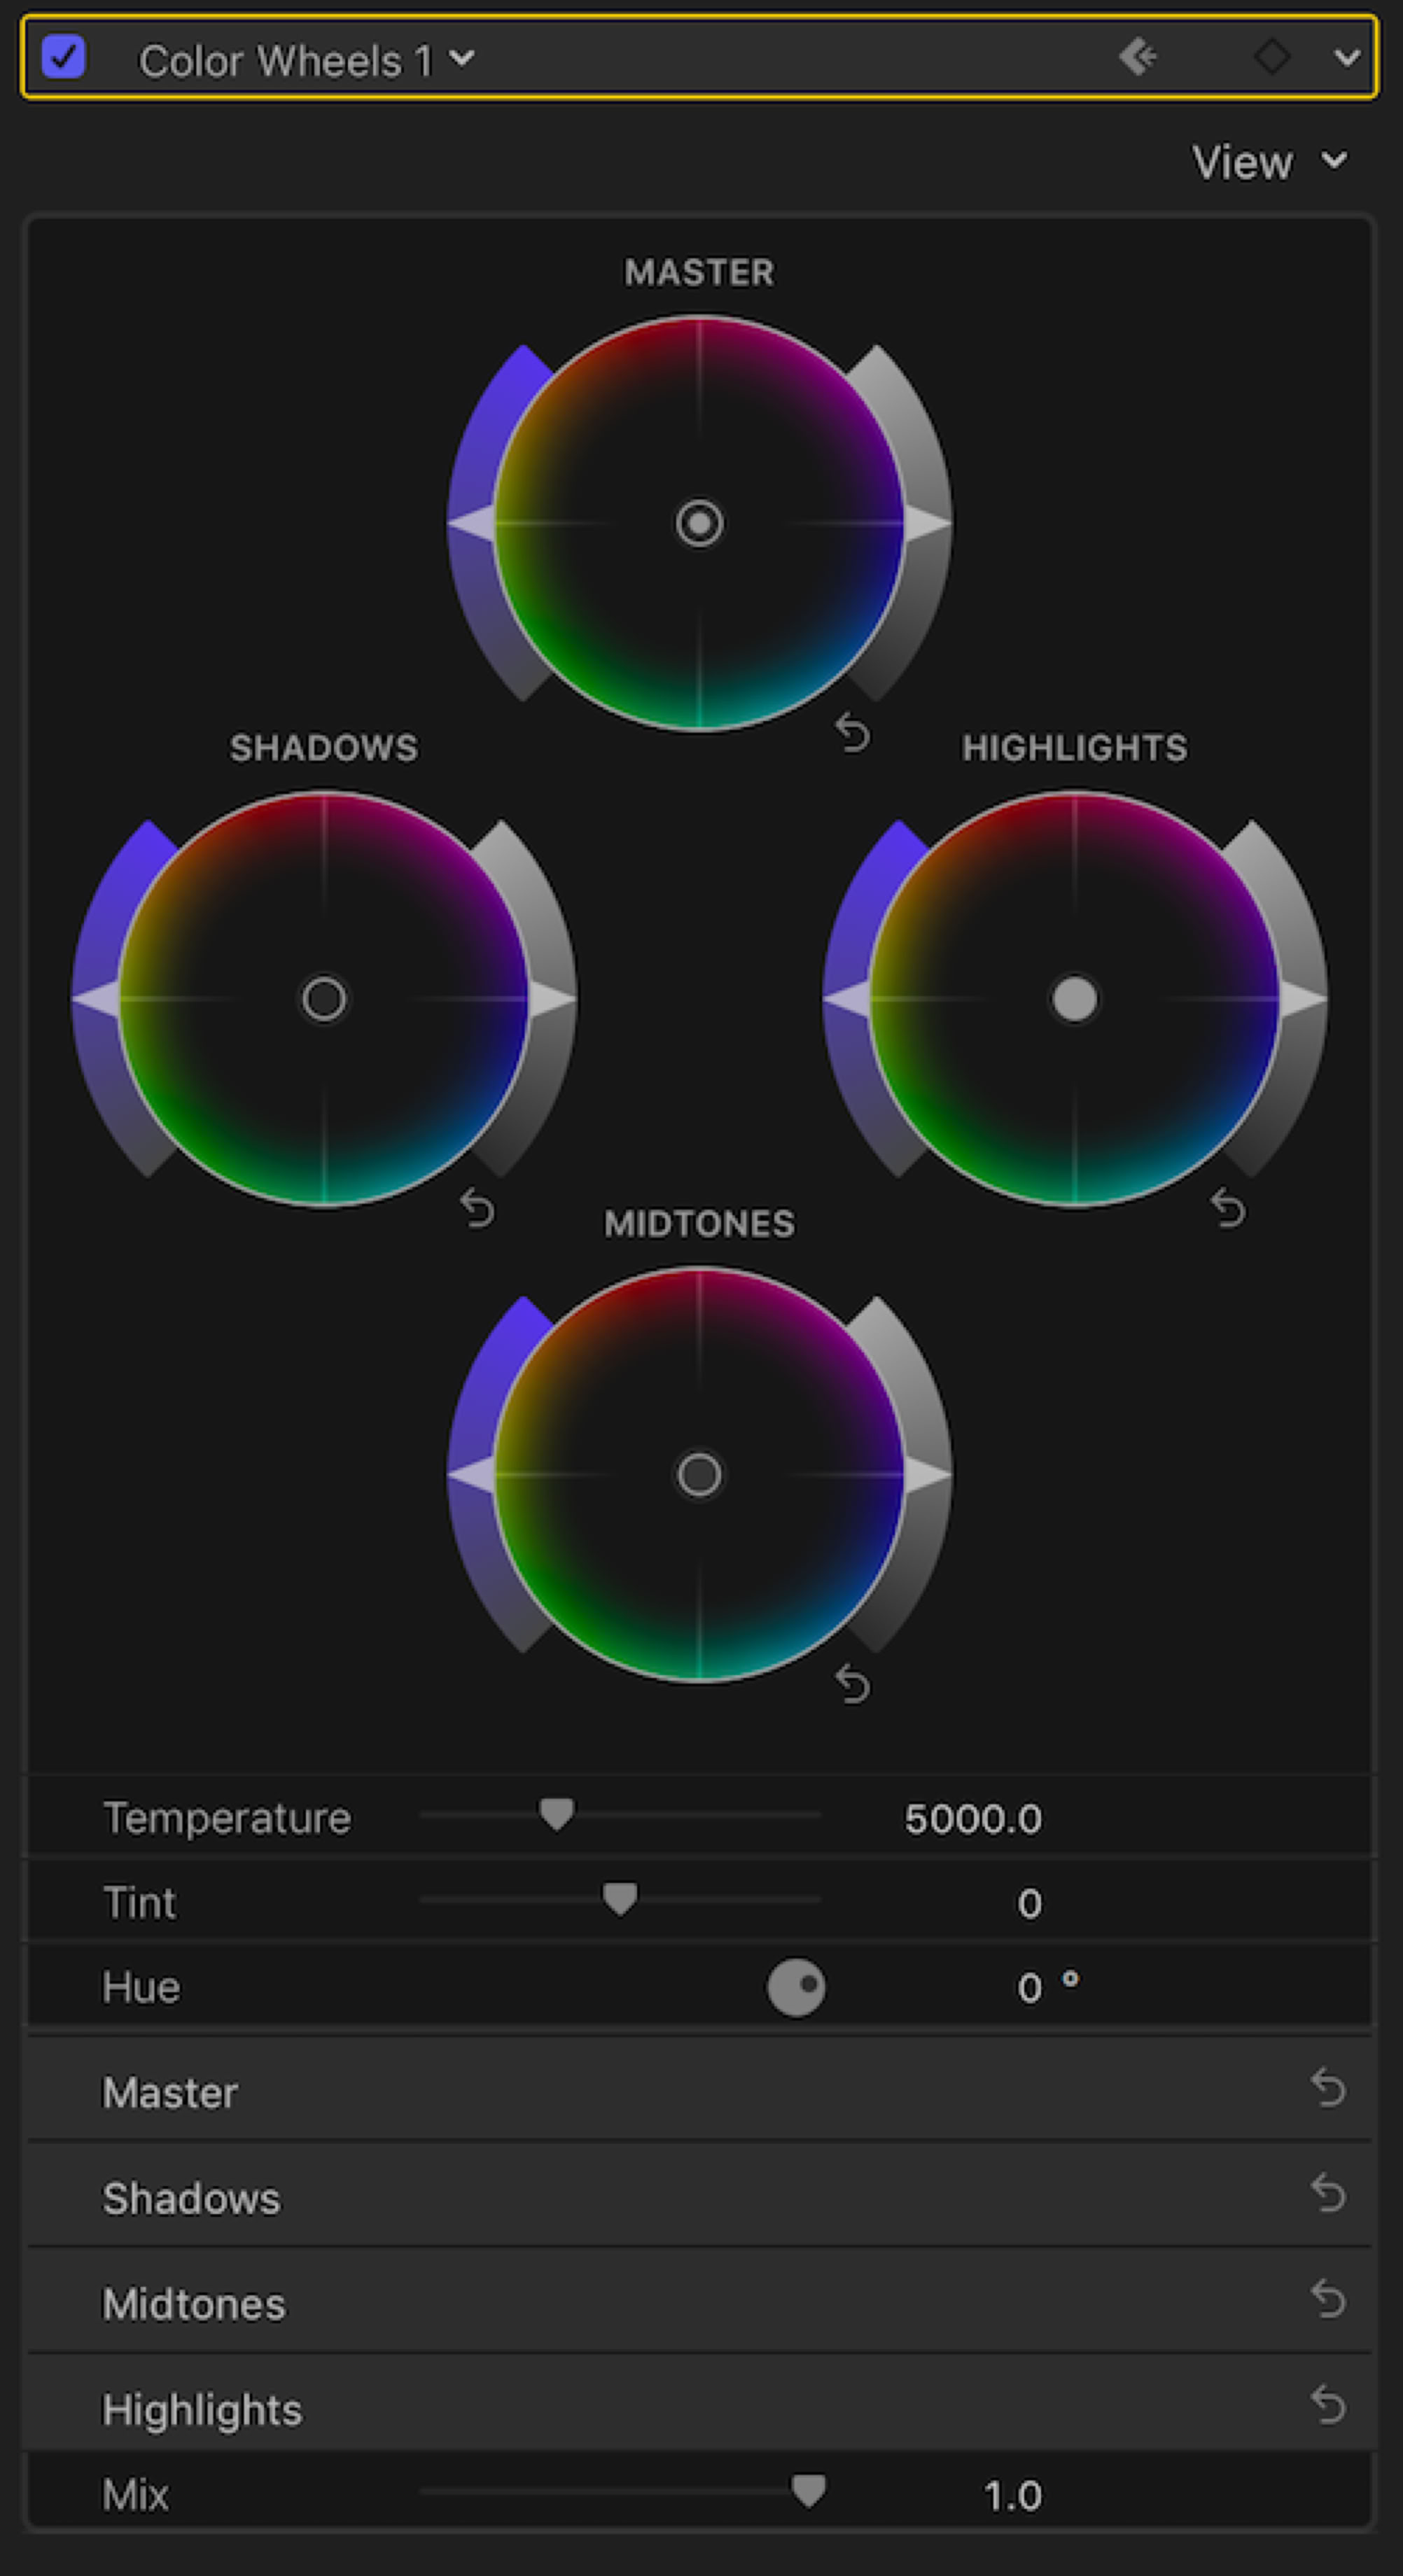
Color Wheels has four wheels, Master, Shadows, Midtones, and Highlights, or combined into a single wheel with selection buttons similar to the Color Board. In addition to wheels there are slider controls for each Color, Saturation, and Brightness.
Hue/Saturation Curves can also be separate curves or combined. These are really powerful tools for fine-tuning and make precise adjustments to the image. These are most commonly used for secondary color correction after the primary correction is done in Color Wheels or Color Curves.
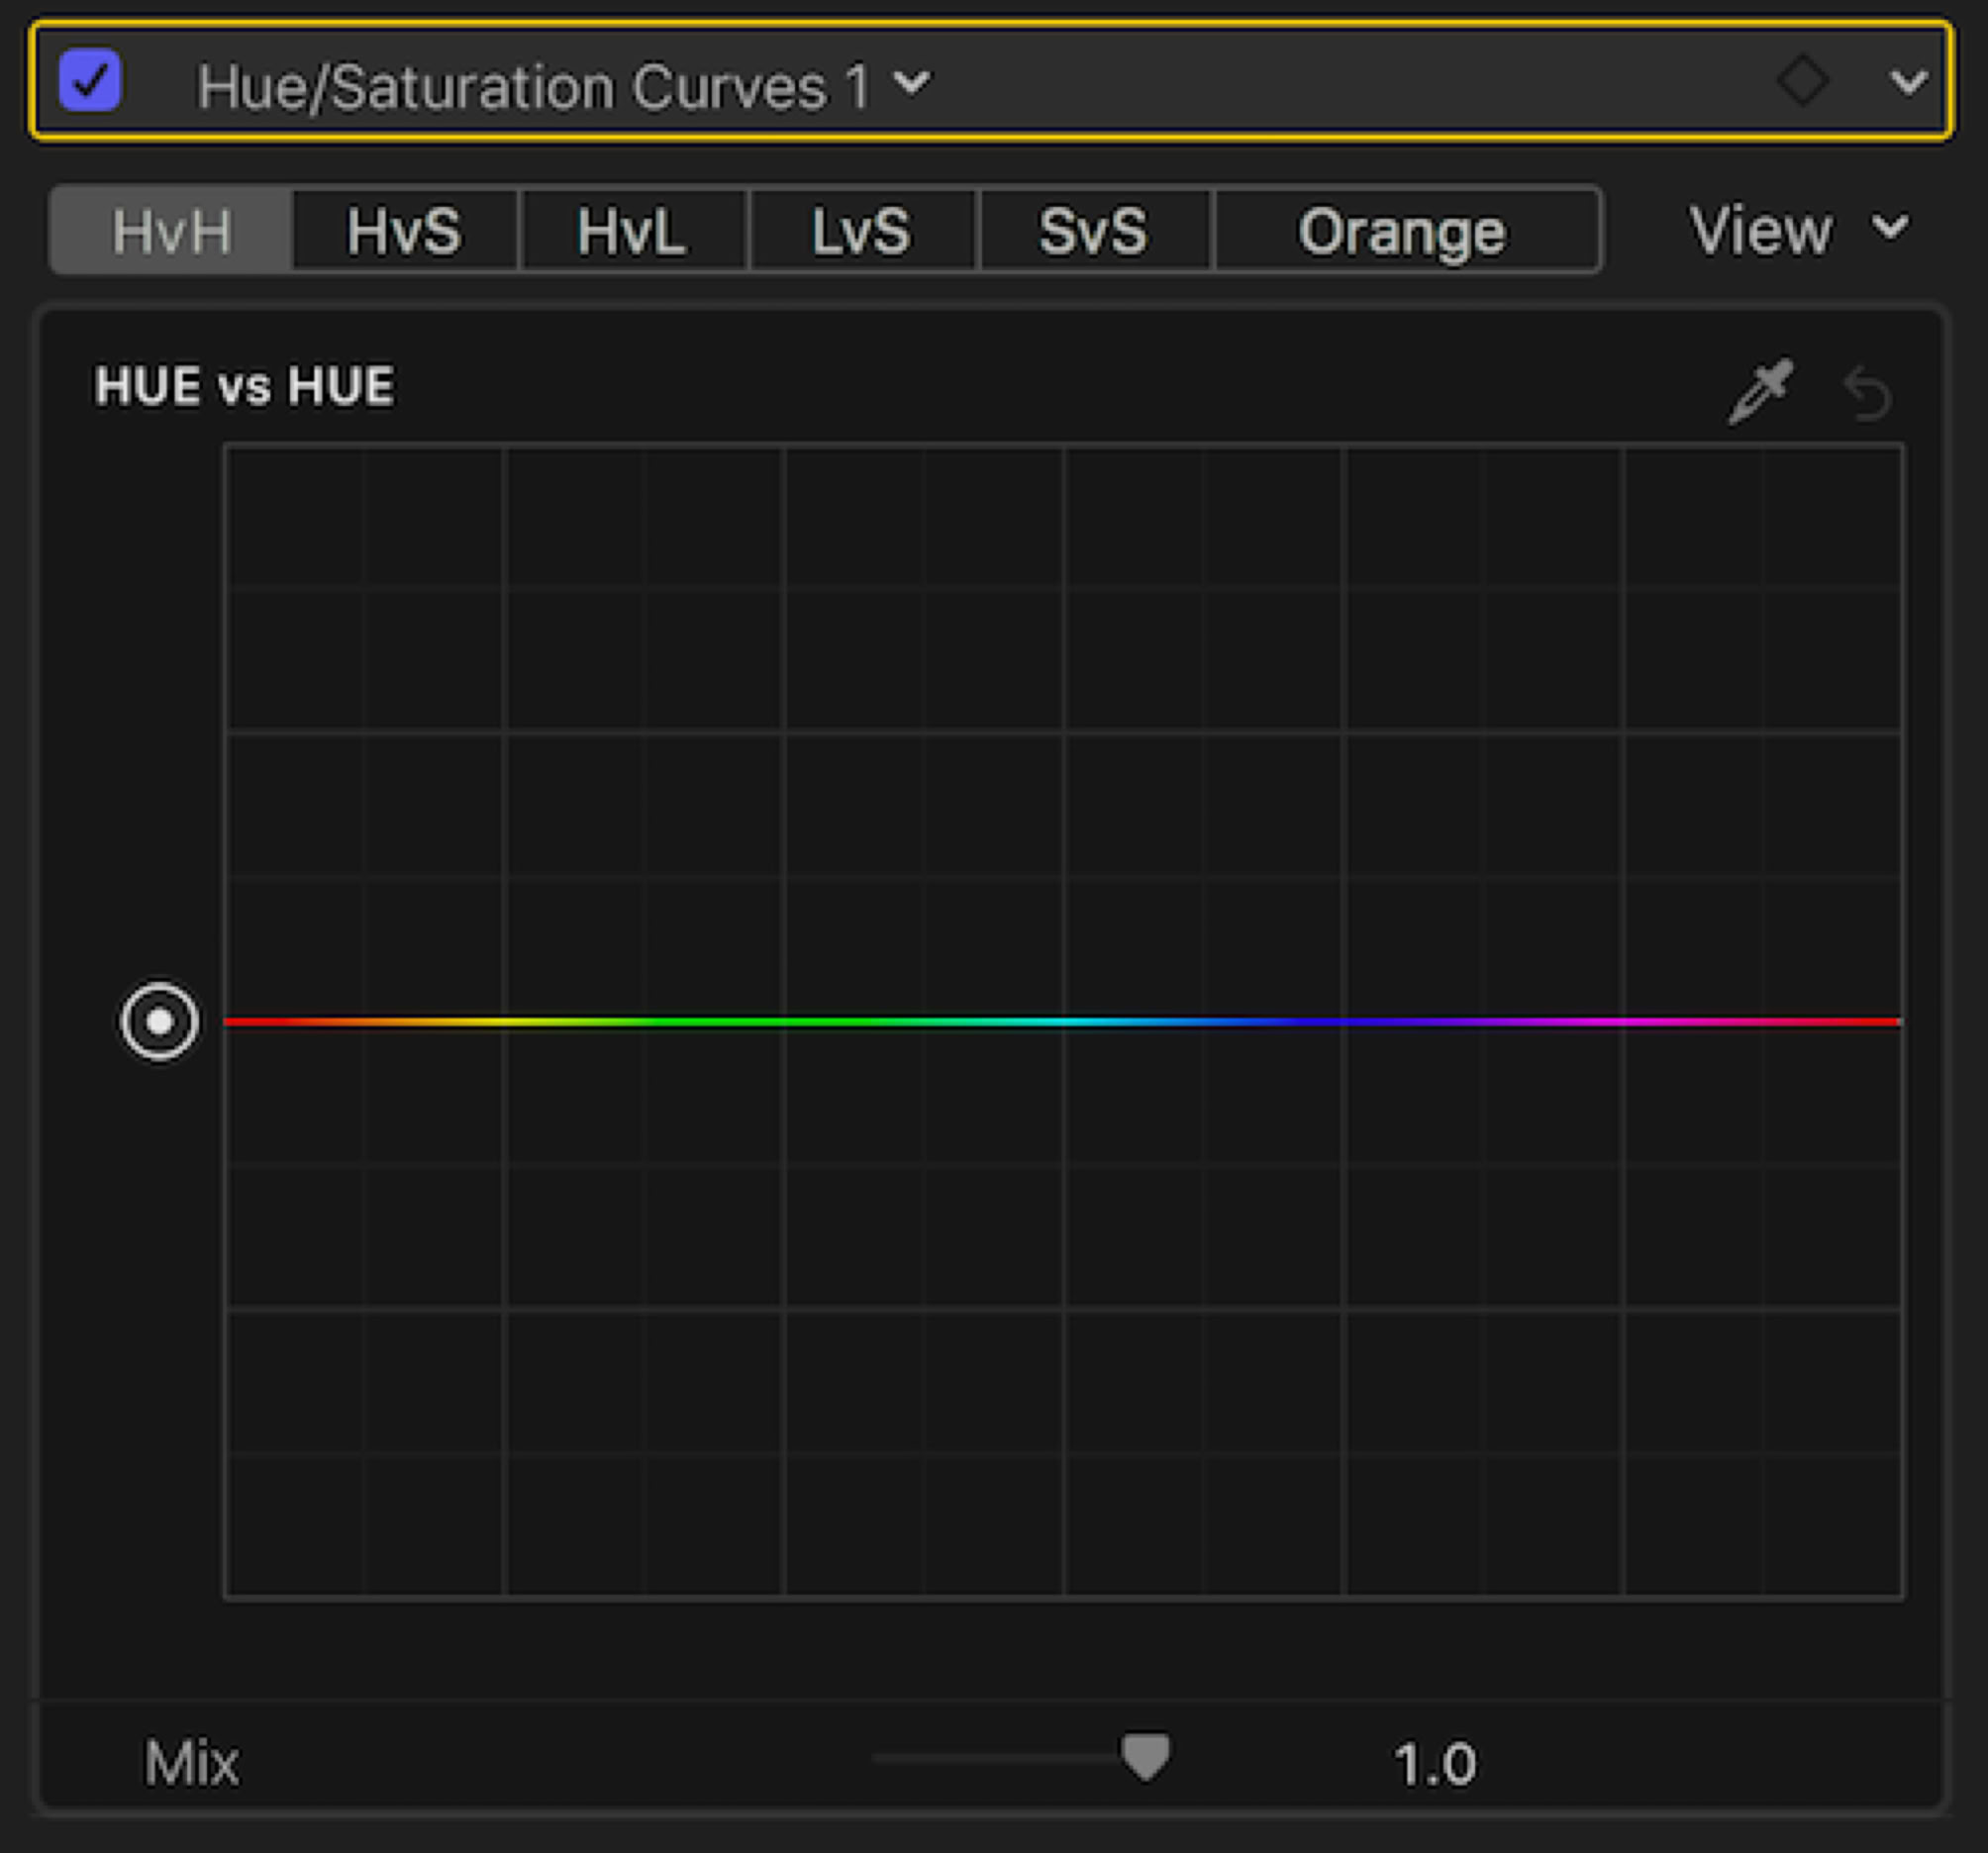
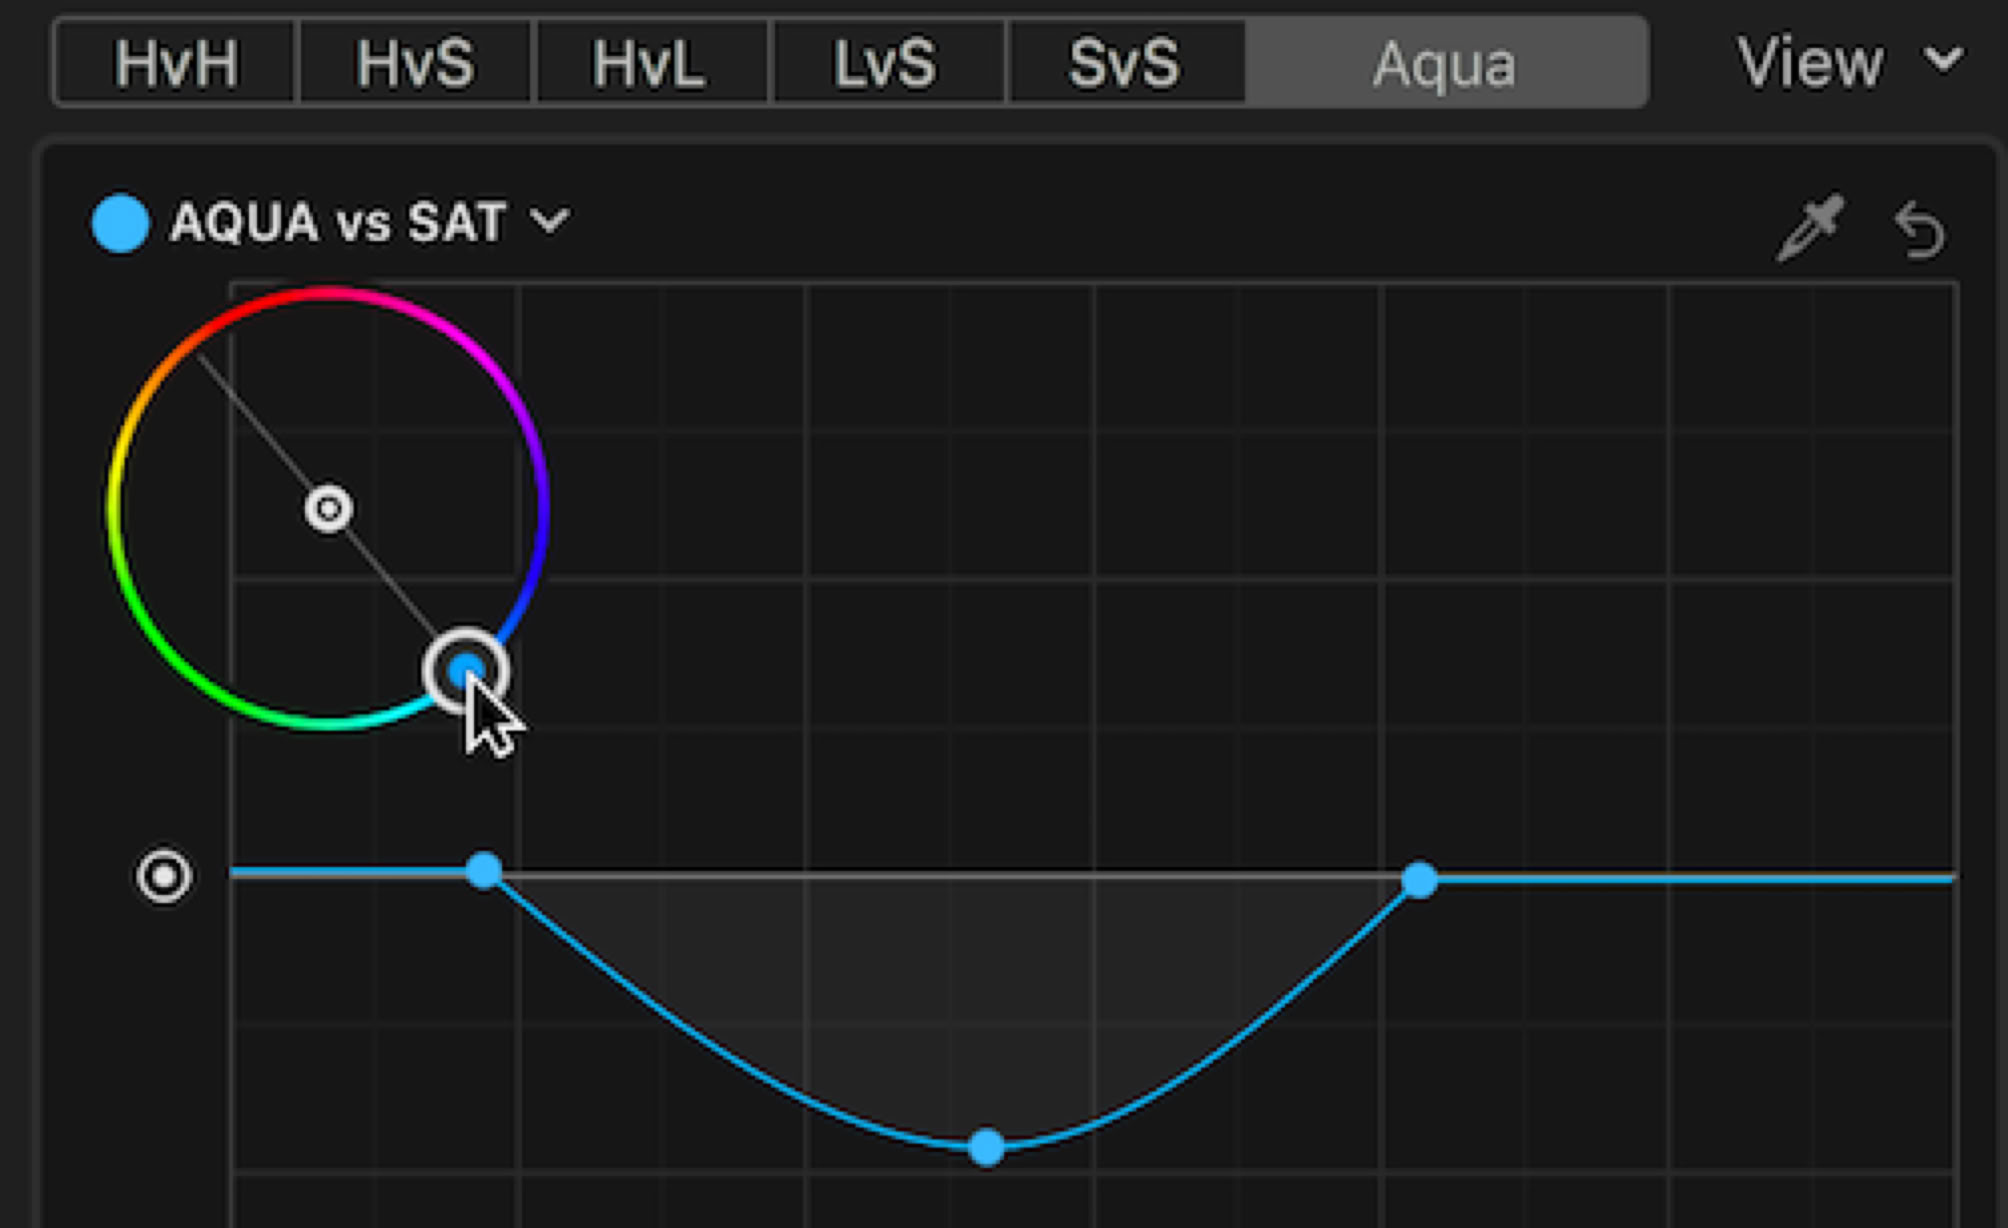
There are six Hue/Sat curves: Hue vs. Hue, allowing you to change a specific color; Hue vs Sat, letting you raise or lower the chroma of a specific hue range; Hue vs Luma, letting you brighten or darken a specific hue range; Luma vs Sat, raising or lowering the saturation in a specific luminance range; and Sat vs Sat, letting you adjust a specific saturation range. There is also a curve marked Orange, which can be changed with a color wheel to whatever color’s saturation you want to control.
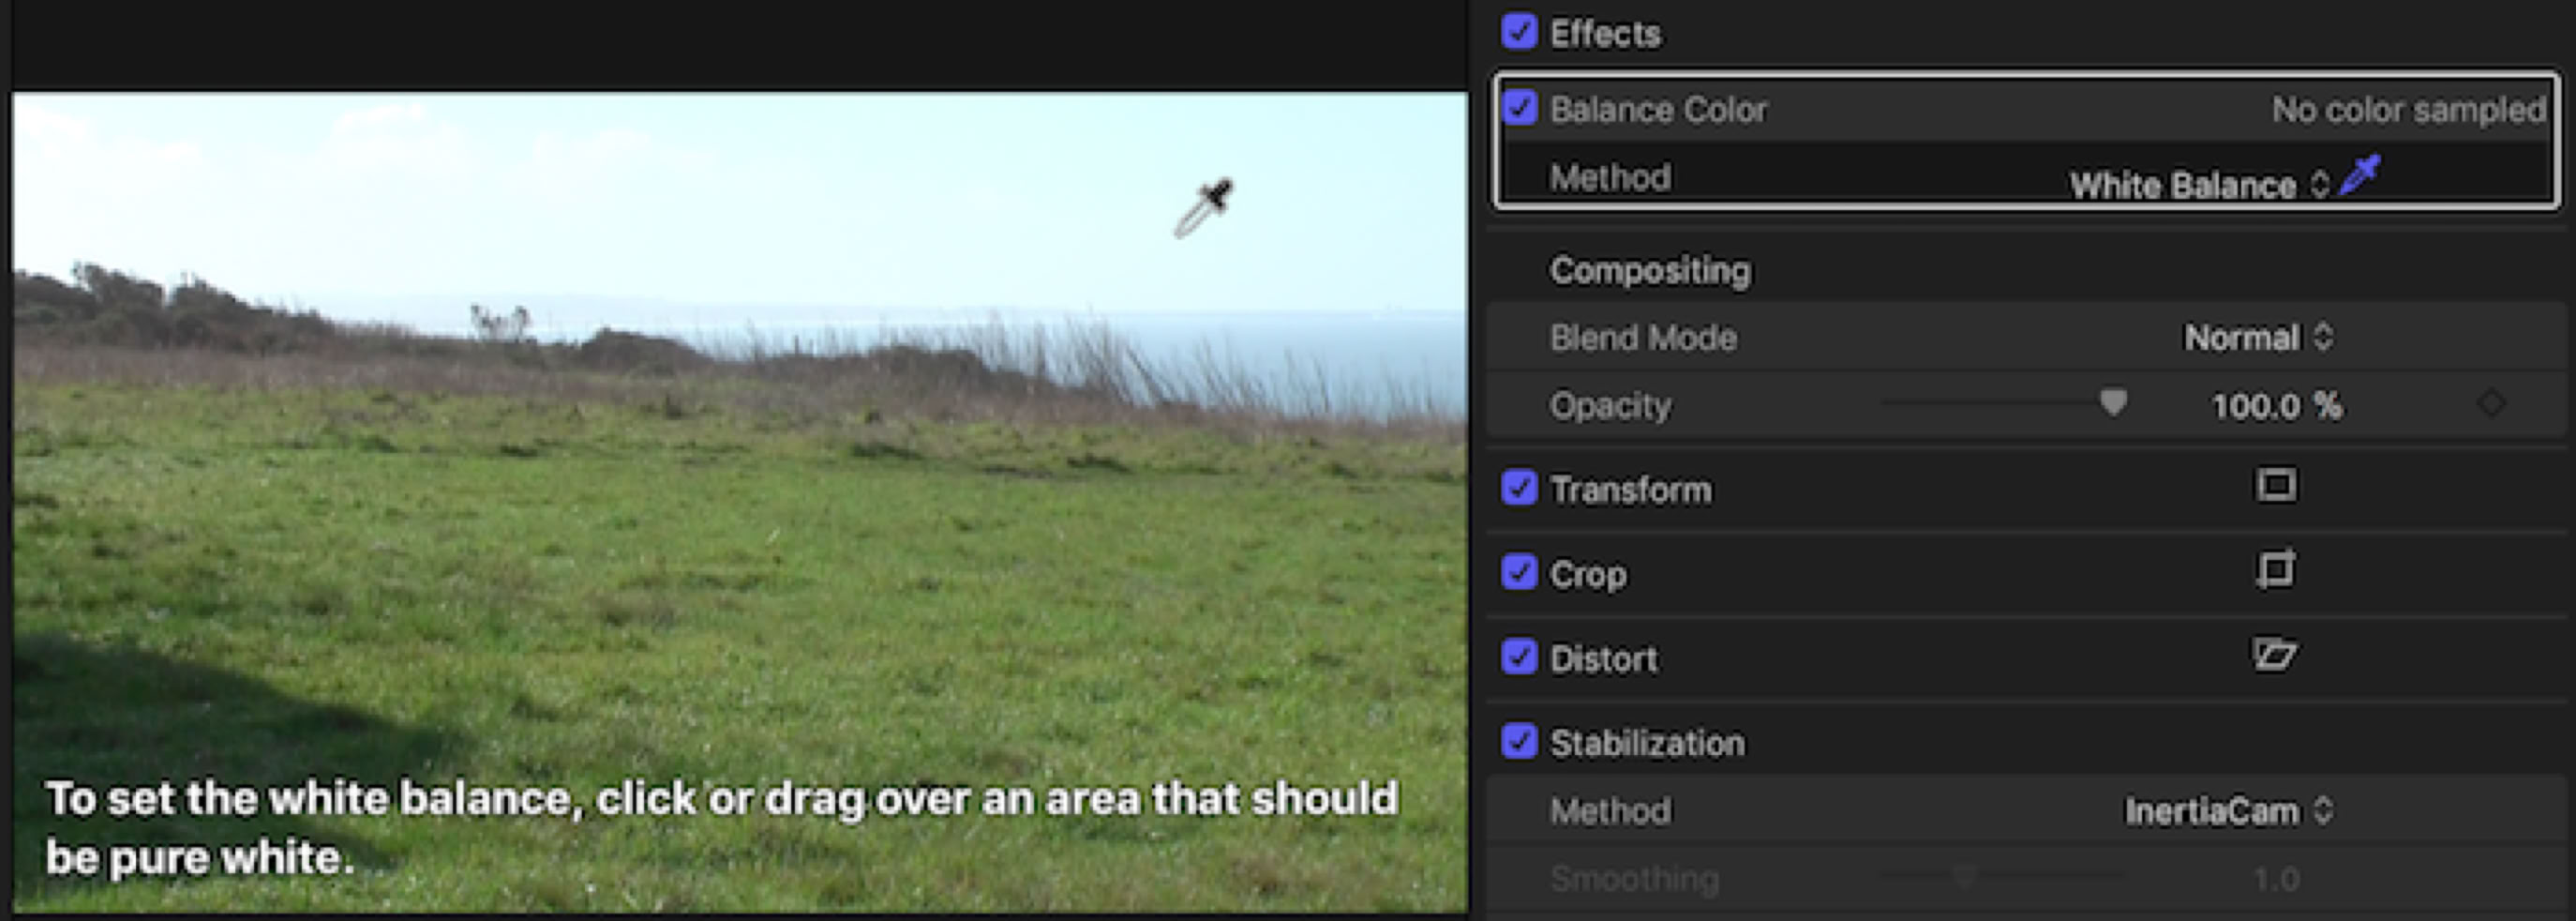
Balance Color, which previously had only an automatic setting, now has a White Balance option that allows an eyedropper to select white from the Viewer. You can switch back and forth between the two using the popup to see which you prefer.
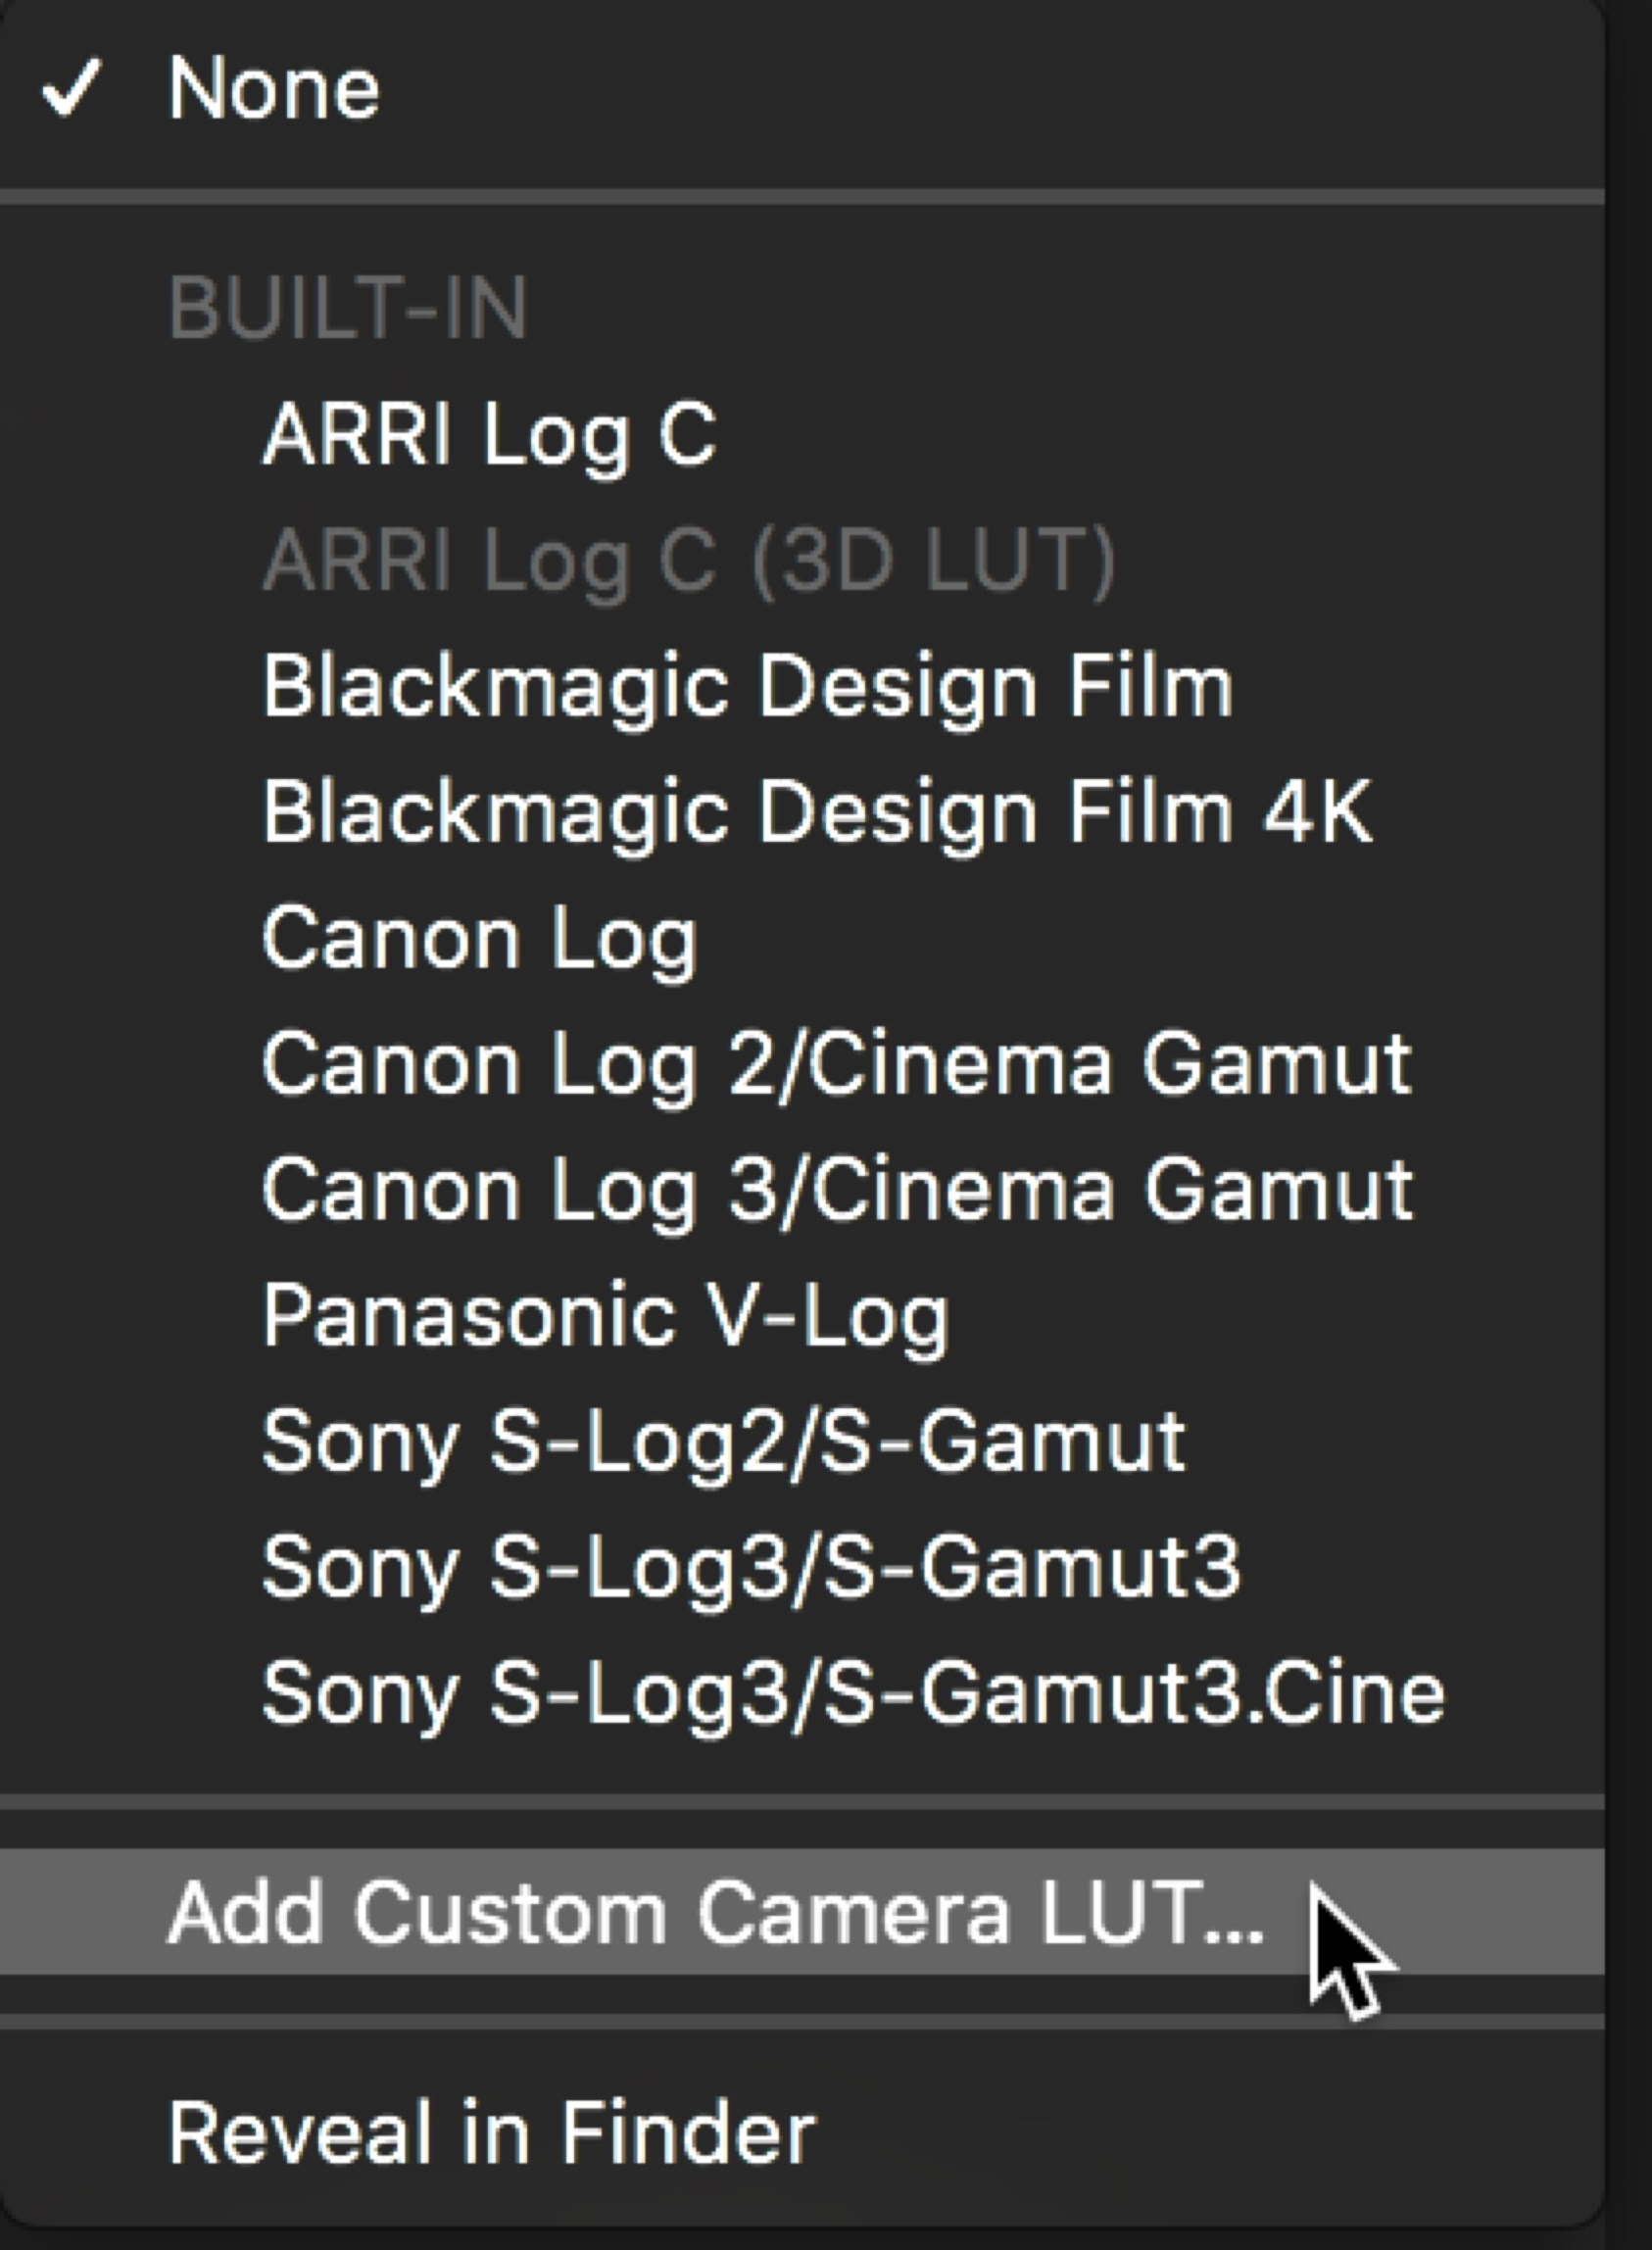
Custom LUTs can now be applied from the Effects Browser, or can be brought up from the Settings inspector, which still has basic camera LUT presets.
Color Presets that used to be at the bottom of the Color Board have now been moved into a new Effect Browser category for Color Presets. Having them in the Effects Browser allows the user to skim the 20 presets to test them on their clips. Remember the Color Presets start with extreme settings, so the looks might not look great without adjustment.
Now when you save a color effect you can name it and save it into the Effects Browsers. Just a note, that though the custom preset might appear in the Effects Browser, it is still saved in ~/Library/Application Support/ProApps. Because of this it is not a Motion Effect and unfortunately cannot be consolidated into the library with other custom Motion Effects.
A more detailed look at FCP’s Color Correction tools can be seen here.
If you have the second edition of Final Cut Pro X Beyond the Basics, the Color Correction chapter has been updated for FCP10.4.2 and is available as a PDF here.
HDR
FCP now supports HDR. You can set a library to Wide Gamut HDR, and now create new projects with options for Rec. 709, Rec. 2020, and two Rec. 2020 Wide Gamut HDR options.
To use HDR properly you’ll need an HDR capable monitor connecting via Thunderbolt. The monitor needs to be properly calibrated and capable of 1000 nits brightness. To put this in perspective the new iMac Pro and the current MacBook Pro have screens that are capable of 500 nits, while the standard luminance for Rec.709 is only 100 nits, a tenth the brightness of the base HDR standard, which is can reach a maximum of 10,000 nits. When working on your computer screen, the highlights will look blown out. When doing this you can use Playback preferences to Show HDR as raw values.

FCP can create projects in either of the two HDR standards PQ or HLG.
The application has an effect in the Color category called HDR Tools that lets you map your output to different standards Rec. 709, Rec. 2020, or one of two Rec 2020 HDR. PQ is also called HDR 10 and is at the moment more commonly used than HLG, which is used primarily by broadcasters who need to accommodate both SDR and HDR viewers. YouTube supports both standards.
You can find a more detailed guide to using the Advanced Color Correction tools here.
Lorem

