360 VR may become the next big thing in video. A number of news and current affairs outlets are using it successfully to deliver content to viewers in interesting and informative ways. Coverage of the Sonoma fires and their aftermath in 360VR is truly immersive.
10.4 makes editing and processing this media very straight-forward. You have to shoot your video with a 360 camera that supports standard spherical video format. The list of tested 3600
cameras is available on the FCP supported camera page. After you shoot your video, you’ll have to use software, usually provided by the camera manufacturer, to stitch the images from the multiple lenses into an equirectangular frame. Once that’s done, simply import the stitched media into FCP.
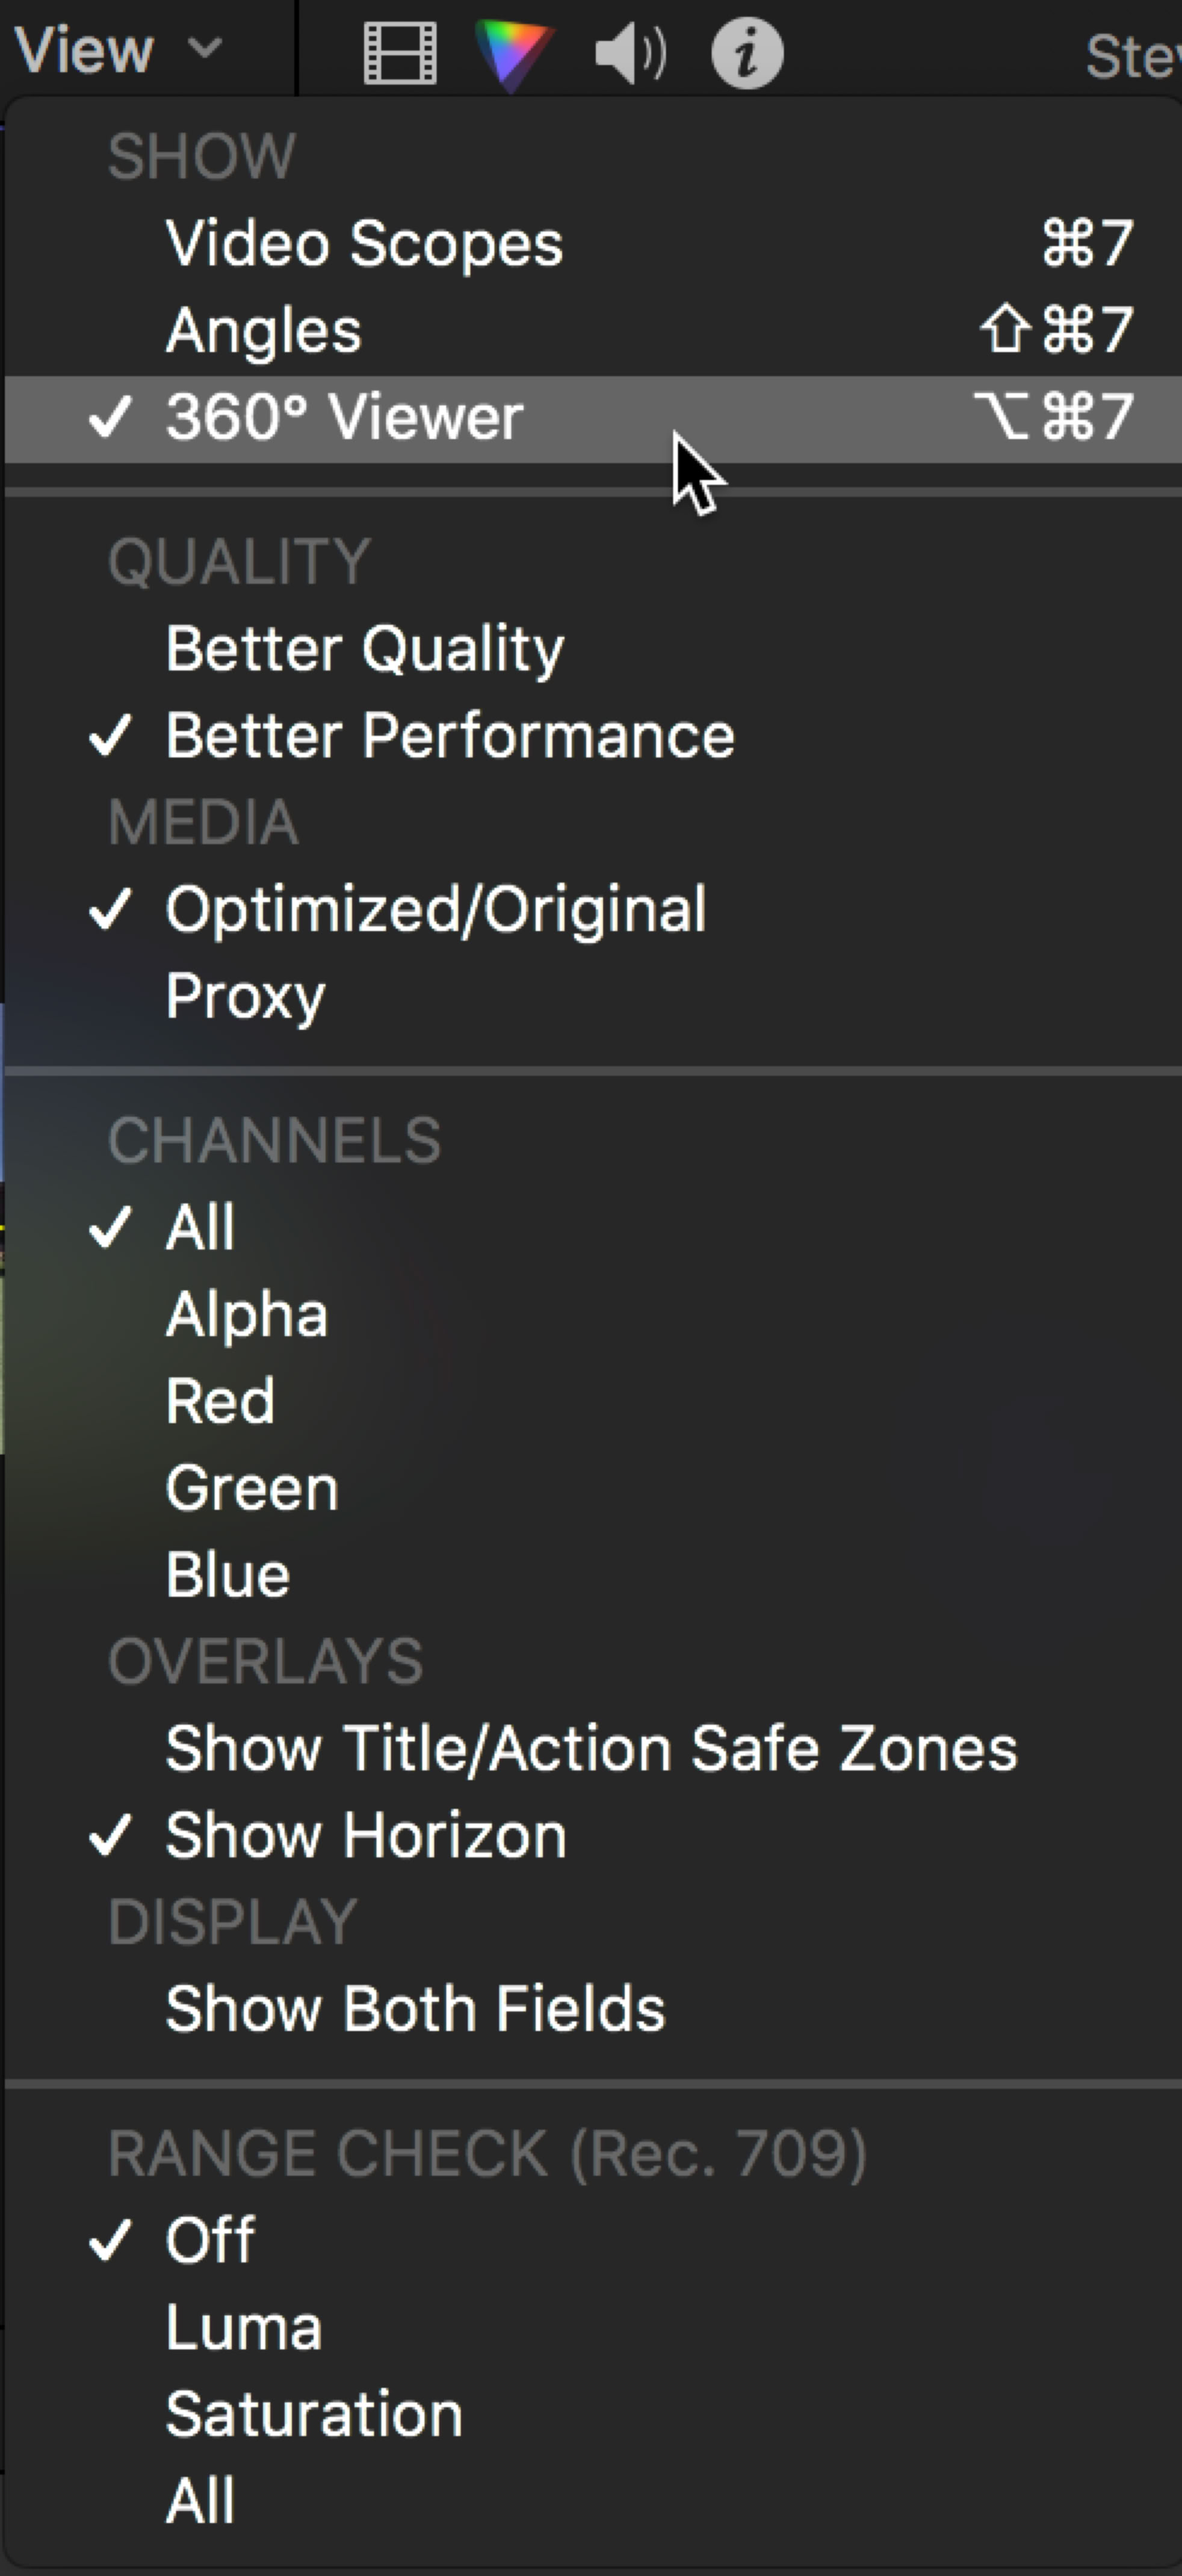
Once your 360 media is in the application, in the Viewer popup in the upper right, you now have access to new VR display tools, 360 Viewer (Option-Command-7) and Show Horizon.
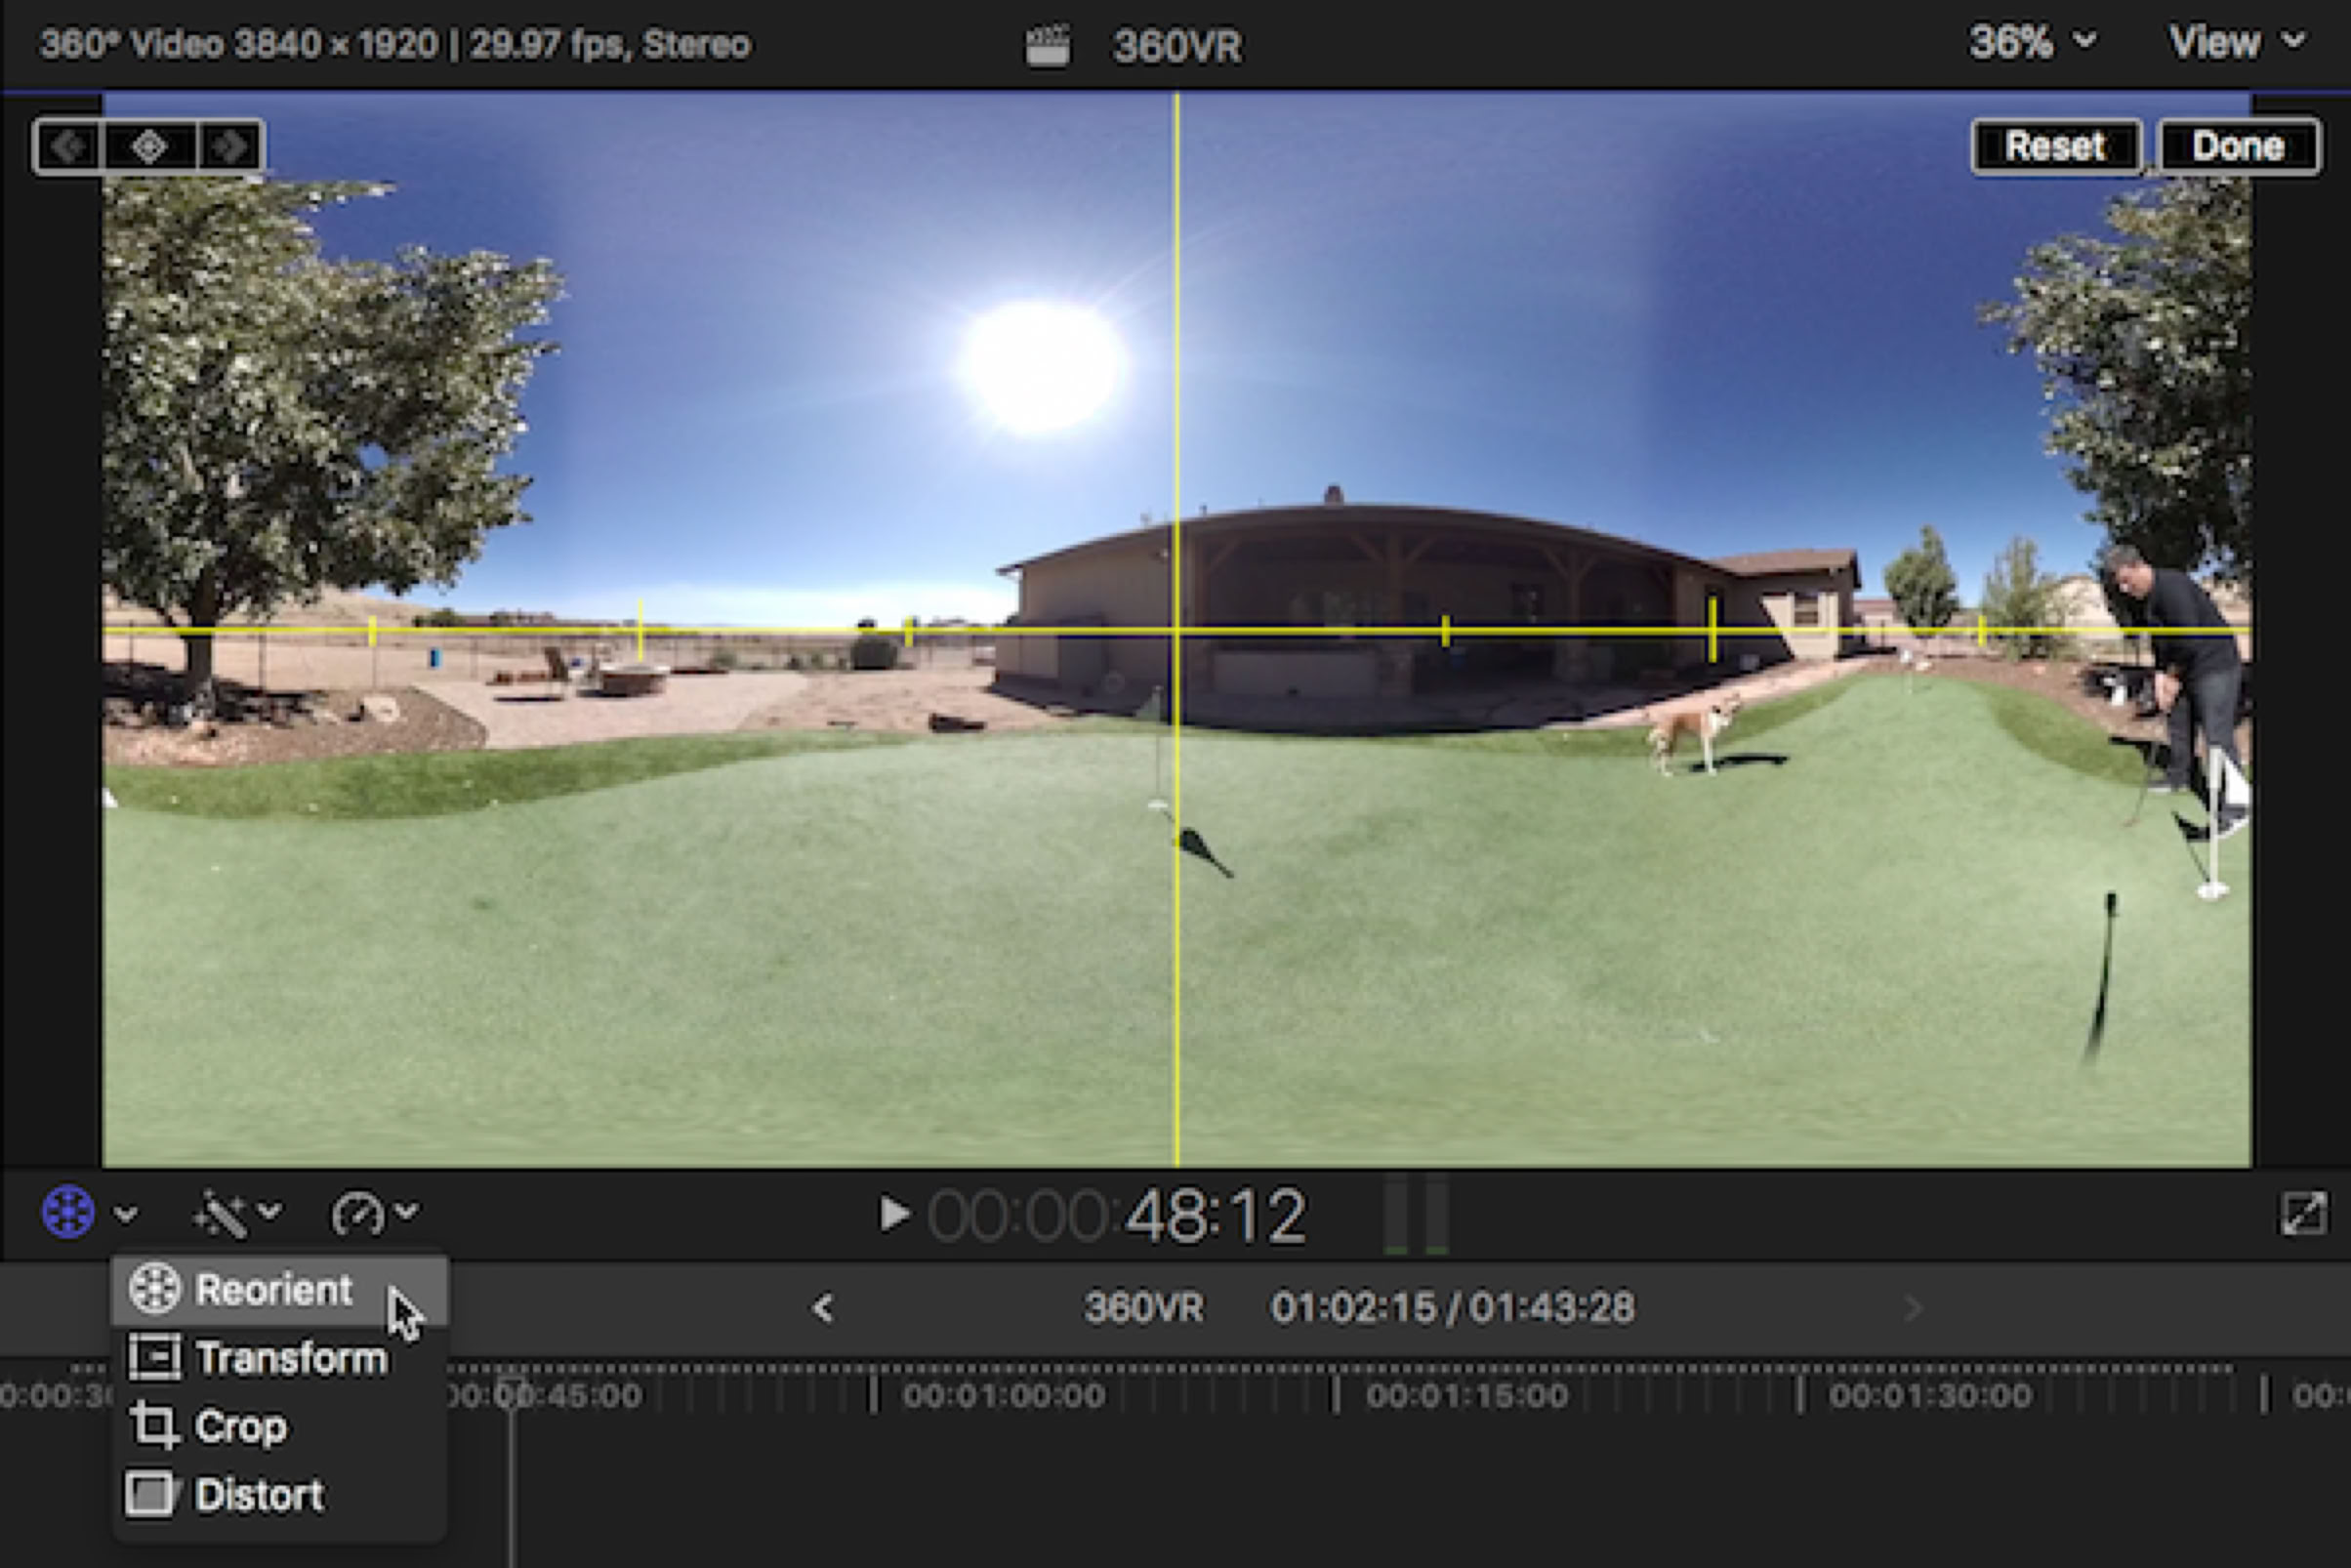
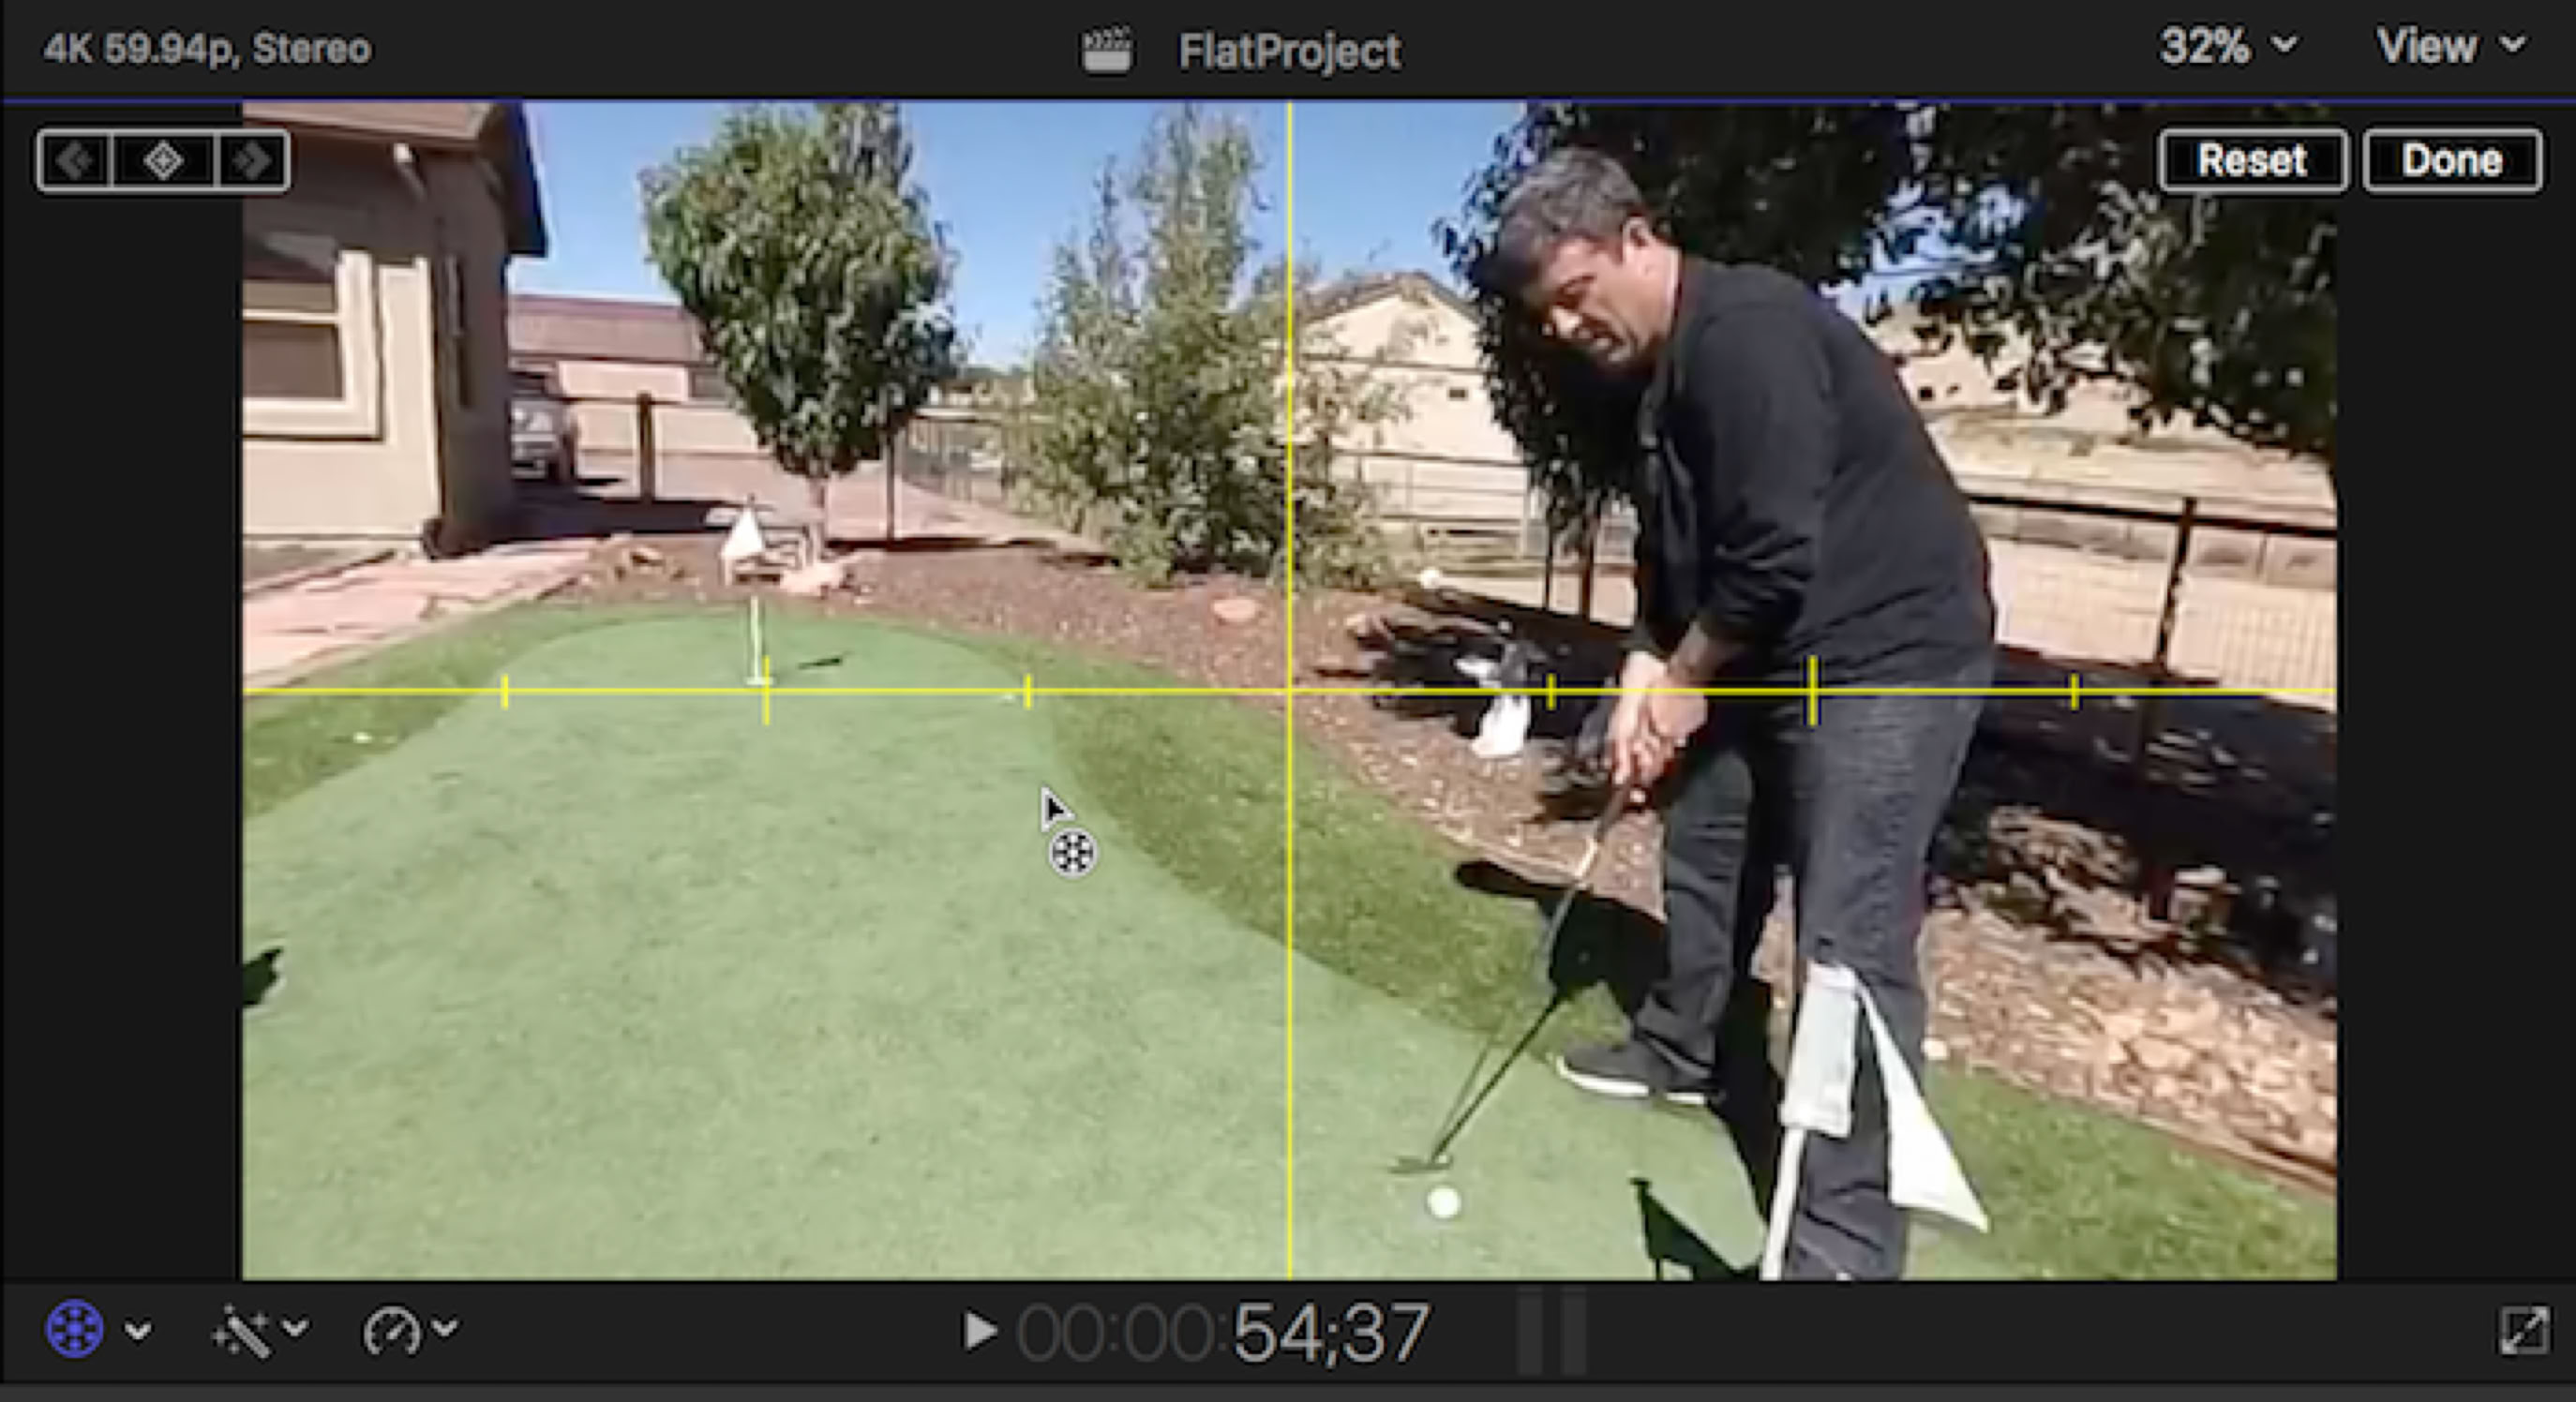
The Viewer shows an equirectangular projection, distorting the spherical video to fit into a rectangular frame the way a map distorts the globe, stretching the poles while leaving the center of the image undistorted. The Viewer itself shows the horizon graph, which can be adjusted using the Reorient function in the Transform popup. Reorient allows the editor to change the “forward” looking angle of the camera to whatever angle in the sphere he wishes to direct the viewer’s eye. The viewer can of course change the angle how they wish, but the starting angle can be set by the editor, assuming that’s the direction the viewer is watching. When dragging the Reorient tool, hold the Shift key to constraint the moved to the horizontal axis. The Reorient position is an attribute that can be copied and pasted using the Paste Attributes function, or saved as an effect preset at the bottom of the Video inspector.
With the 360 Viewer open you have full control of the spherical image and can move around in it completely.
In FCP you can now create a project that’s either spherical or flat. A spherical project can have the content viewed in the 360 Viewer with controls.
You can also add flat content to a spherical project, which appears distorted. Go into the Video inspector and switch off 360 Transform to flatten the image, or use either Spherical or Cartesian coordinates to position the clip. The Auto-orient checkbox will keep the image facing the user.
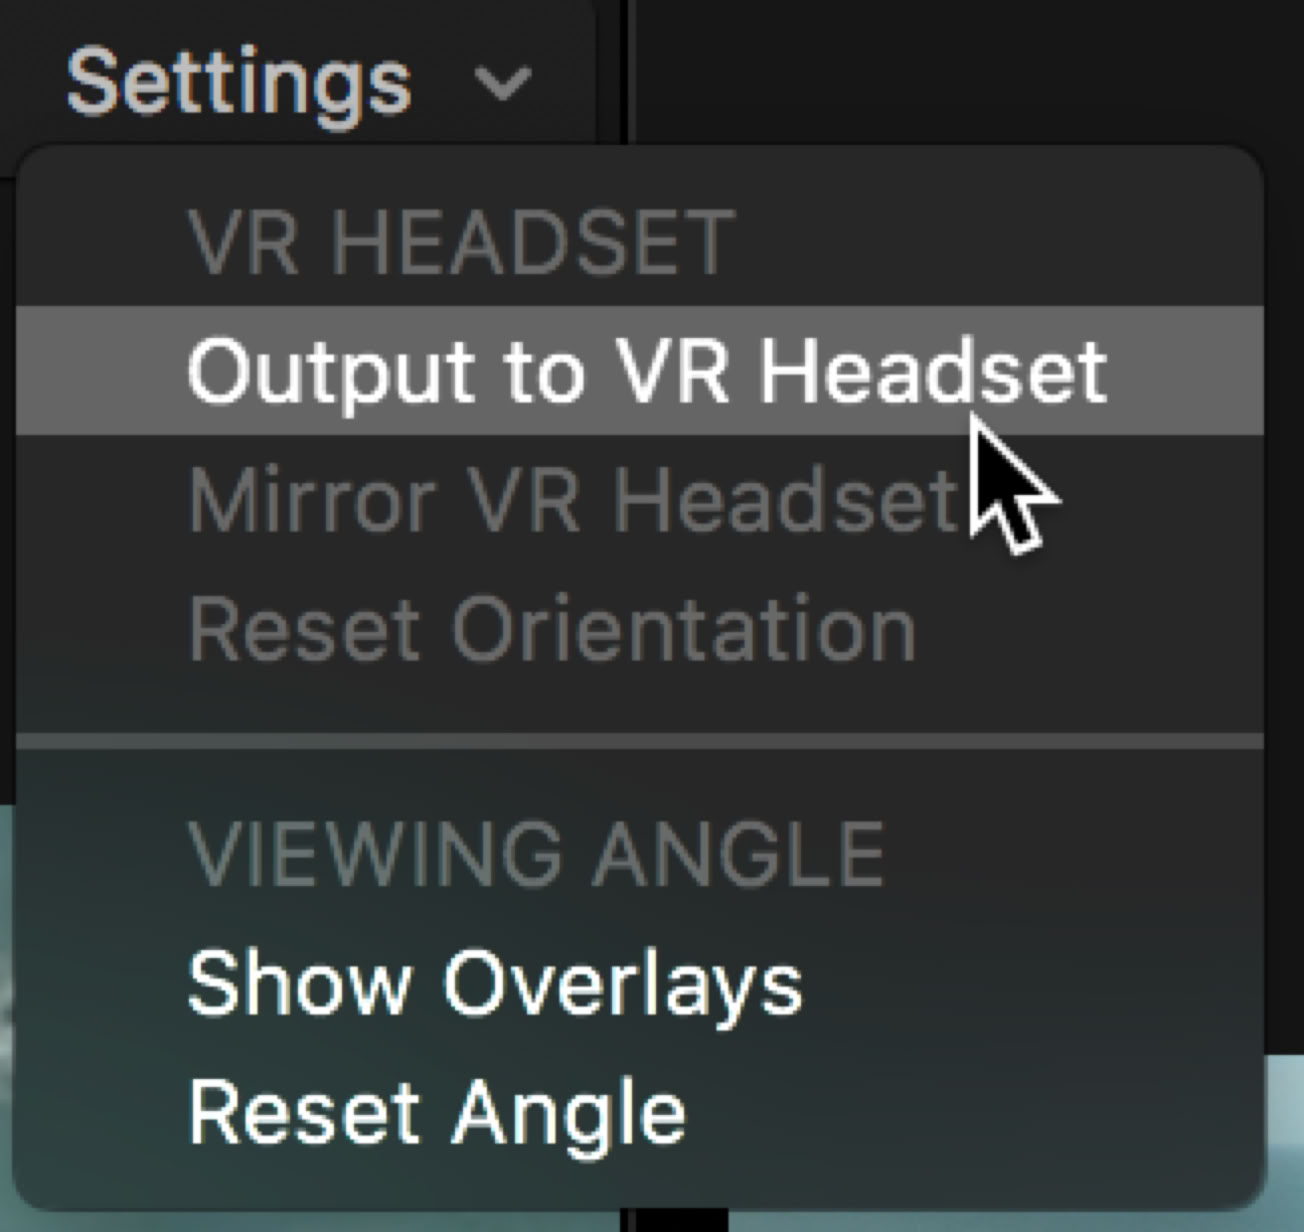
In the 360 Viewer settings in the upper right you can select output to a headset. Notice that you also mirror the headset and the 360 Viewer. You can also turn on overlays that show the orientation and reset the angle to 00. When using a VR headset you can set an alert in Playback preferences if there are dropped frames on the headset.
360 material can also be placed in a flat project and using the Reorient controls in the Transform popup can be adjusted to set what the audience sees in the sphere. You can also use Orientation controls in the Video inspector for greater precision.
These controls can be animated in Viewer to pan around the spherical image, or with adjacent keyframes, to jump from one part of the sphere to another. Basically you can shoot an interview with a single camera and cut between two sides of the conversation in one shot.
3600 projects can be exported directly to YouTube and Vimeo, where the spherical output can be viewed and controlled by a supporting browser, which at this time, means everything but Safari.
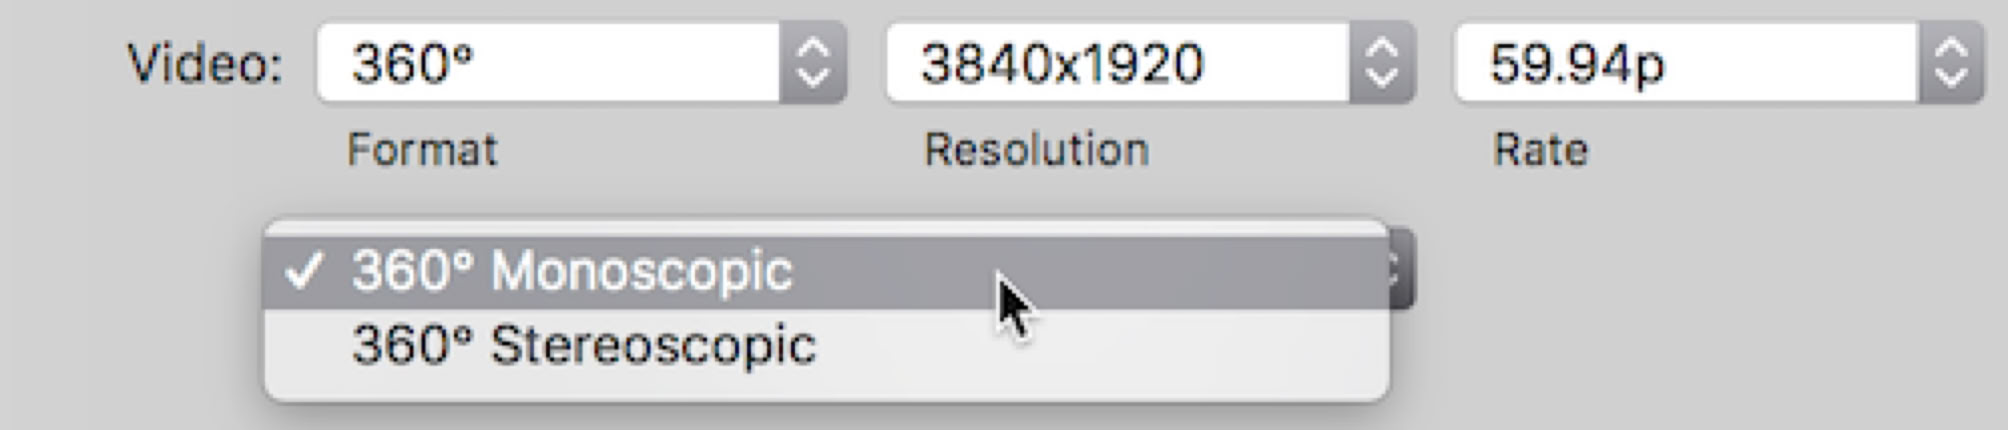
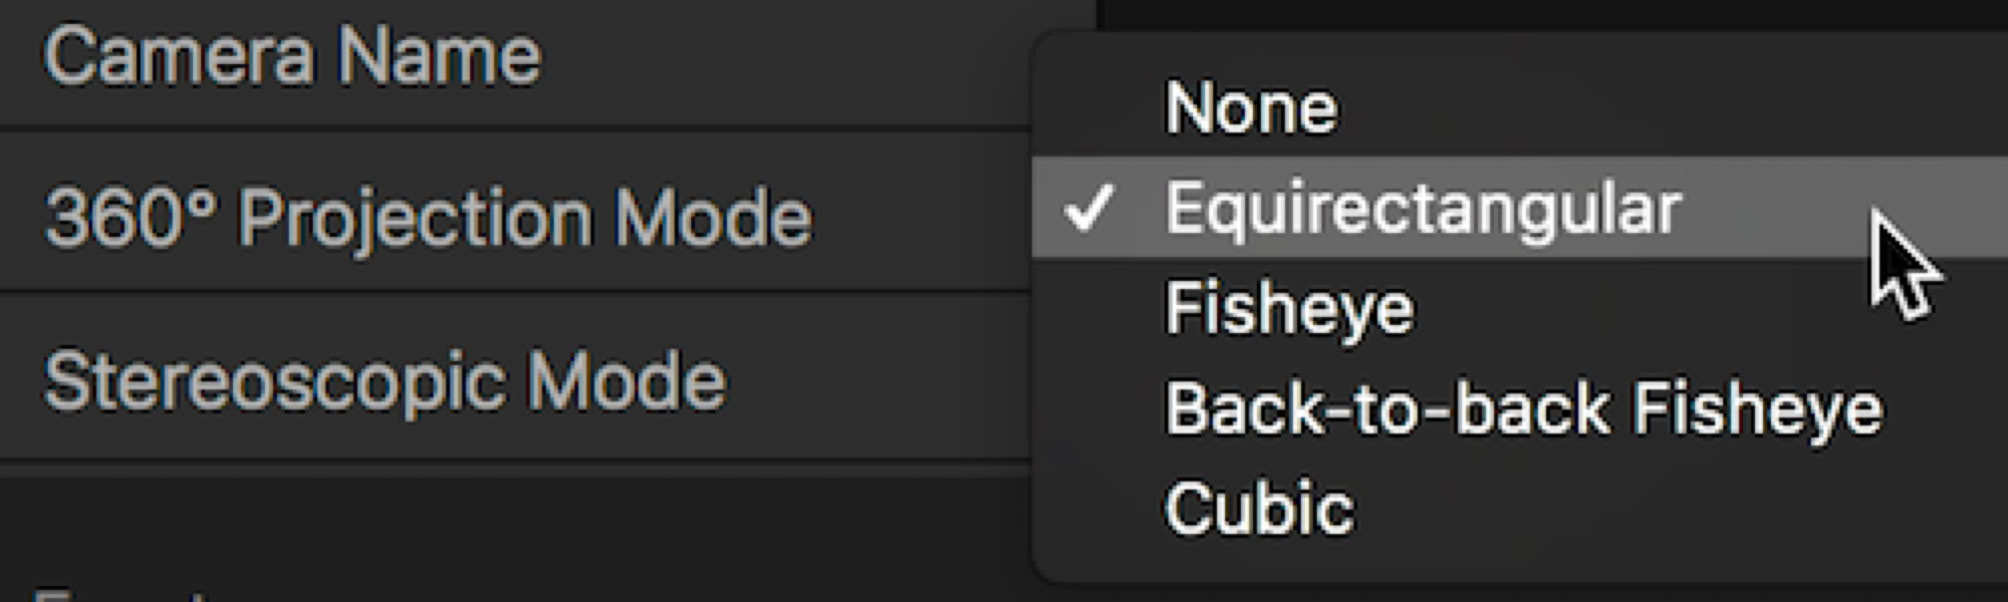
In the Basic Info inspector metadata preset 360 Projection Mode and Stereoscopic Mode selections have been added. The Projection Mode gives you these options:
Stereoscopic Mode lets you choose between Monoscopic, Side by Side or Over/Under.
Many thanks to Steve Martin of Ripple Training, the trainer’s trainer, for giving me access to some clips shot from his Insta360 ONE.
Ten new effects have been introduced in FCP’s Effects Browser to a new 360 category. The primary control is 360Patch. This allows you to clean up stray items like tripods that might appear in your shots. Basically the effect is a clone tool. You select a portion of the image to copy over the area you want to hide. You can adjust the circular shape of the control to make it more egg-shaped, and you can adjust the angle, and the amount of edge blurring. The rest are grouped into sections of Blur, Glow, and Sharpen. In Blur there are 360Channel Blur, 360Gaussian Blur, and 360Soft Focus. There are four 360Glow effects: 360Aura, 360Bloom, 360Gloom, and 360Glow; and two 360 Sharpen effects: 360 Sharpen and 360Unsharp Mask.
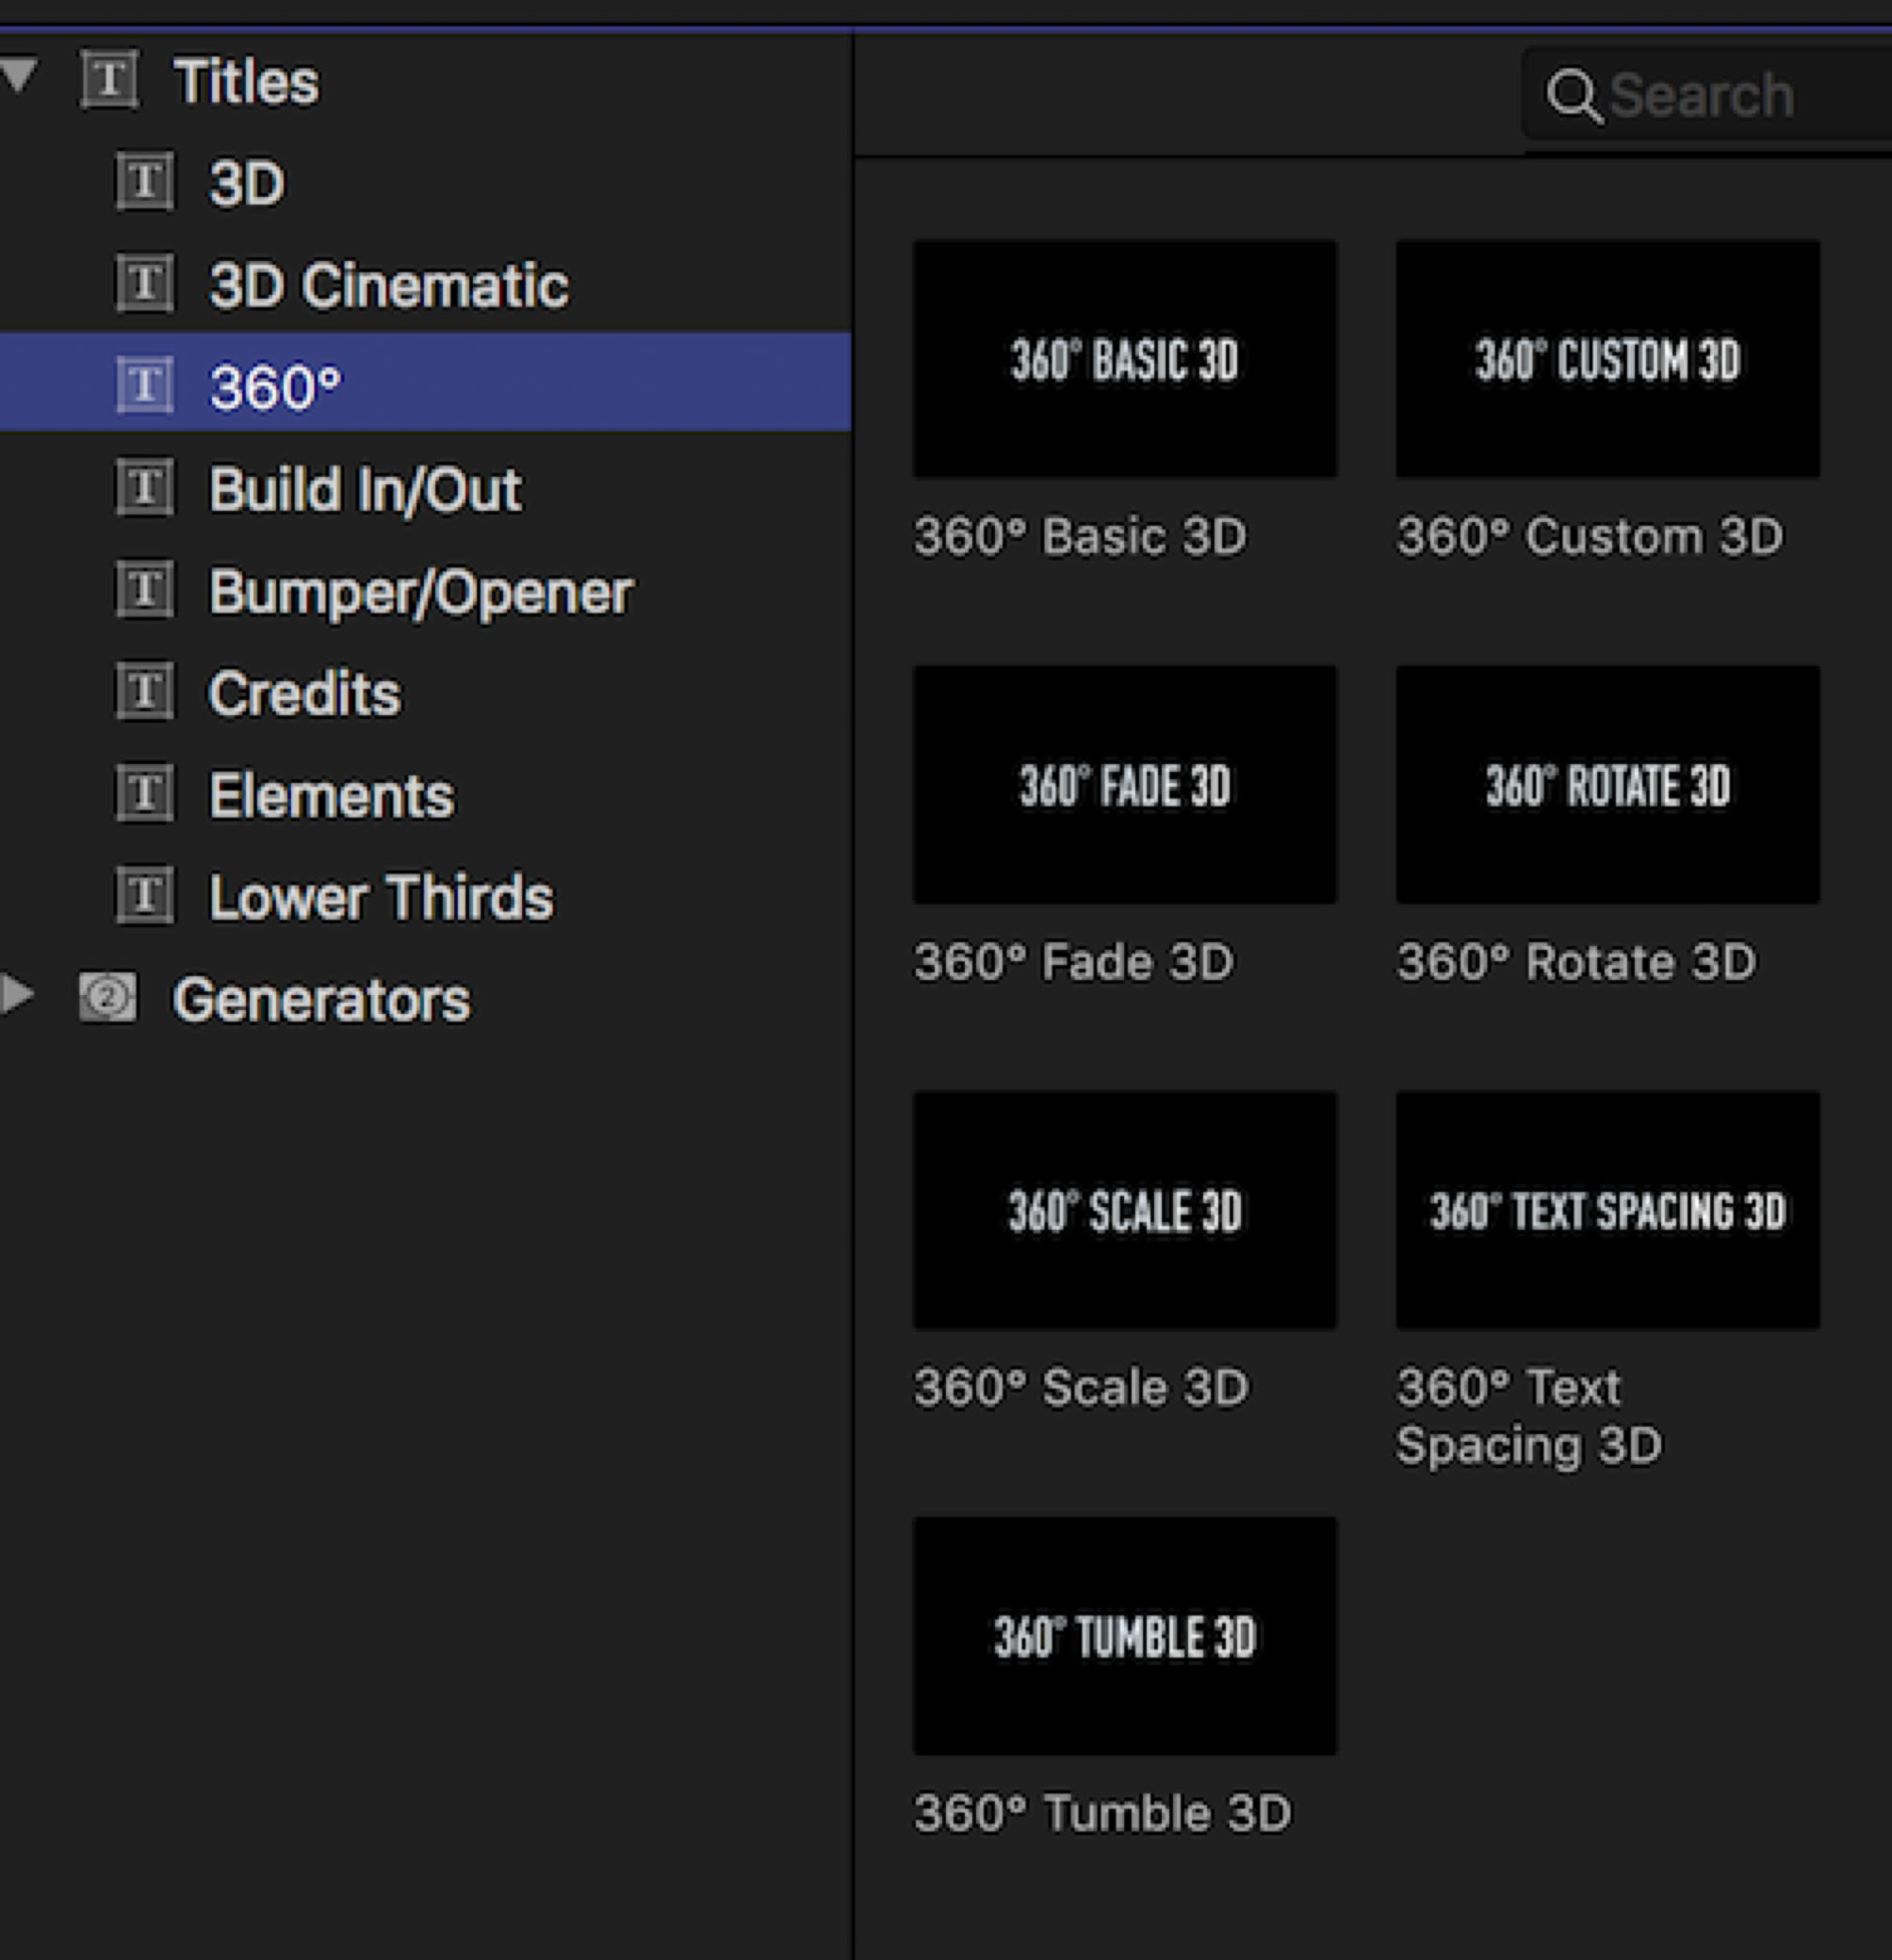
In addition to effects that are ten 360 3D titles in a 360 category, as well as two 360